
Free Shipping on Domestic Orders $75+

Dell Inspiron 14-5447 Fan Replacement

What you need

  1. Dell Inspiron 14-5447 Fan Replacement, Battery: step 1, image 1 of 1
    • Flip the laptop upside down to access the battery.

    Ask FixBot

    Add Comment

  2. Dell Inspiron 14-5447 Fan Replacement: step 2, image 1 of 2 Dell Inspiron 14-5447 Fan Replacement: step 2, image 2 of 2
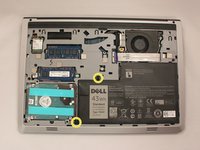
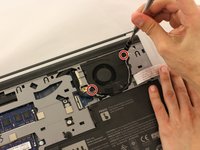
    • Remove the two black 5.70mm Phillips#0 screws on the case's back.

    • Insert a plastic opening tool into the small slit, centered between the removed screws, and pry open the back cover

    Ask FixBot

    Add Comment

  3. Dell Inspiron 14-5447 Fan Replacement: step 3, image 1 of 2 Dell Inspiron 14-5447 Fan Replacement: step 3, image 2 of 2
    • Remove the two 5.70mm Phillips #0 screws that secure the battery in place on its left side .

    • Treat the battery with care - puncturing or bending may cause damage to the battery and may result in fire or injury.

    Ask FixBot

    Add Comment

  4. Dell Inspiron 14-5447 Fan Replacement: step 4, image 1 of 2 Dell Inspiron 14-5447 Fan Replacement: step 4, image 2 of 2
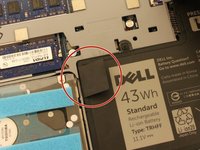
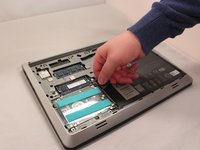
    • Use the black, plastic flap on the left side to pull the battery out.

    • Slowly lift the flap up and the battery should slide out.

    Ask FixBot

    Add Comment

  5. Dell Inspiron 14-5447 Fan Replacement, Fan: step 5, image 1 of 1
    • Locate the fan system in the top right corner.

    Ask FixBot

    Add Comment

  6. Dell Inspiron 14-5447 Fan Replacement: step 6, image 1 of 2 Dell Inspiron 14-5447 Fan Replacement: step 6, image 2 of 2
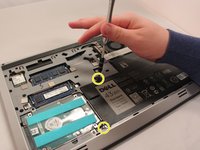
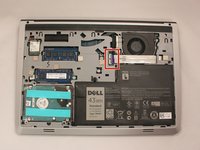
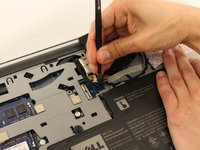
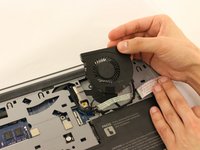
    • Look along the wide line of white cable until you find the tab insert.

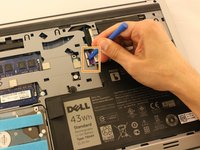
    • Remove the thick white cable crossing over the fan, using the blue spudger shown, to flip the securing flap holding down the cable.

    Ask FixBot

    Add Comment

  7. Dell Inspiron 14-5447 Fan Replacement: step 7, image 1 of 2 Dell Inspiron 14-5447 Fan Replacement: step 7, image 2 of 2
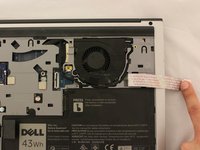
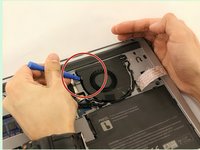
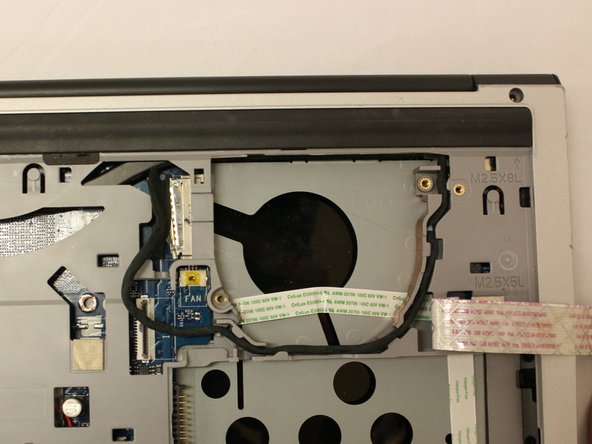
    • Move the cable over to the side to reveal the fan screws.

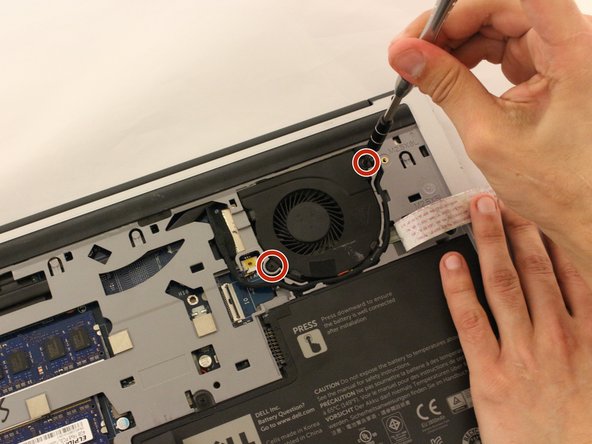
    • Remove the two black 5.70 mm screws from the fan.
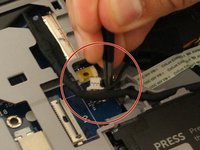
    Ask FixBot

    Add Comment

  8. Dell Inspiron 14-5447 Fan Replacement: step 8, image 1 of 2 Dell Inspiron 14-5447 Fan Replacement: step 8, image 2 of 2
    Tool used on this step:
    Tweezers
    $4.99
    Buy
    • Use tweezers to remove the small cable attached to the fan.

    Ask FixBot

    Add Comment

  9. Dell Inspiron 14-5447 Fan Replacement: step 9, image 1 of 2 Dell Inspiron 14-5447 Fan Replacement: step 9, image 2 of 2
    • Using the opening tool, pry the fan out.

    • Remove the fan slowly to prevent damage to any wires or cables connected to the device.

    Ask FixBot

    Add Comment

  10. Dell Inspiron 14-5447 Fan Replacement: step 10, image 1 of 1
    • Now that the fan is removed, be sure to clean the area under the fan to prevent overheating.

    Ask FixBot

    Add Comment

Conclusion

To reassemble your device, follow these instructions in reverse order.

Cancel: I did not complete this guide.

0 Guide Comments

Add Comment

View Statistics:

Past 24 Hours: 1

Past 7 Days: 4

Past 30 Days: 24

All Time: 1,125