Introduction
Use this guide to replace a faulty or defective fan in your Dell Inspiron 14-5415 laptop.
The fan is a hardware component in the device that aids to regulate the internal temperature of the device and prevent overheating. A faulty fan can cause a chain of hardware failure and each component of the device relies heavily on the temperature at which they are running at.
Before making use of this guide, make sure to have a look at the troubleshooting page. A device might be overheating due to an outdated fan driver and will not require a replacement. Check out the troubleshooting page to properly diagnose the issue before replacing the fan.
If the condition of your device cannot be identified using the information in the troubleshooting page here are some useful links to check out.
What you need
-
-
-
Remove the five 4 mm screws from the back of the laptop using a Phillips #0 screwdriver.
-
Loosen the two remaining captive screws using a Phillips #0 screwdriver.
-
-
-
-
-
To access the Dell Inspiron fan flip the device upside down.
-
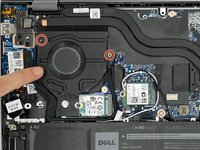
The fan is fastened at the top left hand corner of the device.
-
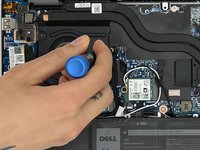
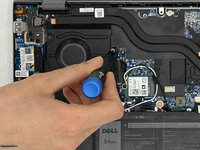
Remove two 4 mm screws using a Phillips #00 screwdriver.
-
-
-
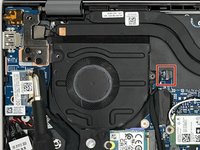
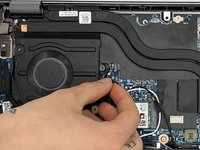
Gently pull on the fan adapter until it is disconnected from the port.
-
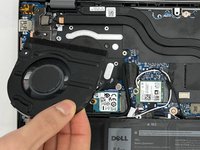
Carefully lift the fan out of the slot.
-
-

 Ask FixBot




To reassemble your device, follow these instructions in reverse order.

Team

University of North Texas, Team 2-7, Saru Jimmy Spring 2023 Member of University of North Texas, Team 2-7, Saru Jimmy Spring 2023
UNT-SARU JIMMY-S23S2G7
4 Members
60 Guides authored
