Free Shipping on Domestic Orders $75+

Dell Inspiron 14-3452 Screen Replacement

What you need

    1. Dell Inspiron 14-3452 Screen Replacement, Battery: step 1, image 1 of 2 Dell Inspiron 14-3452 Screen Replacement, Battery: step 1, image 2 of 2
      • Remove the battery by sliding the battery release latch to the left.

      • Pull the entire battery away from the backing.

      Ask FixBot

      Add Comment

    1. Dell Inspiron 14-3452 Screen Replacement, Random Access Memory (RAM): step 2, image 1 of 1
      • Ensure that the laptop is completely turned off and the battery is removed.

      • Remove the two Phillips Head 5 mm #0 screws holding the backing in place.

      Ask FixBot

      Add Comment

    2. Dell Inspiron 14-3452 Screen Replacement: step 3, image 1 of 1
      • Pull the backing away from the laptop.

      Ask FixBot

      Add Comment

    3. Dell Inspiron 14-3452 Screen Replacement: step 4, image 1 of 1
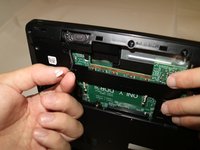
      • Locate the blue RAM chip sitting in the RAM bay.

      • Use your fingertips to pry apart the white RAM securing-clips on each side of the memory-module slot until the RAM chip pops up.

      Ask FixBot

      Add Comment

    4. Dell Inspiron 14-3452 Screen Replacement: step 5, image 1 of 1
      • Pull the RAM chip away from the memory-module slot.

      • The RAM chip is now fully detached and ready to be replaced.

      Ask FixBot

      Add Comment

    1. Dell Inspiron 14-3452 Screen Replacement, Screen: step 6, image 1 of 1
      • Remove the ten Phillips Head 5 mm #0 screws from the computer backing.

      • Remove the one Phillips Head 3 mm #0 screw from the computer backing.

      Ask FixBot

      Add Comment

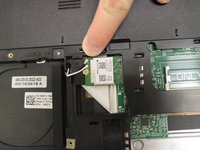
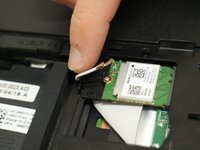
    2. Dell Inspiron 14-3452 Screen Replacement: step 7, image 1 of 2 Dell Inspiron 14-3452 Screen Replacement: step 7, image 2 of 2
      • Remove the white and black antenna cables from the wireless card.

      Ask FixBot

      Add Comment

    3. Dell Inspiron 14-3452 Screen Replacement: step 8, image 1 of 1
      • Remove the Phillips Head 3 mm #0 screw that is holding the wireless card in place.

      Ask FixBot

      Add Comment

    4. Dell Inspiron 14-3452 Screen Replacement: step 9, image 1 of 1
      • Slide the wireless card out of the wireless card bay.

      Ask FixBot

      Add Comment

    5. Dell Inspiron 14-3452 Screen Replacement: step 10, image 1 of 2 Dell Inspiron 14-3452 Screen Replacement: step 10, image 2 of 2
      • Using your fingertips remove the speaker cable from the motherboard by pulling the white connector away from the socket.

      Ask FixBot

      Add Comment

    6. Dell Inspiron 14-3452 Screen Replacement: step 11, image 1 of 1
      • Pry apart the keyboard assembly slowly as the keyboard cable will still be attached to the motherboard.

      • Use the blue Uspudger to pry apart the keyboard assembly from the bottom shell.

      Ask FixBot

      Add Comment

    7. Dell Inspiron 14-3452 Screen Replacement: step 12, image 1 of 1
      • Disconnect the keyboard cable from the motherboard by lifting the black latch and pulling the cable out of its socket.

      Ask FixBot

      Add Comment

    8. Dell Inspiron 14-3452 Screen Replacement: step 13, image 1 of 2 Dell Inspiron 14-3452 Screen Replacement: step 13, image 2 of 2
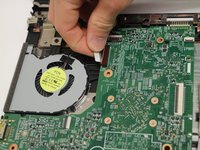
      • Disconnect the display cable from the motherboard by pulling the tape back and lifting the connector latch.

      • Pull the display cable away from the motherboard.

      Ask FixBot

      Add Comment

    9. Dell Inspiron 14-3452 Screen Replacement: step 14, image 1 of 1
      • Remove the power adapter cable from the motherboard by sliding the cable out of its socket.

      Ask FixBot

      Add Comment

    10. Dell Inspiron 14-3452 Screen Replacement: step 15, image 1 of 1
      • Turn laptop over to access the screen hinge screws.

      • Remove the two Phillips Head 5 mm #0 screws from the two hinges.

      Ask FixBot

      Add Comment

    11. Dell Inspiron 14-3452 Screen Replacement: step 16, image 1 of 2 Dell Inspiron 14-3452 Screen Replacement: step 16, image 2 of 2
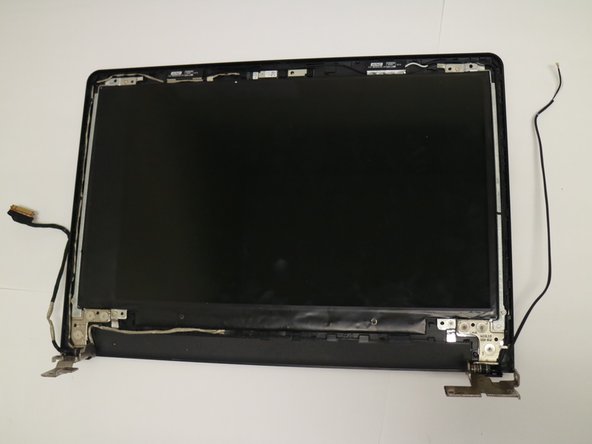
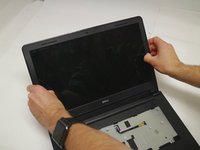
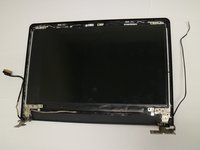
      • Using your fingertips, gently pry up the inner edges of the display bezel.

      • Lift the display bezel off the display assembly.

      Ask FixBot

      Add Comment

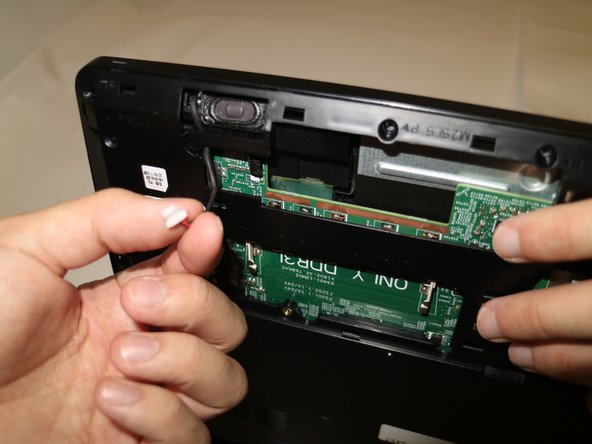
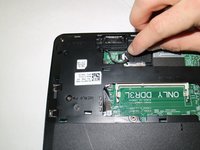
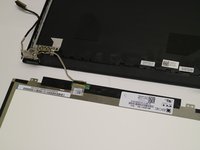
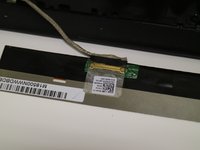
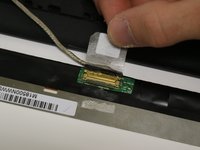
    12. Dell Inspiron 14-3452 Screen Replacement: step 17, image 1 of 3 Dell Inspiron 14-3452 Screen Replacement: step 17, image 2 of 3 Dell Inspiron 14-3452 Screen Replacement: step 17, image 3 of 3
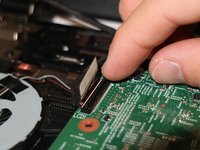
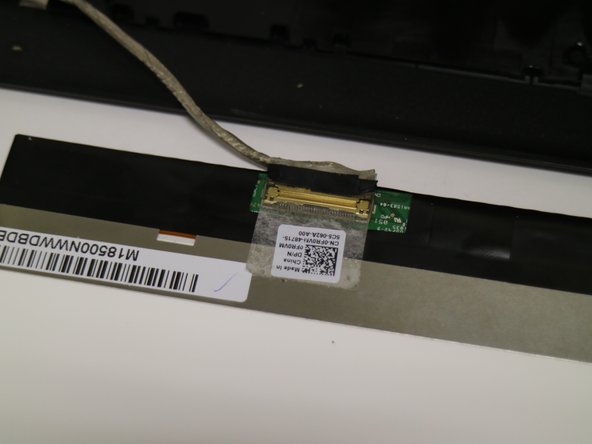
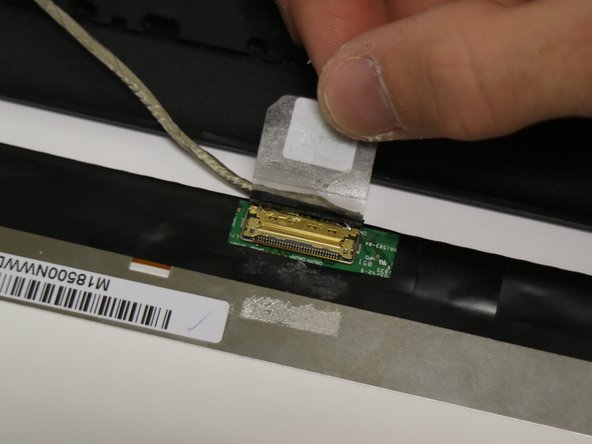
      • After removing the bezel, locate the tab indicated in the pictures.

      • Lift the tab as shown in the pictures.

      • Lift the gold latch securing the display cable to the socket.

      • Pull display cable away from the socket.

      Ask FixBot

      Add Comment

Conclusion

To reassemble your device, follow these instructions in reverse order.

Cancel: I did not complete this guide.

Alec Siegel

Member since: 01/30/18

598 Reputation

4 Guides authored

Team

Baylor, Team S2-G2, Johnson Spring 2018 Member of Baylor, Team S2-G2, Johnson Spring 2018

BU-JOHNSON-S18S2G2

3 Members

60 Guides authored

0 Guide Comments

Add Comment

View Statistics:

Past 24 Hours: 2

Past 7 Days: 18

Past 30 Days: 65

All Time: 1,379