Introduction
Verify with the device’s troubleshooting page whether the replacement of your fan is required for your situation.
This guide will go through the process of replacing the fan for the Dell Inspiron 14 5100.
A faulty fan can cause your device to overheat due to the lack of ability to cool the device by itself.
If this guide is unnecessary, go to our device page to look for the correct guide for your situation.
What you need
-
-
-
Remove nine screws securing the base cover of the laptop's keyboard assembly using the Phillips #0 screwdriver.
-
There are 2 sets of screws.
-
Remove the 3 captive screws.
-
Remove the 6M2*6 screws.
 Ask FixBot
-
-
-
Pry open the laptop to separate the base cover from the keyboard assembly.
-
You may use your fingertips or use plastic opening tools.
-
-
-
-
-
-
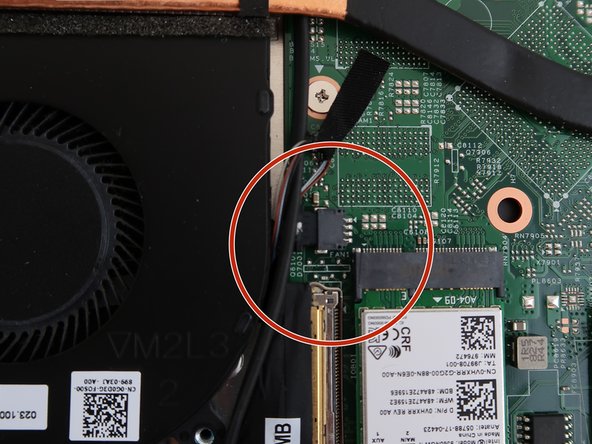
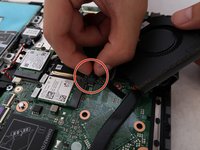
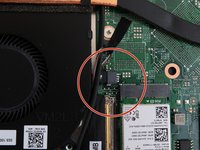
Remove the two Phillips #0 screws securing the fan to the keyboard assembly.
-
-



To reassemble your device, follow these instructions in reverse order.
Cancel: I did not complete this guide.
One other person completed this guide.

Team

Embry-Riddle Aeronautical University, Team S15-G2, Lamothe Fall 2019 Member of Embry-Riddle Aeronautical University, Team S15-G2, Lamothe Fall 2019
ERAU-LAMOTHE-F19S15G2
4 Members
72 Guides authored
