
Dell Inspiron 13-7373 Keyboard Replacement

Kameron Jusseaume and 2 other contributors
Last updated on Dec 18, 2023
Views: 2.3K
View statistics:
- Past 24 Hours:
- 2
- Past 7 Days:
- 18
- Past 30 Days:
- 88
- All Time:
- 2,346
Comments: 4
4 comments on steps.
Completed: 0 1
No one has marked this guide "completed." Will you be the first?
1 person has marked this guide "completed." It's you — great job!
Favorites: 0 1
No one has favorited (and subscribed to) this guide. Will you be the first?
1 person has favorited (and subscribed to) this guide — and that's you!
Needs More Images
A few more images would make this guide's procedures crystal clear.
Missing Steps
Oops! This guide is currently missing one or more important steps.
Introduction
Go to step 1 ↓A Dell Inspiron 13-7373 may require a keyboard replacement for several reasons, such as broken keys, physical issues, debris or broken pieces, unresponsiveness, and connection problems. If you use a laptop the majority of your time, it is important to make sure it is comfortable to use and that you get the most out of your keyboard. Before beginning, make sure to power off your laptop completely and disconnect from any external power source.
What you need
Tools


-
-
-
Remove the ten 7.5mm Phillips #00 screws from the bottom of the laptop.
-
Use an opening tool to remove the bottom half of the case from the laptop.
 Ask FixBot
-
-
-
-
-
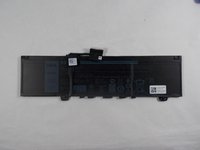
Use a Phillips screwdriver to remove the four screws holding the battery in place.
-
-
-
Pull the plastic tab on the battery cable to disconnect the cable from the battery.
-
-
-
-
-
Unplug the connector holding the fan’s wires.
-
Remove the fan from the laptop.
-
-
-
-
Use the Phillips #00 screwdriver to remove the single screw holding in the network card.
-
Remove the network card from the laptop.
-
-
-
-
-
Use the Phillips #00 screwdriver to remove the two 1mm screws holding in the daughterboard.
-
Remove the metal piece holding in the daughterboard.
-
Disconnect the two cable connectors from the daughterboard.
-
If the cables are stuck, gently wiggle them until they disconnect.
-
-
-
-
-
-
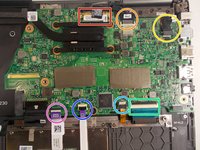
Release the IO Board Cable.
-
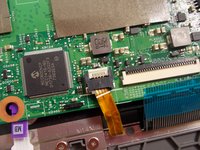
Release the Touchpad cable.
-
Release the keyboard back-light cable.
-
Release the keyboard cable.
-
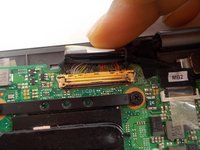
Release the eDP cable.
-
Release the dc-in cable.
-
Release the cable for the LED charging indicator by gently pulling up on the connector.
-
-
-
-
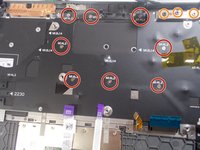
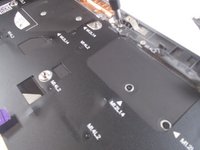
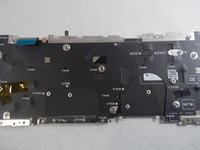
Use the Phillips #00 screwdriver to remove the eight 1mm screws at the back of the keyboard.
-
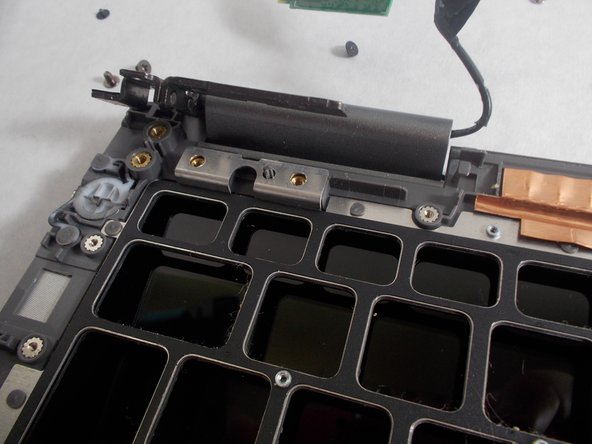
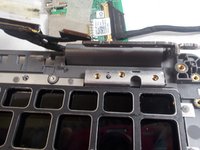
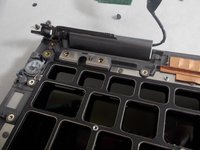
Remove the 3 screws holding the hinges of the laptop on each side.
-
-


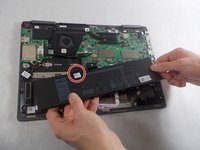
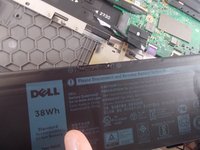
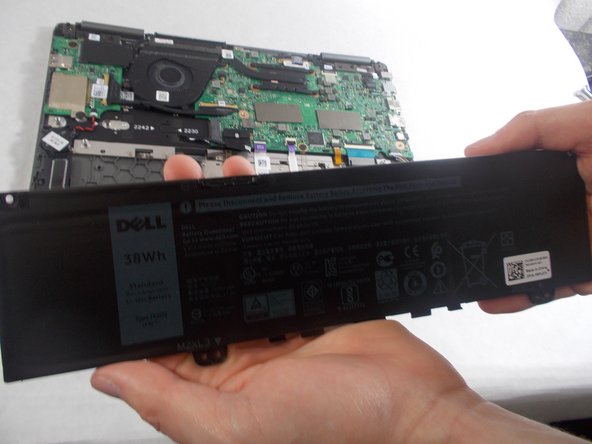








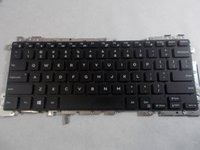
To reassemble your device, follow these instructions in reverse order.

Team

UMass Dartmouth, Team S1-G4, O'Connell Fall 2019 Member of UMass Dartmouth, Team S1-G4, O'Connell Fall 2019
UMASSD-O'CONNELL-F19S1G4
3 Members
60 Guides authored
