Introduction
This guide to remove your Dell Inspiron 13-7359 screen. You will need a phillips #0 screwdriver and a small plastic spudger. This guide will require more time and is more difficult than the other replacement guides.
What you need
-
-
-
First flip over the laptop to expose the back panel
-
Use a Phillips #0 screwdriver to unscrew all ten 7mm Phillips head screws holding the back panel in place.
 Ask FixBot
-
-
-
With a plastic spudger, carefully remove the back panel by prying each corner off individually
-
Slowly pick up the panel and set it aside
-
-
-
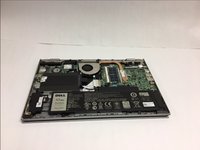
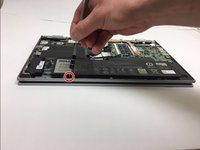
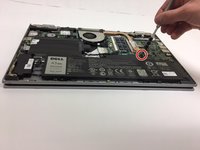
The battery will be the largest black component in the device located near the bottom edge. Using a Phillips #0 screwdriver, unscrew the two 3mm Phillips head screws holding in the battery.
-
-
-
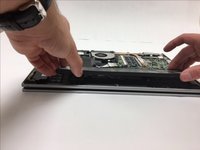
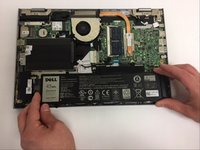
To remove the old battery, slightly lift the bottom edge of the battery with your hands
-
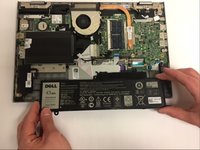
Now slowly pull the battery towards you to fully detach the battery
-
-
-
-
-
Unscrew and remove the 2 of the 3mm Phillips head screws holding the hard drive in place.
-
-
-
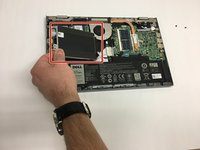
Lift and hold the hard drive in your left hand.
-
Use your right hand to grab hold of the black wire connector attached on the right of the hard drive.
-
Carefully pull the connector away from the hard drive to completely disconnect from the laptop.
-
-
-
-
-
-
Unscrew and remove the 2 of the 7mm Phillips head screws holding the cooling fan in place.
-
-
-
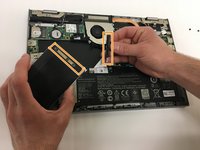
Hold the cooling fan with one hand.
-
With the other hand, grab hold of the part of the copper heat sink that is attached to the cooling fan.
-
Carefully pull the cooling fan away from the attached part so that it becomes fully disconnected.
-
-
-
-
-
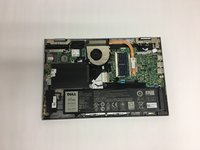
Make sure that the Battery, Hard Drive, and Cooling Fan are safely removed.
-
-
-
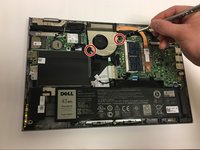
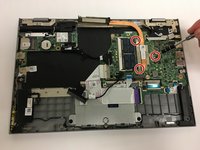
Unplug antenna cables located at the top left corner.
-
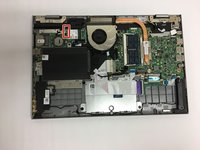
Unplug daughter board located to the bottom left of the cooling fan.
-
-
-
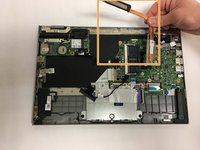
Find the heat sink (copper colored metal).
-
Use Phillips 0 screwdriver to loosen the 3 of the 3mm Phillips head screws from the heat sink.
-
Remove the heat sink
-
-
-
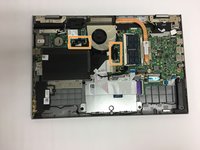
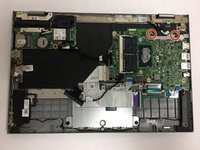
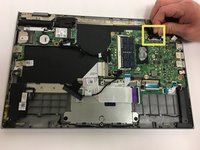
Use Phillips 0 screwdriver to unscrew the 2 of the 3mm screws holding the LCD cable bracket in place.
-
Remove the LCD cable bracket.
-
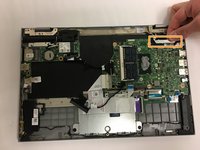
Unplug LCD and touchscreen cables.
-
-
-
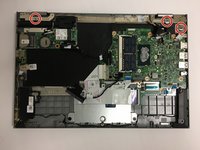
Use Phillips 0 screwdriver to unscrew and remove the 3 of the 7mm screws from the LCD display.
-
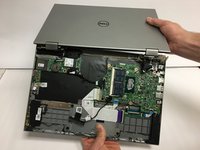
Open the laptop so that the screen and keyboard are face down on the desk.
-
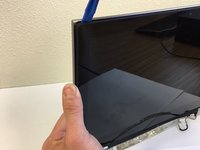
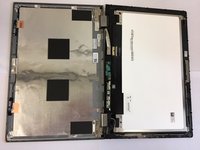
Carefully disconnect the LCD display by lifting the screen upward and away from the bottom half of the laptop.
-
-
-
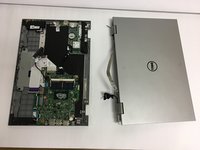
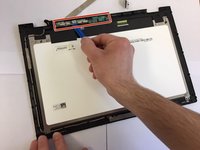
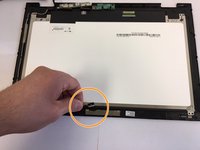
Use the plastic spudger to disconnect the mini circuit board from the casing.
-
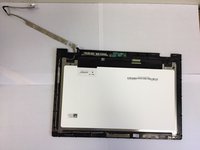
Disconnect the small wires connecting the screen to the casing.
-
-
-
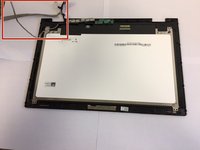
Remove the loose wiring from the perimeter of the screen.
-
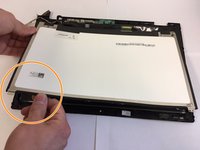
Gently separate the LCD screen from the laptop casing.
-
-






















To reassemble your device, follow these instructions in reverse order.
Cancel: I did not complete this guide.
7 other people completed this guide.

Team

Baylor, Team S1-G6, Johnson Spring 2018 Member of Baylor, Team S1-G6, Johnson Spring 2018
BU-JOHNSON-S18S1G6
3 Members
60 Guides authored
1 Guide Comment
Hi, I was wondering if there's any possibility of cross compatibility between i7378 and i7359 from dell? My computer is the i7359 but I haven't been able to find a reasonably priced replacement display. Thank you very much! Also, I found this alternate guide suggesting that the screen can be replaced slightly more easily than the manual and this guide suggests, is this process feasible? https://www.insidemylaptop.com/replacing...
