Introduction
The Hard Drive is your main storage place on your laptop. This is responsible for holding everything on your laptop from simple documents to your installed operating system. Also adding a bigger hard drive might speed up your laptop if your current one is full or corrupt
What you need
-
-
-
Use a Phillips screwdriver to remove the ten 7.5mm screws that securing the back panel.
-
Use the plastic opening tool to pry up and loosen the back panel.
-
Remove the back panel.
 Ask FixBot
-
-
-
Use a Phillips screwdriver to remove the two 3 mm screws securing the battery.
-
Unclip the hard drive wire from the battery.
-
-
-
-
-
-
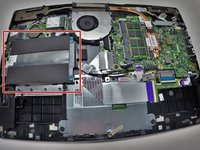
Locate the Hard Drive.
-
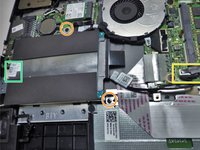
Remove the two 3mm screws from Hard Drive with the Phillips #0 head.
-
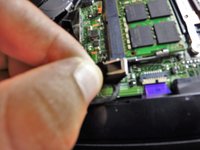
Disconnect the wire attached to the system board by lifting up the tape.
-
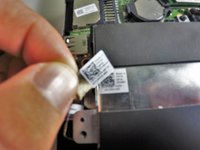
Remove the tape tab from the Hard Drive by lifting the tape up and off of the Hard Drive unit.
-
-
-
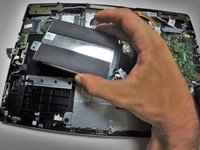
Once disconnected from the tape and the connector is free, lift the Hard Drive unit from the rest of the device by grasping each side with thumb and index or middle finger.
-
-




To reassemble your device, follow these instructions in reverse order.
Cancel: I did not complete this guide.
5 other people completed this guide.

Team

University of Tampa, Team 1-5, Whiteside Fall 2015 Member of University of Tampa, Team 1-5, Whiteside Fall 2015
UT-WHITESIDE-F15S1G5
3 Members
72 Guides authored
