
Dell Inspiron 13-7347 Display Assembly Replacement

Kyle Smith and 6 other contributors
Last updated on Jul 3, 2025
Views: 1.1K
View statistics:
- Past 24 Hours:
- 1
- Past 7 Days:
- 13
- Past 30 Days:
- 76
- All Time:
- 1,095
Comments: 1
1 comment on steps.
Completed: 0 1
No one has marked this guide "completed." Will you be the first?
1 person has marked this guide "completed." It's you — great job!
Favorites: 0 1
No one has favorited (and subscribed to) this guide. Will you be the first?
1 person has favorited (and subscribed to) this guide — and that's you!
Incorrect Tools
Help make this guide better by using the correct tools in images and/or text.
Introduction
Go to step 1 ↓If you have a Dell Inspiron 13-7347 laptop (Computer model Inspiron 7347) and the screen is cracked, chipped, unresponsive, or maybe your screen is flickering, you may use this guide for removal and replacement of the Display Assembly.
A "display assembly" is the complete module used to show images or information on a device, such as a phone, computer, or TV. It typically includes the display panel (like an LCD or OLED), its supporting circuitry, and sometimes a bezel or housing. You may want to replace the display assembly if it has cracks or chips, the screen is unresponsive, ghost touching, or it has display issues such as flickering, has distorted colors or even dead pixels. Below is a step by step process on how to replace the display assembly.
Before you begin this repair, make sure to power off your laptop and unplug the charging adaptor and any peripherals.
What you need
Parts

Tools


-
-
-
Flip the device over, so that the back is facing up.
-
Using a Phillips screwdriver, remove the 10 2.5mm x 8mm screws
-
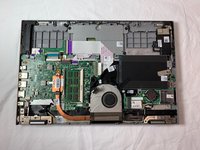
Use the suction cup to lift off the back case.
 Ask FixBot
-
-
-
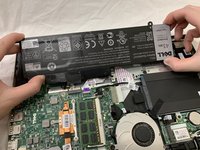
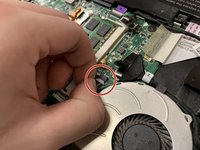
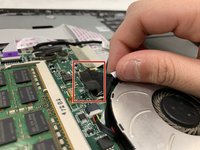
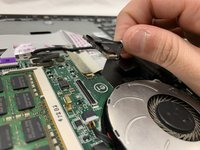
Unplug the cable that connects the USB / SD Reader IO Board to the motherboard.
-
-
-
-
-
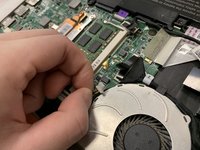
You should be able to identify the fan.
-
This is the 2mm x 2mm JIS #00 screw.
-
This is the 2mm x 3mm JIS #00 screw.
-
-
-
-
-
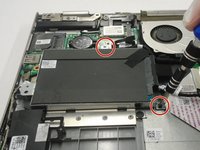
Using a Phillips #0 screwdriver, loosen and remove the two 3.0 mm hard drive screws.
-
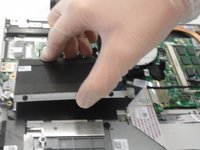
Lift the hard drive up and out of the device.
-
-
-
-
-
-
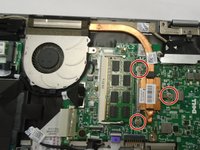
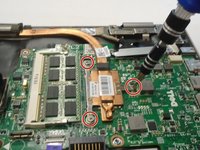
Using a Phillips #0 screwdriver, loosen the three 3.0 mm heat sink screws.
-
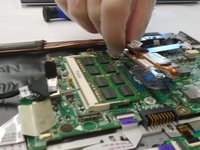
Remove the Heat Sink.
-
-
-
Using a Phillips #0 screwdriver, remove the two 5.0 mm screws on the metal bracket.
-
Remove the metal bracket.
-
-
-
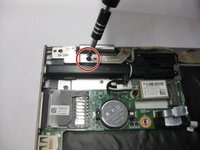
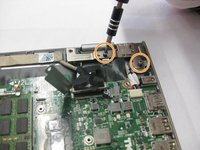
Using a Phillips #0 screwdriver, remove the 5.0mm screw on the left display hinge bracket.
-
Using a Phillips #0 screwdriver, remove the two 5.0mm screws on the right display hinge bracket.
-
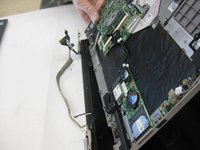
Lift and remove the display assembly.
-
-


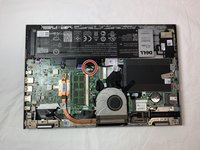
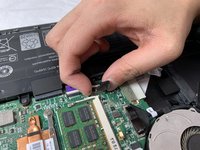
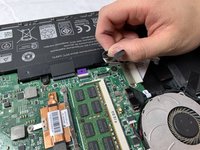


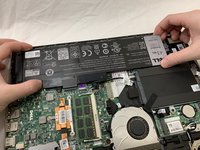










To reassemble your device, follow these instructions in reverse order. Take your e-waste to an R2 or e-Stewards certified recycler.

Team

The Citadel Military College of South Carolina, Team S2-G8, Eggleston Fall 2019 Member of The Citadel Military College of South Carolina, Team S2-G8, Eggleston Fall 2019
CMCSC-EGGLESTON-F19S2G8
2 Members
36 Guides authored
