Free Shipping on Domestic Orders $75+

Dell Inspiron 11z-1121 Fan Replacement

What you need

    1. Dell Inspiron 11z-1121 Fan Replacement, Battery: step 1, image 1 of 2 Dell Inspiron 11z-1121 Fan Replacement, Battery: step 1, image 2 of 2
      • Slide the latches outward to release the battery.

      • Pull the battery outward to remove.

      • The latches should lock in place, allowing for easy removal.

      • The battery must be removed for safety reasons when replacing other components of the laptop.

      Ask FixBot

      Add Comment

    1. Dell Inspiron 11z-1121 Fan Replacement, Keyboard: step 2, image 1 of 2 Dell Inspiron 11z-1121 Fan Replacement, Keyboard: step 2, image 2 of 2
      • Unscrew three black 1mm screws using the PH1 Phillips-head screwdriver on the bottom of the laptop around the battery.

      Ask FixBot

      Add Comment

    2. Dell Inspiron 11z-1121 Fan Replacement: step 3, image 1 of 2 Dell Inspiron 11z-1121 Fan Replacement: step 3, image 2 of 2
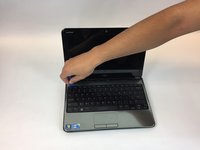
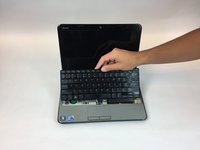
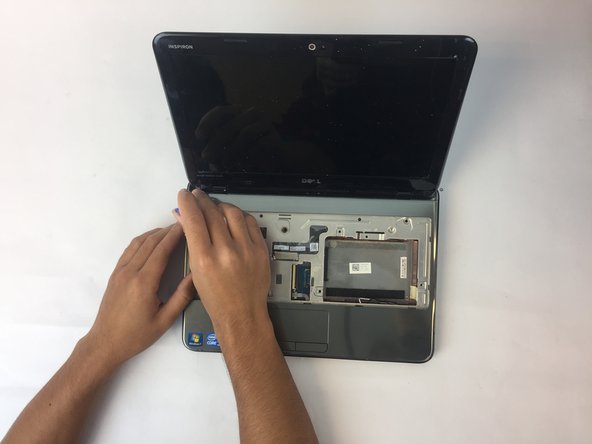
      • Flip the laptop over and open it to expose the keyboard.

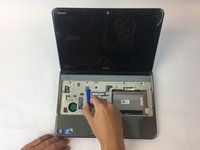
      • Use a plastic opening tool to pry up the keyboard, starting in the upper corner and working your way around.

      • Once the keyboard is pried up, do not remove the keyboard. There is still a ribbon attaching the keyboard to the laptop.

      Ask FixBot

      Add Comment

    3. Dell Inspiron 11z-1121 Fan Replacement: step 4, image 1 of 2 Dell Inspiron 11z-1121 Fan Replacement: step 4, image 2 of 2
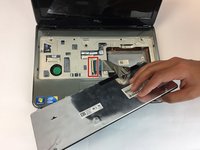
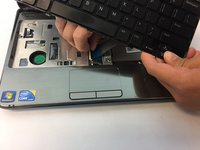
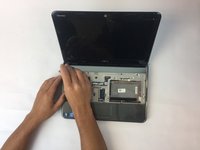
      • Lift the keyboard to expose the ribbon attaching the keyboard to the laptop.

      • Flip up the black retaining flap on the ZIF connector and then pull the ribbon cable away.

      • Remove the keyboard from the laptop.

      Ask FixBot

      Add Comment

    1. Dell Inspiron 11z-1121 Fan Replacement, Fan: step 5, image 1 of 2 Dell Inspiron 11z-1121 Fan Replacement, Fan: step 5, image 2 of 2
      • Start by prying the outer casing of the laptop using the plastic opening tool. Start from the bottom and work your way around the edges.

      Ask FixBot

      Add Comment

    2. Dell Inspiron 11z-1121 Fan Replacement: step 6, image 1 of 2 Dell Inspiron 11z-1121 Fan Replacement: step 6, image 2 of 2
      • Remove the outer casing to expose the motherboard.

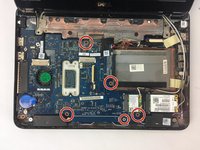
      • Remove five .75 mm screws using a PH1 screwdriver.

      • Make sure to keep track of your screws.

      Ask FixBot

      Add Comment

    3. Dell Inspiron 11z-1121 Fan Replacement: step 7, image 1 of 1
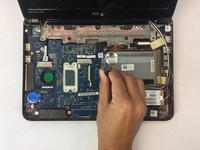
      • Remove wireless wide area network (WWAN) card by sliding it out of position.

      • Make sure the wires attached to the WWAN card are not detached when doing this step.

      Ask FixBot

      Add Comment

    4. Dell Inspiron 11z-1121 Fan Replacement: step 8, image 1 of 2 Dell Inspiron 11z-1121 Fan Replacement: step 8, image 2 of 2
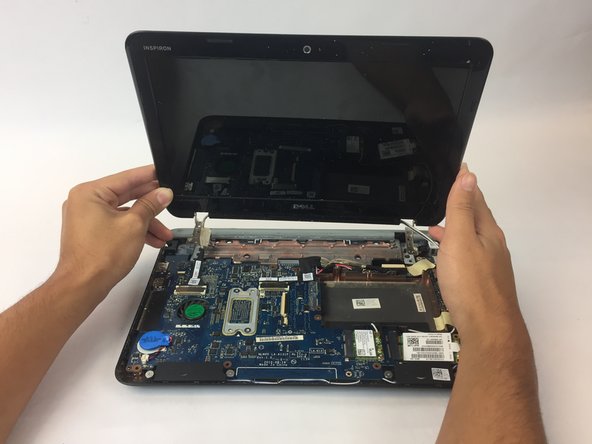
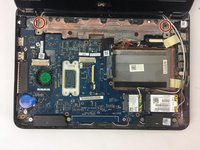
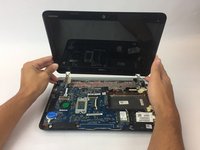
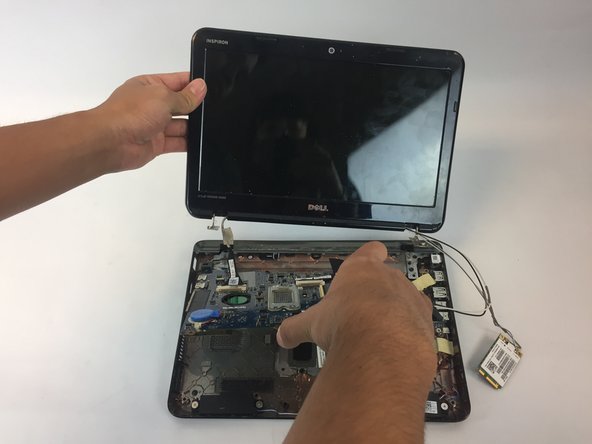
      • Unscrew the two 0.9 mm screws that are holding down the screen.

      • Lift the screen up and towards yourself to detach the screen from the laptop.

      Ask FixBot

      Add Comment

    5. Dell Inspiron 11z-1121 Fan Replacement: step 9, image 1 of 1
      • Lay the screen down and pry the left corner of the plastic casing that is located behind the screen.

      Ask FixBot

      Add Comment

    6. Dell Inspiron 11z-1121 Fan Replacement: step 10, image 1 of 1
      • While holding screen, remove the motherboard by wiggling it around and pulling outwards.

      • In this step you are trying to pull the motherboard out from the VGA socket it is attached to in the back left corner of the laptop.

      Ask FixBot

      Add Comment

    7. Dell Inspiron 11z-1121 Fan Replacement: step 11, image 1 of 2 Dell Inspiron 11z-1121 Fan Replacement: step 11, image 2 of 2
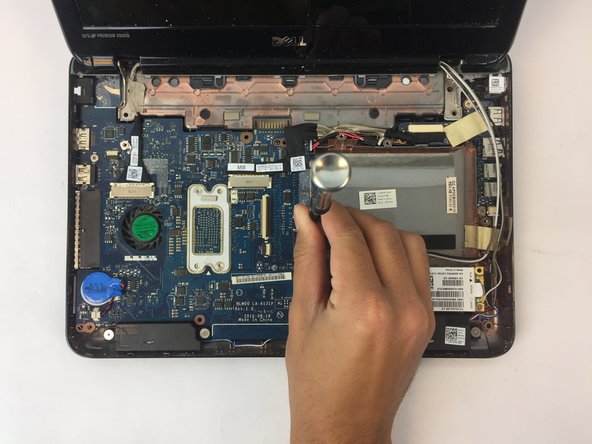
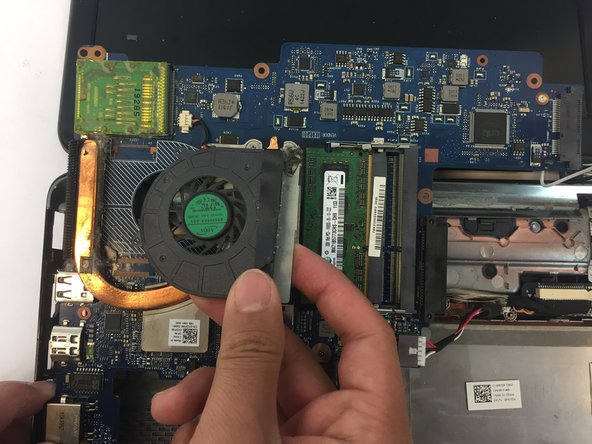
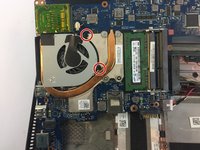
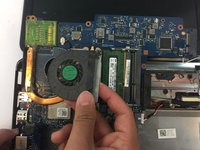
      • Unscrew the two black 0.5 mm screws holding the fan in place.

      • Remove the fan by gently lifting the component upwards.

      Ask FixBot

      Add Comment

Conclusion

To reassemble your device, follow these instructions in reverse order.

Cancel: I did not complete this guide.

Cassidy Chen

Member since: 10/04/16

289 Reputation

2 Guides authored

Team

USF Tampa, Team 1-5, Nance Fall 2016 Member of USF Tampa, Team 1-5, Nance Fall 2016

USFT-NANCE-F16S1G5

4 Members

60 Guides authored

1 Guide Comment

I see there are a few more screws on the bottom. Can't we just unscrew those and take off the bottom panel?

bluejedi - Reply Share

Add Comment

View Statistics:

Past 24 Hours: 1

Past 7 Days: 7

Past 30 Days: 26

All Time: 1,372