Introduction
This guide will show you how to replace the palm rest for the Dell Inspiron 1150. The palm rest covers the area below the keyboard and includes the touchpad. If it’s cracked, loose, or the touchpad cable is damaged, replacing the palm rest can restore comfort and usability.
This guide walks you through removing the bottom screws and disconnecting the touchpad cable before lifting the palm rest free. Shut down the laptop and disconnect the battery before you begin.
What you need
-
-
Place the laptop upside down on a clean, flat surface.
-
Locate the battery release button with the padlock symbol above it.
-
Slide the battery release button towards the padlock symbol and hold it there. Note that the button is spring loaded and will return if released.
-
Gently remove the battery from the side of the laptop.
-
-
-
Place laptop upside down on a clean flat surface.
-
Remove 2ea M2.5 x 5 mm screws.
-
Pull the HDD from main body of the laptop.
-
-
-
Place laptop upsid down on a clean flat work surface.
-
Remove the Philips M2.5 x 8 mm screw
-
Loosen the screw that holds the memory compartment closed
-
remove the memory module compartment cover
-
Press the Optical Drive release lever to the right and the optical drive should slide out of the case
-
-
-
-
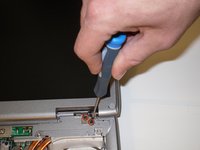
Use a spudger to lift the notched right edge of the hinge cover, and pry it loose
-
Lift the hinge cover off and set aside
-
-
-
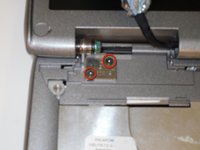
Remove 1ea M2.5 x 8mm screw holding the EMI shield in place
-
Remove the EMI shield to expose the LCD ribbon cable
-
Gently pull up on the tab to disconnect the ribbon cable from the main board
-
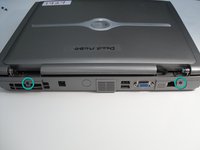
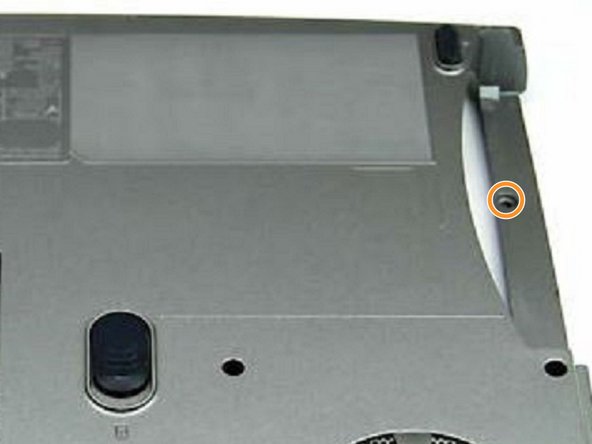
Close the lid carefully and remove the two M2.5 x 5-mm screws from the rear of the case
-
-
-
Position the computer upside down on a clean, flat surface.
-
Remove the twelve M2.5 × 8 mm screws from the bottom case.
-
Remove the M2.5 × 4 mm screw from the battery bay.
-
-
-
Position the computer keyboard side up.
-
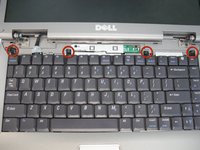
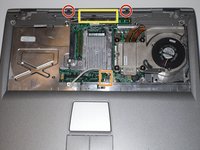
Remove the two M2.5 × 5 mm screws from the top edge of the palm rest.
-
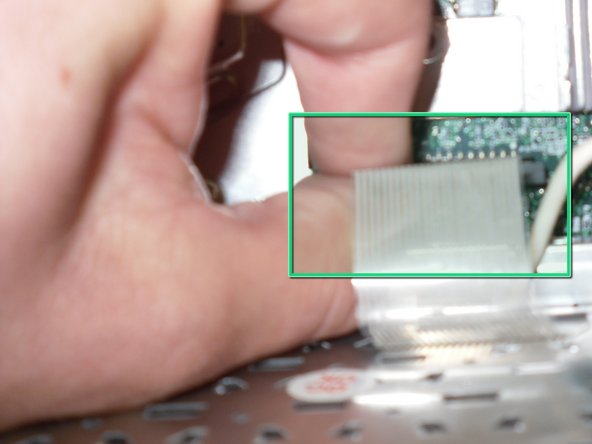
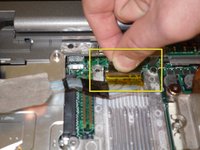
Disconnect the touchpad (mouse-pad) ribbon cable from the main board by lifting the locking bar and pulling the cable straight out.
-
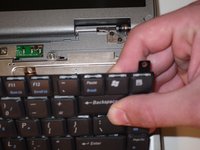
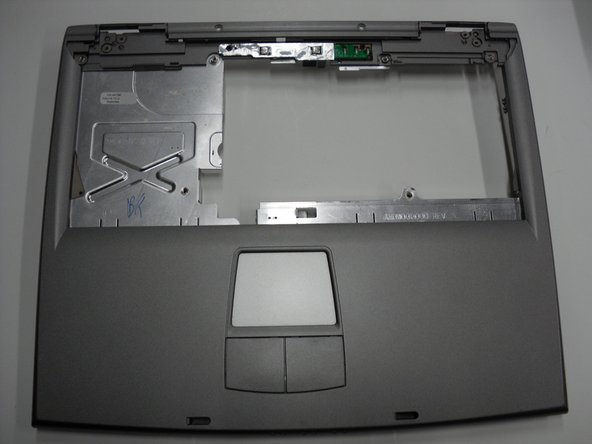
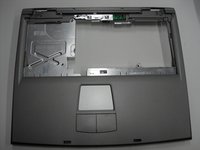
Starting at the back center, lift the inside edge of the palm rest to release the clips, then work toward the sides.
-


To reassemble your device, follow these instructions in reverse order. Verify the touchpad ribbon cable is fully seated and locked before tightening the palm-rest screws.
Cancel: I did not complete this guide.
2 other people completed this guide.
Team

Cal Poly, Team 16-2, Maness Spring 2010 Member of Cal Poly, Team 16-2, Maness Spring 2010
CPSU-MANESS-S10S16G2
4 Members
9 Guides authored