Introduction
As seen in the picture, the entire panel is being replaced. This maintenance will require tearing down the plastic cover which holding down the assembly to the keyboard cover. Once separated the key assembly and the keyboard panel will need to be glued back together. It is possible to remove the keys from the keyboard, but damage may occur. Therefore, keyboard assembly maintenance is strongly discouraged.
What you need
-
-
-
Place laptop upside down to observe the first set of screws on the bottom cover. With the J1 Phillips head screwdriver bit, unscrew eight (8) size 60 mm screws.
-
With a metal spudger, remove the plastic cover to unveil the final screw.
-
With the J1 Phillips head bit, remove remaining 60 mm screw.
 Ask FixBot
-
-
Tool used on this step:Tweezers$4.99
-
With a metal spudger, pry apart the bottom cover working around the edges.
-
With tweezers, disconnect the USB/Audio circuit board cable.
-
Place the bottom cover off to the side.
-
-
-
-
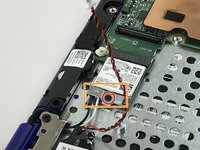
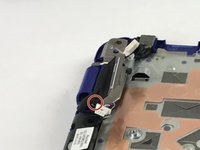
Remove the M2 x 3mm bracket screw.
-
Remove the metal bracket.
-
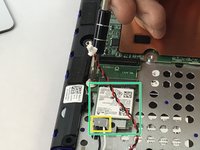
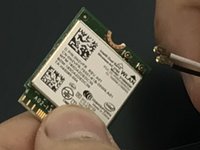
With tweezers, detach the white and black antenna cables connected to the Wireless WLAN Card.
-
Remove the Wireless WLAN Card.
-
-
-
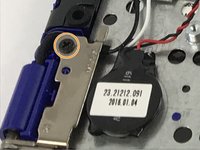
With tweezers, unplug the CMOS battery.
-
With tweezers, detach the CMOS battery.
-
-
-
With tweezers, unplug the DC Jack cable.
-
With the Philips #0 Screwdriver, loosen the M2 x 3mm screw.
-
With tweezers, detach the DC Jack.
-
-
-
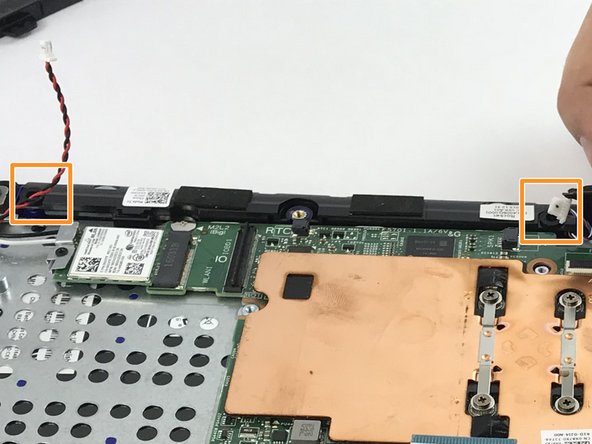
With tweezers, disconnect the speaker cable.
-
With tweezers, detach the speaker.
-
-
-
With the Philips #0 Screwdriver, unbolt the M2 x 3mm screw.
-
Remove the metal bracket.
-
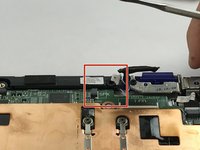
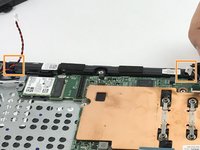
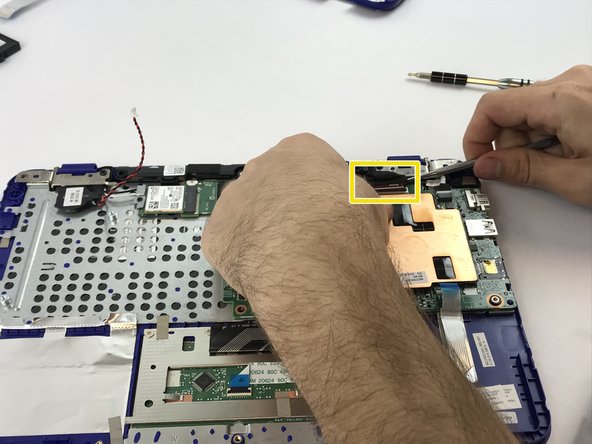
With tweezers, disconnect the display cable.
-
-
-
With the Philips #0 Screwdriver, unfasten the 2 - M2.5 x 5mm left and right hinge screws.
-
With the Philips #0 Screwdriver, unhinge the 2 - M2.5 x 5mm display cable bracket screw.
-
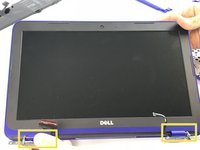
With tweezers, remove the LCD screen.
-
-
-
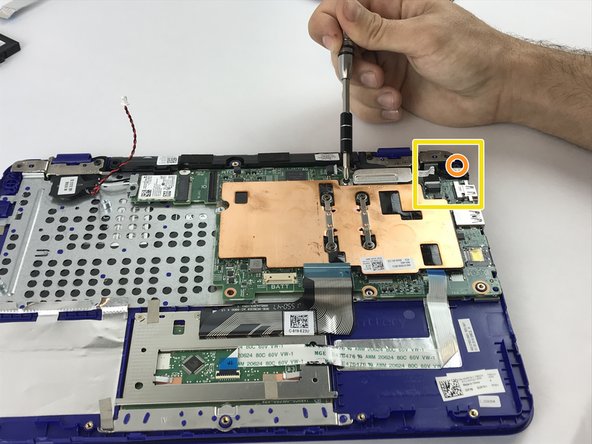
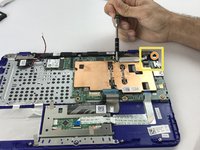
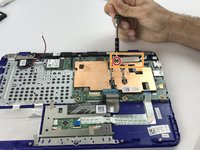
With the Philips #0 Screwdriver, loosen the 4 screws supporting the copper plate.
-
With tweezers, remove the copper plate.
-
-
-
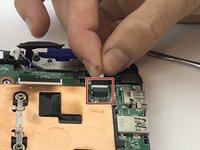
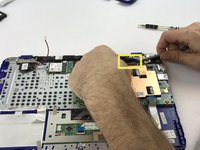
With tweezers, disconnect the keyboard cable.
-
With tweezers, disconnect the touchpad cable.
-
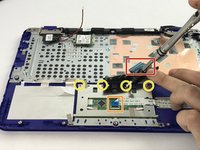
With the Philips #00 Screwdriver, loosen the four (4) M2 x 2mm screws.
-
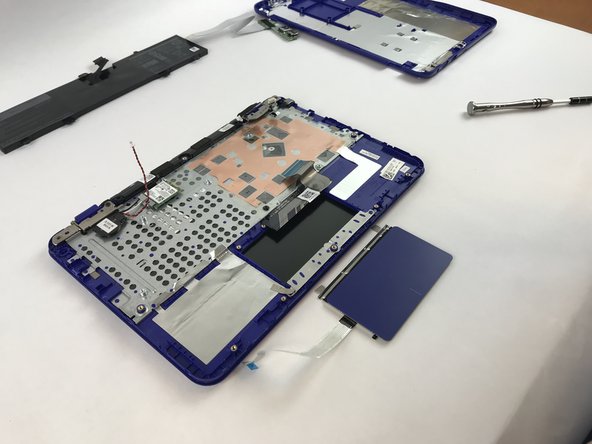
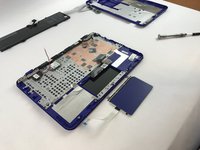
Gently remove the mouse touchpad. The fixer is left with the palm-rest and keyboard assembly.
-
-










To reassemble your device, follow these instructions in reverse order.
Cancel: I did not complete this guide.
One other person completed this guide.

Team

USF Tampa, Team S6-G4, Eyestone Spring 2018 Member of USF Tampa, Team S6-G4, Eyestone Spring 2018
USFT-EYESTONE-S18S6G4
4 Members
72 Guides authored
