Introduction
The hard drive may need to be replaced for numinous reasons; a larger capacity drive is needed, a new drive is desired or the old drive is faulty. This guide details how to replace the hard drive. Note that this machine supports 2.5" SATA Hard drives of
What you need
-
-
-
Using a Philips Head #1 Screw Driver remove the nine .7mm screws holding the back cover in place.
-
The cover is held on with small plastic tabs. Starting from the back of the machine use your hands to gently prey the back cover from the machine and release these tabs. While a tool is not necessary a plastic plunger can be used to lift the first few tabs.
 Ask FixBot
-
-
-
Using the tab on the cables connector with your hand unplug the Hard Drive connection cable and remove it from the cable track on the battery.
-
-
-
-
Pull back the sticker covering the first screw on the hard drive chaises.
-
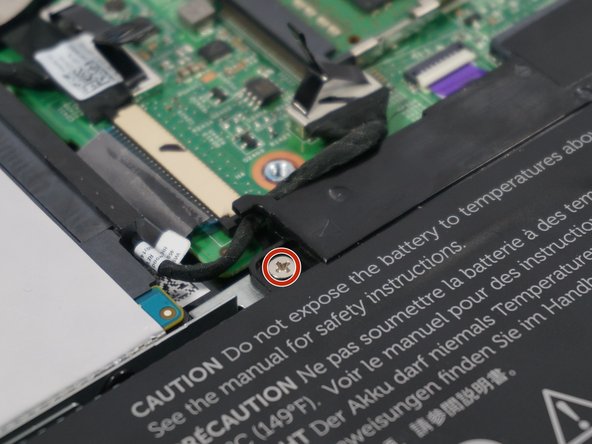
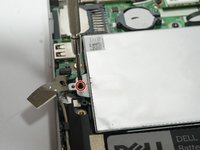
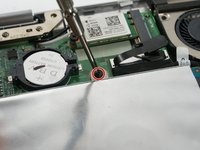
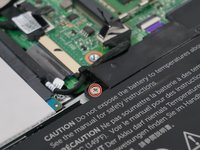
Useing a Philips Head #0 screwdriver remove the three screws holding the drive in place.
-
-
-
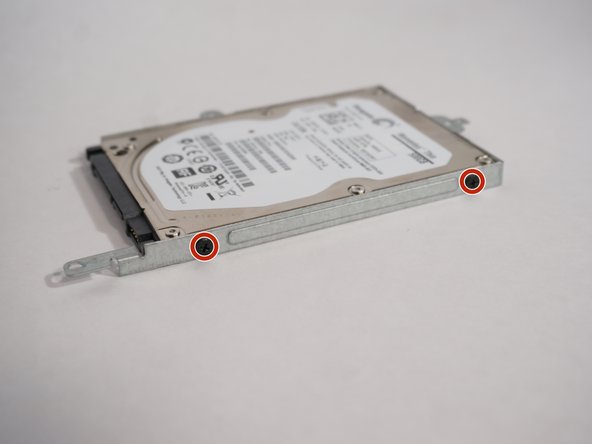
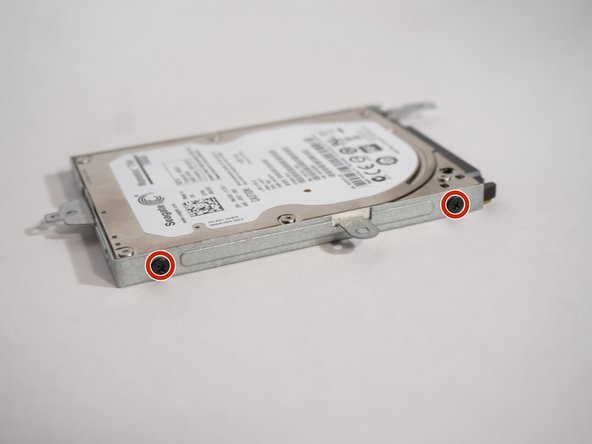
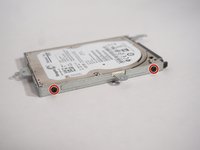
Using a Philips Head #1 Screwdriver remove the four screws holding the hard drive to the chassis.
-
Remove the drive from the chassis. Care that the drive does not fall out once all the screwshave been removed.
-
-




To reassemble your device, follow these instructions in reverse order.
Cancel: I did not complete this guide.
4 other people completed this guide.

Team

UMass Dartmouth, Team 3-1, Bhusal Spring 2016 Member of UMass Dartmouth, Team 3-1, Bhusal Spring 2016
UMASSD-BHUSAL-S16S3G1
3 Members
60 Guides authored
1 Guide Comment
I am a visual learner and with this guide, I had my hard drive changed and the backplate back on in less than 10 minutes. Thanks for the great guide.
