Free Shipping on Domestic Orders $75+

Dell G15 5511: How to Fix the Hinge Cracking Problem

What you need

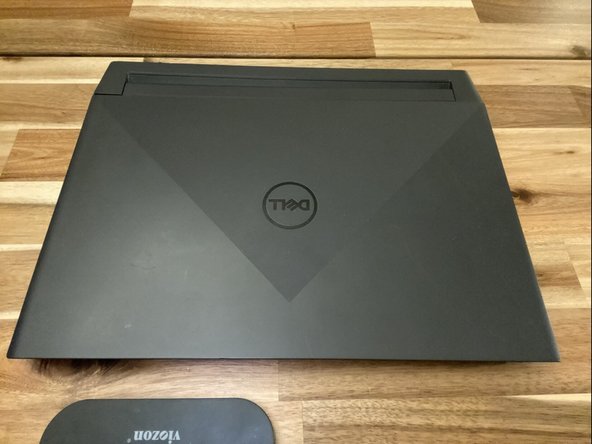
    1. Dell G15 5511: How to Fix the Hinge Cracking Problem, Dell G15 5511: How to Fix the Hinge Cracking Problem: step 1, image 1 of 2 Dell G15 5511: How to Fix the Hinge Cracking Problem, Dell G15 5511: How to Fix the Hinge Cracking Problem: step 1, image 2 of 2
      • Hold the power button down to shut off your laptop.

      • If it is plugged into the charger, unplug it.

      Ask FixBot

      Add Comment

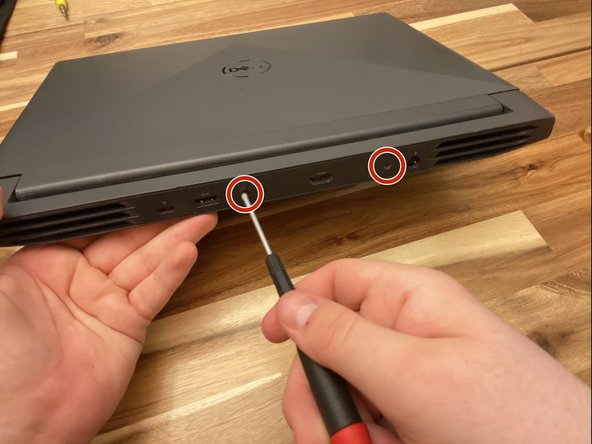
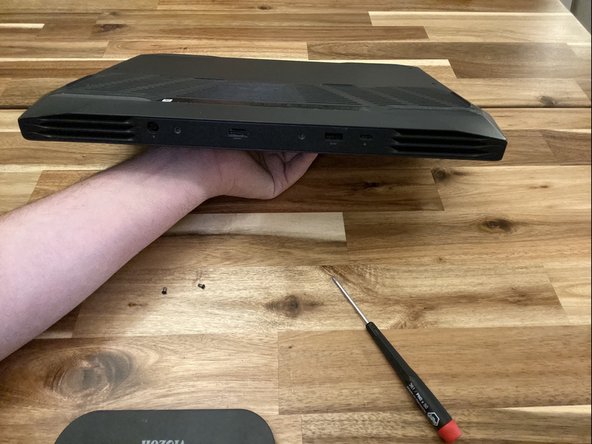
    2. Dell G15 5511: How to Fix the Hinge Cracking Problem: step 2, image 1 of 3 Dell G15 5511: How to Fix the Hinge Cracking Problem: step 2, image 2 of 3 Dell G15 5511: How to Fix the Hinge Cracking Problem: step 2, image 3 of 3
      Tool used on this step:
      FixMat
      $36.95
      Buy
      • Rotate the laptop so the hinge edge is facing you.

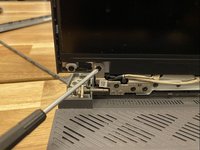
      • Use a Phillips #0 screwdriver to remove the two 5 mm screws.

      • Use something like the magnetic FixMat and a dry erase marker to note where the screws are located on your device and keep them organized for reassembly.

      Ask FixBot

      Add Comment

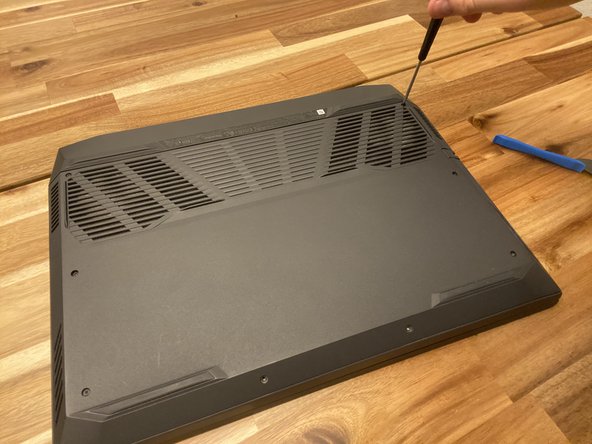
    3. Dell G15 5511: How to Fix the Hinge Cracking Problem: step 3, image 1 of 3 Dell G15 5511: How to Fix the Hinge Cracking Problem: step 3, image 2 of 3 Dell G15 5511: How to Fix the Hinge Cracking Problem: step 3, image 3 of 3
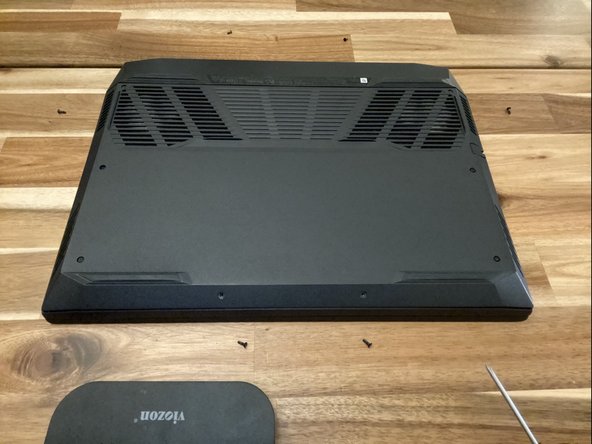
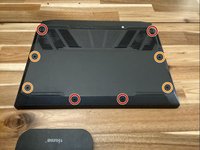
      • Flip the laptop over so the bottom case is facing up.

      • Use a Phillips #0 screwdriver to remove four screws and set them aside.

      • Loosen the four remaining captive screws until you hear the cover pop, signifying you've unscrewed them enough.

      • Captive screws are designed to stay attached, so avoid forcing them out. Simply loosen them until they no longer hold, allowing you to remove the back case.

      Ask FixBot

      Add Comment

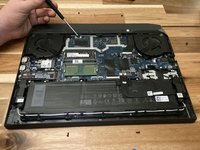
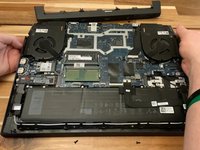
    4. Dell G15 5511: How to Fix the Hinge Cracking Problem: step 4, image 1 of 3 Dell G15 5511: How to Fix the Hinge Cracking Problem: step 4, image 2 of 3 Dell G15 5511: How to Fix the Hinge Cracking Problem: step 4, image 3 of 3
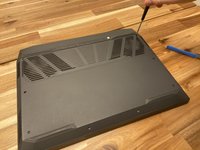
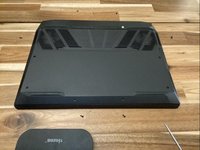
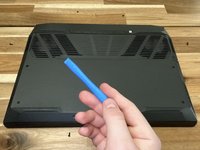
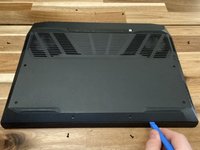
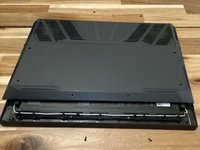
      • Slowly slide the opening tool along the edge seam of the laptop to release the clips securing the base cover.

      • As you slide the opening tool along the seam, you should hear a "pop" sound as the clips release. This is normal. DO NOT attempt to remove the cover until every clip is released so you don't accidentally break one or the back cover in the removal process.

      • Slide the base cover off to reveal the interior.

      Ask FixBot

      Add Comment

    5. Dell G15 5511: How to Fix the Hinge Cracking Problem: step 5, image 1 of 3 Dell G15 5511: How to Fix the Hinge Cracking Problem: step 5, image 2 of 3 Dell G15 5511: How to Fix the Hinge Cracking Problem: step 5, image 3 of 3
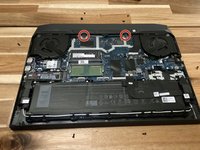
      • Use a Phillips #0 screwdriver to remove the two 2 mm screws from the rear cover near the hinges.

      • Slide the rear cover off.

      • Place the bottom cover back onto the laptop, pressing it gently into position to shield the internal components when you flip it over.

      Ask FixBot

      Add Comment

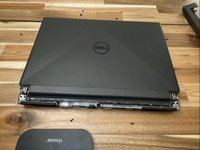
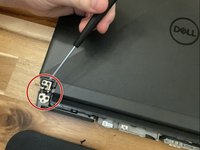
    6. Dell G15 5511: How to Fix the Hinge Cracking Problem: step 6, image 1 of 2 Dell G15 5511: How to Fix the Hinge Cracking Problem: step 6, image 2 of 2
      • Flip the laptop over while securing the bottom cover and set it down with the top cover facing up and the hinge screws facing you. You now have access to the eight M2.5x4(4mm) hinge screws.

      • Use a Phillips #0 screwdriver to tighten any loose screws, but don't overdo it.

      • There are potential problems caused by screws that are overtightened too.

      • Optionally, use a 5 mm socket to evenly loosen the nuts located on each side of the hinge. This will allow you to adjust the tightness of the hinge. This can be necessary if the laptop feels at all difficult to open and will prevent future damage.

      • Needle nose pliers may be used as an alternative to the 5 mm socket with care and caution.

      • Carefully open and close the top cover of the laptop to test the hinges and adjust the screws accordingly, based on your personal preference for how tight you want it to be.

      • Optionally, you can leave the case off as shown in this guide, or if you're satisfied with the grip, reattach the cover over the hinges before proceeding to the next step.

      Ask FixBot

      Add Comment

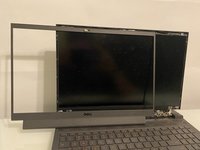
    7. Dell G15 5511: How to Fix the Hinge Cracking Problem: step 7, image 1 of 3 Dell G15 5511: How to Fix the Hinge Cracking Problem: step 7, image 2 of 3 Dell G15 5511: How to Fix the Hinge Cracking Problem: step 7, image 3 of 3
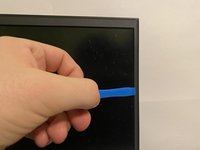
      • This is one of the most delicate parts of the whole guide. Be patient and gentle, so you don't break the bezel or clips. You may have to slide the opening tool or spudger across an area that you've already gone over if the bezel reattaches.

      • The bezel of the computer screen is held in by both clips and adhesive, so it's slightly more difficult to remove.

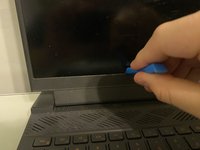
      • Slide your spudger or opening tool along the edges of the frame, starting with the left or right side.

      • You should hear each side unclip as you slide the opening tool across. After you've detached the sides, slide the opening tool along the top and then finally the bottom.

      • Slide the opening tool across each side another time just to be safe. It doesn't take much force for the clips on a side to re-attach.

      • Remove the screen bezel.

      Ask FixBot

      Add Comment

    8. Dell G15 5511: How to Fix the Hinge Cracking Problem: step 8, image 1 of 2 Dell G15 5511: How to Fix the Hinge Cracking Problem: step 8, image 2 of 2
      • Use a Phillips #0 screwdriver to tighten or loosen the remaining hinge screws to your preferred tightness and they don't crack when you open and shut the top cover.

      • Carefully test the display assembly by opening and closing the screen.

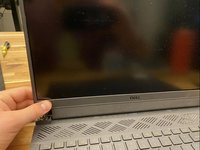
      • Push the bezel back into place with your hands, and slide your finger along the edge to make sure the tabs are clipped into place.

      Ask FixBot

      Add Comment

Conclusion

To finish the repair, follow these instructions in reverse order.

Cancel: I did not complete this guide.

2 other people completed this guide.

Caleb Karlson

Member since: 10/20/24

208 Reputation

1 Guide authored

2 Guide Comments

very helpful, thanks!!

EN07Z - Reply Share
update: it was much easier than I imagined it to be

EN07Z - Reply Share
Add Comment

View Statistics:

Past 24 Hours: 9

Past 7 Days: 59

Past 30 Days: 246

All Time: 3,650