Free Shipping on Domestic Orders $75+

Dell E193FPc Display Bezel Replacement

What you need

    1. Dell E193FPc Display Bezel Replacement, Stand: step 1, image 1 of 1
      • Lay the monitor screen-down so the back screws are exposed.

      • Remove the four 11.9 mm Phillips #2 screws securing the stand to the back of the monitor.

      Ask FixBot

      Add Comment

    2. Dell E193FPc Display Bezel Replacement: step 2, image 1 of 1
      • Gently lift and pull away the stand at a slight angle away from the monitor.

      Ask FixBot

      Add Comment

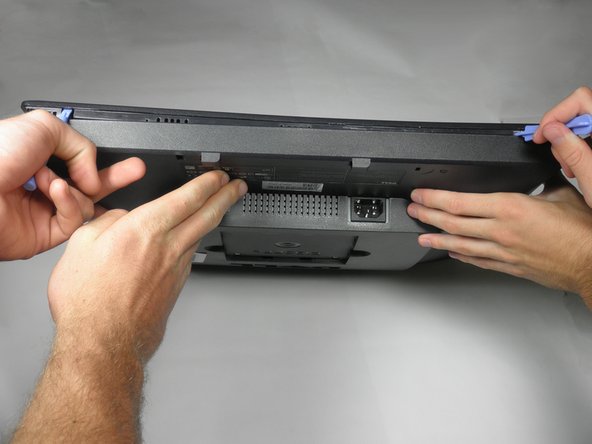
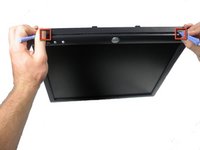
    1. Dell E193FPc Display Bezel Replacement, Display Bezel: step 3, image 1 of 2 Dell E193FPc Display Bezel Replacement, Display Bezel: step 3, image 2 of 2
      • Locate the two holes on the bottom of the monitor.

      • Insert a plastic opening tool or spudger into the holes and gently pry the plastic apart along the groove.

      • This task is much easier if two people pry simultaneously at each hole.

      • Continue prying along the entire edge of the monitor.

      Ask FixBot

      Add Comment

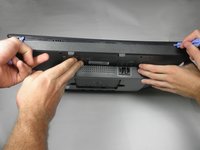
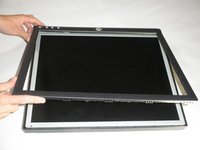
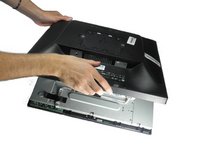
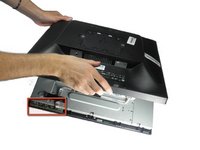
    2. Dell E193FPc Display Bezel Replacement: step 4, image 1 of 2 Dell E193FPc Display Bezel Replacement: step 4, image 2 of 2
      • When finished prying, the plastic will partially fall away from the rest of the monitor.

      • Do not try to fully remove the front frame yet. The frame is still attached to the buttons.

      • While holding the frames together, carefully flip the monitor over so it faces screen down.

      • Gently lift and remove remove the rear case from the monitor.

      Ask FixBot

      Add Comment

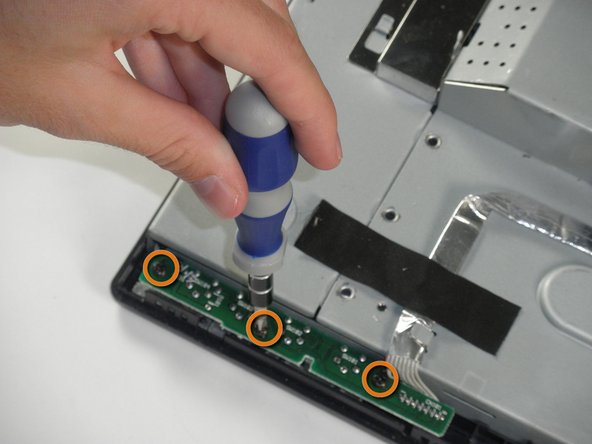
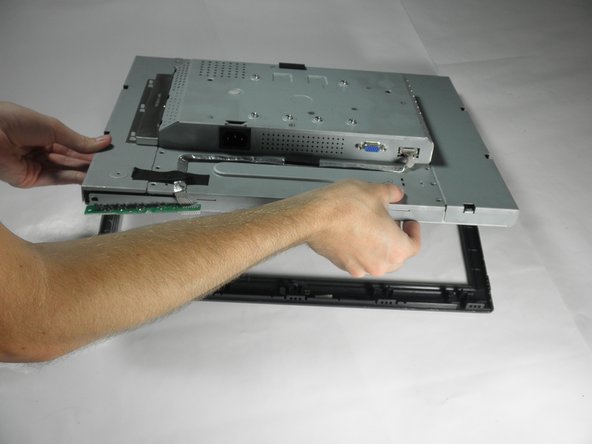
    3. Dell E193FPc Display Bezel Replacement: step 5, image 1 of 3 Dell E193FPc Display Bezel Replacement: step 5, image 2 of 3 Dell E193FPc Display Bezel Replacement: step 5, image 3 of 3
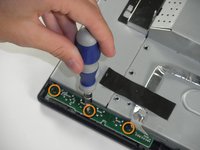
      • Locate the green interface button board.

      • Remove the three 9.71 mm Phillips #2 screws holding the interface button board to the display bezel.

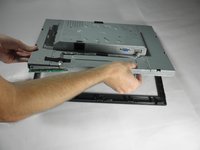
      • Lift the monitor interior away from the front cover.

      Ask FixBot

      Add Comment

Conclusion

To reassemble your device, follow these instructions in reverse order.

Cancel: I did not complete this guide.

6 other people completed this guide.

Mackenzie Keane

Member since: 10/04/11

523 Reputation

5 Guides authored

Team

Cal Poly, Team 5-36, Amido Fall 2011 Member of Cal Poly, Team 5-36, Amido Fall 2011

CPSU-AMIDO-F11S5G36

4 Members

72 Guides authored

0 Guide Comments

Add Comment

View Statistics:

Past 24 Hours: 1

Past 7 Days: 8

Past 30 Days: 42

All Time: 4,932