
Dell Desktop Optiplex 960 RAM Replacement

Mercedes Carter and 4 other contributors
Last updated on Jun 18, 2020
Views: 1.6K
View statistics:
- Past 24 Hours:
- 3
- Past 7 Days:
- 10
- Past 30 Days:
- 72
- All Time:
- 1,573
Comments: 0
No one has left comments on this guide. Will you be first?
Go to guide commentsCompleted: 2 3
2 people have marked this guide "completed." Will you be next?
3 people have marked this guide "completed." Including you — great job!
Favorites: 0 1
No one has favorited (and subscribed to) this guide. Will you be the first?
1 person has favorited (and subscribed to) this guide — and that's you!
Introduction
Go to step 1 ↓RAM (random access memory) or main memory, or program memory, is a hardware unit that enables the storing and retrieval of information on a machine. Because information is accessed randomly instead of sequentially like it is on a CD or hard drive, access times are much faster. There are many problems that people face while using PC which is associated with RAM damage. These problems are blinking or black display, hear a beep sound, PC running slow, or pop up error message while installing software. The average person does not understand why they are facing these problems. Most people would spend more money sending their computers to a technology facility versus fixing something so simple themselves. Our purpose is to inform the average person how simple this task is.
This guide will show you how to replace the RAM in a Dell Optiplex 960 desktop computer, which comes stock with a NANYA NT2GT64U8HDOBY-AD, 2GB RAM card.
-
-
-
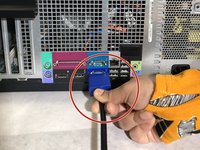
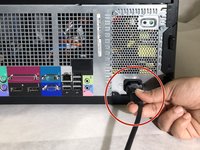
Carefully unplug the cords located at the back of the computer (i.e. Power, Monitor, USB, etc).
-
-
-
Pull the trigger located at the bottom of the desktop to unlock the desktop back. This may look different on each individual's computer.
-
-
-
Gently lift up the side panel by pulling it upward while holding the trigger.
-
-
-
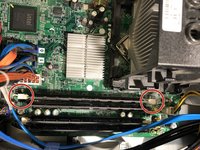
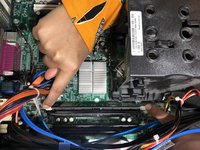
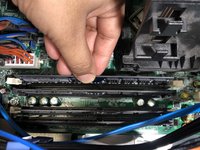
To unlock the RAM, press down the two clips/buttons located on both end of the RAM holder.
-
-
-
Ensure that your new RAM chip matches the same shape as the one you removed from your computer.
-
-
-
-
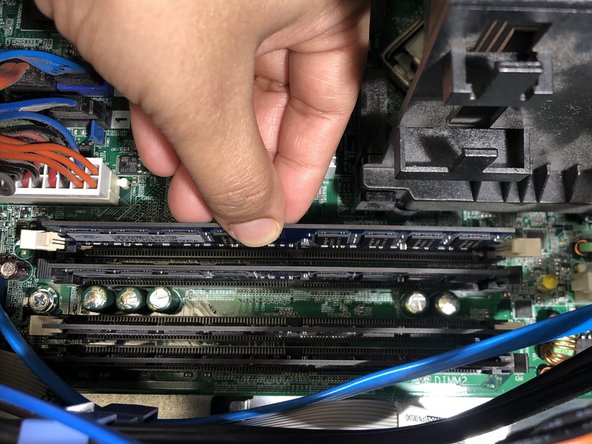
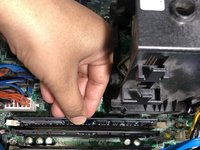
Place the new RAM chip into the slot and gently press it down until the clips on either side clasp around it.
-
-
-
Press the wall of the computer back into place until you hear a click from the lock engaging.
-
-
-
Plug the cords back and power on your computer.
-
Your computer should be back up and running.
-

 Ask FixBot






After completing steps 1-12, your PC will be up running successfully. If the see your computer is still showing issues, repeat the instructions carefully. However, if the device is still not running properly, the problem is associated with the hardware (RAM), which is not considered for this guideline.
Cancel: I did not complete this guide.
2 other people completed this guide.

Team

University of Memphis, Team S2-G2, Lane Spring 2020 Member of University of Memphis, Team S2-G2, Lane Spring 2020
UM-LANE-S20S2G2
4 Members
12 Guides authored
