Introduction
This guide shows how to replace a NVMe M2 SSD card. Replacing a M2 SSD is necessary when the part is defective or when you need to upgrade the storage capacity as it’s the main component for storing vital data for the PC.
Before beginning, make sure to turn off the PC and unplug the power cable.
What you need
-
-
Lift the black latch at the back of the PC to pop open the side cover.
-
Carefully remove the side cover by lifting it up.
-
-
-
-
Unlock both tabs on the back of the PC by pushing them up.
-
Remove the power supply latch to get access to the inside.
-
-
-
Remove the black plastic part by pushing it down and then pulling it towards you.
-
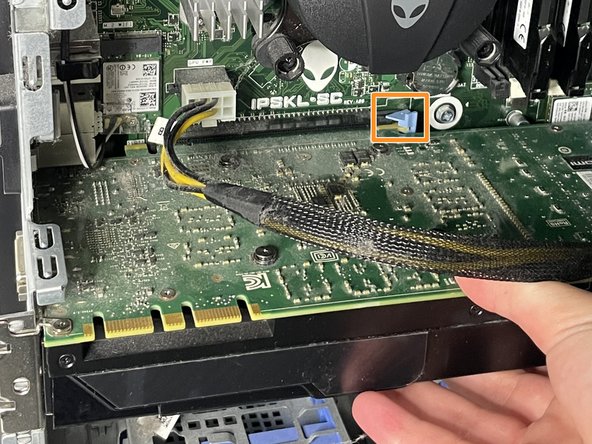
Unlock the blue latch and pull to remove the graphics card.
-
-
-
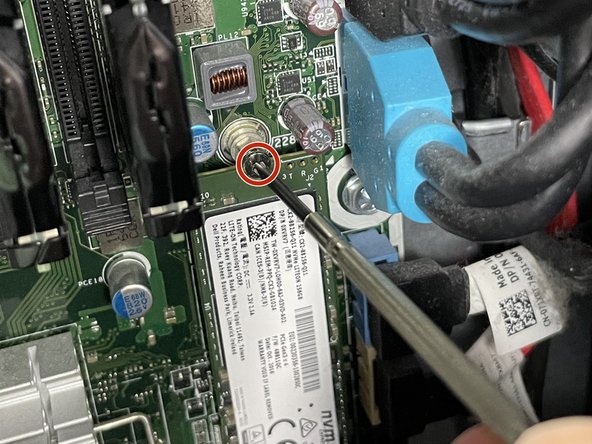
Use the Phillips #1 screwdriver to remove the 3.7 mm screw and remove the old M2 SSD.
-


 Ask FixBot






Ensure that you tightly screwed on the M2 SSD and that you inserted the graphics card back to its position so that the PC runs smoothly with no problems. Once you have completed all the steps and reconnected the cables you have successfully replaced the NVMe M2 SSD and your PC is ready to be turned on!
Cancel: I did not complete this guide.
5 other people completed this guide.

Team

York University, Team S1-G17, O'Regan Summer 2021 Member of York University, Team S1-G17, O'Regan Summer 2021
YORK-O'REGAN-SU21S1G17
1 Member
2 Guides authored
