Free Shipping on Domestic Orders $75+

Dell Alienware 13 R2 Solid-State Drive Replacement

What you need

    1. Dell Alienware 13 R2 Solid-State Drive Replacement, Removing the Screws: step 1, image 1 of 2 Dell Alienware 13 R2 Solid-State Drive Replacement, Removing the Screws: step 1, image 2 of 2
      • WARNING: Before working inside your computer, read the safety information that shipped with your computer and follow the steps in Before Working Inside Your Computer. After working inside your computer, follow the instructions in After Working Inside Your Computer.

      • Remove the screws that secure the solid-state drive bracket to the solid-state drive assembly.

      Ask FixBot

      Add Comment

    2. Dell Alienware 13 R2 Solid-State Drive Replacement, Peel off Computer Base Tabs: step 2, image 1 of 2 Dell Alienware 13 R2 Solid-State Drive Replacement, Peel off Computer Base Tabs: step 2, image 2 of 2
      • Using the pull tab, pivot the solid-state drive bracket and peel off the bracket from the tabs on the computer base.

      Ask FixBot

      Add Comment

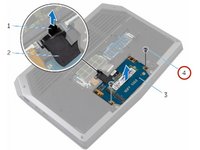
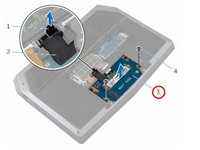
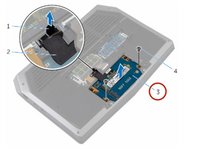
    3. Dell Alienware 13 R2 Solid-State Drive Replacement, Disconnecting the Solid-State Drive Cable: step 3, image 1 of 1
      • Using the pull tab, disconnect the solid-state drive cable from the system board.

      Ask FixBot

      Add Comment

    4. Dell Alienware 13 R2 Solid-State Drive Replacement, Removing the Solid-State Drive: step 4, image 1 of 2 Dell Alienware 13 R2 Solid-State Drive Replacement, Removing the Solid-State Drive: step 4, image 2 of 2
      • Remove the screws that secure the solid-state drive assembly to the computer base.

      Ask FixBot

      Add Comment

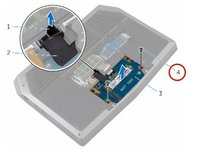
    5. Dell Alienware 13 R2 Solid-State Drive Replacement, Lifting the Solid-State Assembly: step 5, image 1 of 1
      • Lift the solid-state drive assembly off the computer base.

      Ask FixBot

      Add Comment

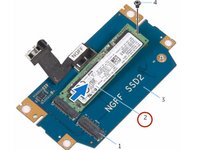
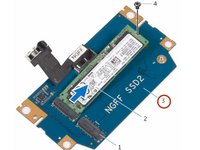
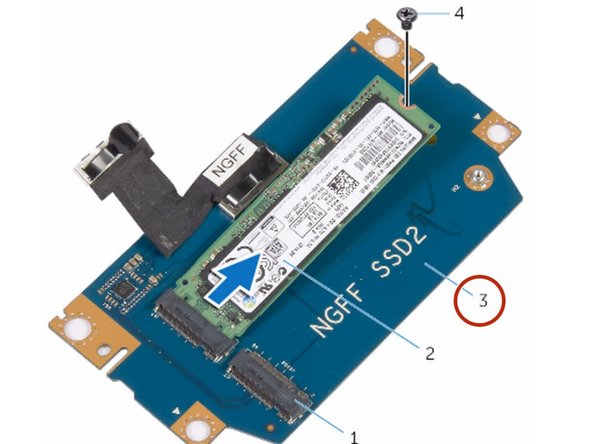
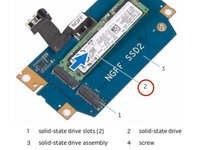
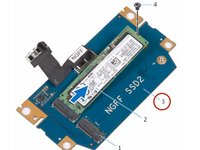
    6. Dell Alienware 13 R2 Solid-State Drive Replacement, Remove the Screw: step 6, image 1 of 1
      • Remove the screw that secures the solid-state drive to the solid-state drive assembly.

      Ask FixBot

      Add Comment

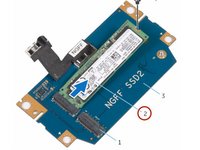
    7. Dell Alienware 13 R2 Solid-State Drive Replacement, Lift the Solid-State Assembly.: step 7, image 1 of 2 Dell Alienware 13 R2 Solid-State Drive Replacement, Lift the Solid-State Assembly.: step 7, image 2 of 2
      • Slide and lift the solid-state drive off the solid-state drive assembly.

      Ask FixBot

      Add Comment

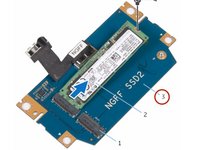
    8. Dell Alienware 13 R2 Solid-State Drive Replacement, The New Solid-State Drive: step 8, image 1 of 1
      • Slide the NEW solid-state drive into the slot on the solid-state drive assembly.

      Ask FixBot

      Add Comment

    9. Dell Alienware 13 R2 Solid-State Drive Replacement, Screw Replacement: step 9, image 1 of 2 Dell Alienware 13 R2 Solid-State Drive Replacement, Screw Replacement: step 9, image 2 of 2
      • Replace the screw that secures the solid-state drive to the solid-state drive assembly.

      Ask FixBot

      Add Comment

    10. Dell Alienware 13 R2 Solid-State Drive Replacement, Align the Screws: step 10, image 1 of 2 Dell Alienware 13 R2 Solid-State Drive Replacement, Align the Screws: step 10, image 2 of 2
      • Align the screw holes on the solid-state drive assembly with the screw holes on the computer base.

      Ask FixBot

      Add Comment

    11. Dell Alienware 13 R2 Solid-State Drive Replacement, Replace the Screws: step 11, image 1 of 1
      • Replace the screws that secure the solid-state drive assembly to the computer base.

      Ask FixBot

      Add Comment

    12. Dell Alienware 13 R2 Solid-State Drive Replacement, Connect the Cable to the System Board: step 12, image 1 of 1
      • Connect the solid-state drive cable to the system board.

      Ask FixBot

      Add Comment

    13. Dell Alienware 13 R2 Solid-State Drive Replacement, Align the Screw Holes: step 13, image 1 of 1
      • Align the screw holes on the solid-state drive bracket with the screw holes on the solid-state drive assembly.

      Ask FixBot

      Add Comment

    14. Dell Alienware 13 R2 Solid-State Drive Replacement, Replace the Screws: step 14, image 1 of 2 Dell Alienware 13 R2 Solid-State Drive Replacement, Replace the Screws: step 14, image 2 of 2
      • Replace the screws that secure the solid-state drive bracket to the solid-state drive assembly.

      Ask FixBot

      Add Comment

Conclusion

To reassemble your device, follow these instructions in reverse order.

Cancel: I did not complete this guide.

Terrence15

Member since: 12/18/17

80,125 Reputation

441 Guides authored

Team

RampUP America, Inc. Member of RampUP America, Inc.

Community

45 Members

12,134 Guides authored

0 Guide Comments

Add Comment

View Statistics:

Past 24 Hours: 0

Past 7 Days: 5

Past 30 Days: 46

All Time: 766