
Dell AC511 Rear Panel Replacement

William Cook and 2 other contributors
Last updated on Jun 25, 2024
Views: 678
View statistics:
- Past 24 Hours:
- 3
- Past 7 Days:
- 14
- Past 30 Days:
- 83
- All Time:
- 678
Comments: 0
No one has left comments on this guide. Will you be first?
Go to guide commentsCompleted: 0 1
No one has marked this guide "completed." Will you be the first?
1 person has marked this guide "completed." It's you — great job!
Favorites: 0 1
No one has favorited (and subscribed to) this guide. Will you be the first?
1 person has favorited (and subscribed to) this guide — and that's you!
Introduction
Go to step 1 ↓The rear panel is the end of the Dell AC511 speaker the USB cable protrudes from. Replacing the rear panel may lead to an increased product life expectancy if sufficiently damaged, though it will mostly lead to a better look overall rather than better functionality unless unwanted buzzing occurs.
What you need
Tools


-
-
-
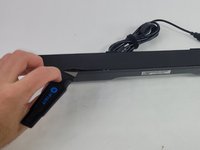
Use a Jimmy to peel off the screen stuck to the front of the speaker.
-
Start from any corner and use the Jimmy to get under the screen. Once one side lifts up, you can use your fingers to peel the rest off.
 Ask FixBot
-
-
-
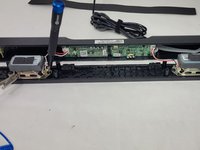
Lift the front panel off of the rest of the device.
-
Remove the 4 mm screws from the speakers using a JIS #1 screwdriver.
-
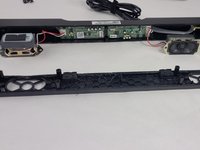
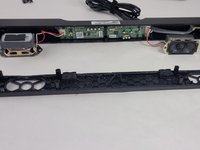
Remove the front panel from the device.
-
-
-
-
-
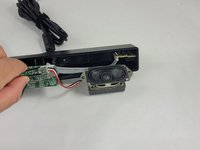
Follow the three wires connected to the speaker to find where they connect to the circuit board.
-
Use tweezers to gently rock the end of the wires back and forth until they disconnect from the board.
-
-
-
-
-
Apply a light downward pressure on the circuit board next to the volume control.
-
While doing, so carefully remove the clear piece of plastic connected to the side of the soundbar using the Halberd Spudger.
-
-
-
Grab the knob and rock it back and forth until you can get the Jimmy under it. Then, use the Jimmy to pull it out of the soundbar.
-
-
-
-
-
-
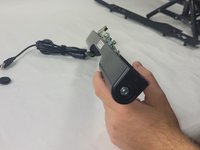
Use the pointy end of the spudger to push the audio jack ports into the device to disconnect the secondary circuit board from the rear ranel.
-
-
-
Remove the 10 mm bolt using a socket wrench with a 10-11 mm socket.
-
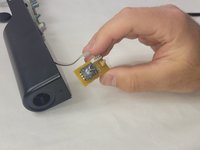
After removing the bolt, pull the disconnected volume control board out.
-
-








To reassemble your device, follow these instructions in reverse order.

Team

UMass Dartmouth, Team 4-6, Shaddix Spring 2024 Member of UMass Dartmouth, Team 4-6, Shaddix Spring 2024
UMASSD-SHADDIX-S24S4G6
4 Members
72 Guides authored
