Free Shipping on Domestic Orders $75+

Dell 1907FPc Monitor Power Supply Replacement

What you need

  1. Dell 1907FPc Monitor Power Supply Replacement, Power Supply: step 1, image 1 of 1
    • Carefully place the monitor face down on a flat surface, being careful to protect the display.

    • Remove the four 10 mm Phillips #2 screws from the back panel.

    Ask FixBot

    Add Comment

  2. Dell 1907FPc Monitor Power Supply Replacement: step 2, image 1 of 1
    • Flip the monitor back over, so that the display is facing you.

    • Use a spudger to remove the front bezel by unsnapping it in a counter clockwise fashion, starting at the bottom right, and ending at the button panel.

    Ask FixBot

    Add Comment

  3. Dell 1907FPc Monitor Power Supply Replacement: step 3, image 1 of 1
    • Slowly unsnap the bezel around the buttons.

    • Be careful to not fully remove the bezel here, because a ribbon cable attaches the buttons to the monitor.

    Ask FixBot

    Add Comment

  4. Dell 1907FPc Monitor Power Supply Replacement: step 4, image 1 of 1
    • Carefully flip the monitor back over, making sure to keep the front bezel in place.

    • Lift the back cover off of the rest of the monitor.

    Ask FixBot

    Add Comment

  5. Dell 1907FPc Monitor Power Supply Replacement: step 5, image 1 of 3 Dell 1907FPc Monitor Power Supply Replacement: step 5, image 2 of 3 Dell 1907FPc Monitor Power Supply Replacement: step 5, image 3 of 3
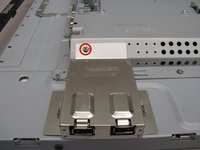
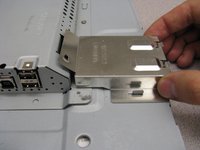
    • Locate the USB port cover on the right hand side of the monitor.

    • Remove the one 5 mm Phillips #2 screw.

    • Remove the USB port cover by sliding it out and away from the monitor.

    Ask FixBot

    Add Comment

  6. Dell 1907FPc Monitor Power Supply Replacement: step 6, image 1 of 2 Dell 1907FPc Monitor Power Supply Replacement: step 6, image 2 of 2
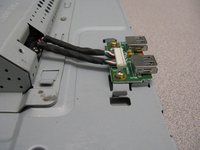
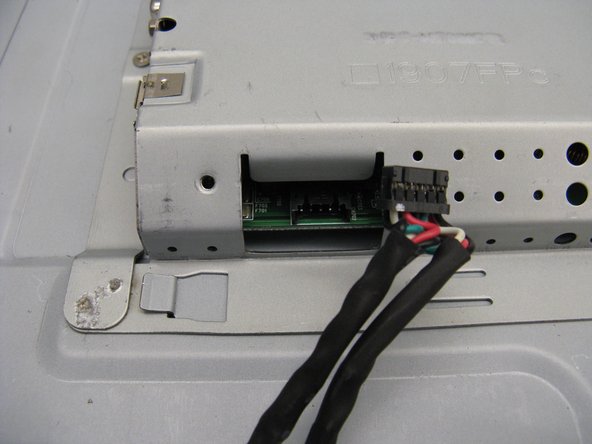
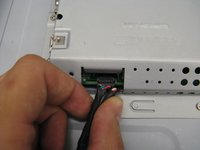
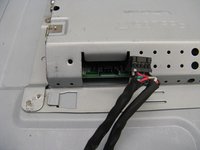
    • Disconnect the USB ports by gentling grasping and pulling on the connector.

    Ask FixBot

    Add Comment

  7. Dell 1907FPc Monitor Power Supply Replacement: step 7, image 1 of 1
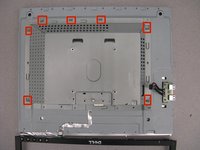
    • Remove the five 5 mm Phillips #2 screws from the back panel.

    Ask FixBot

    Add Comment

  8. Dell 1907FPc Monitor Power Supply Replacement: step 8, image 1 of 2 Dell 1907FPc Monitor Power Supply Replacement: step 8, image 2 of 2
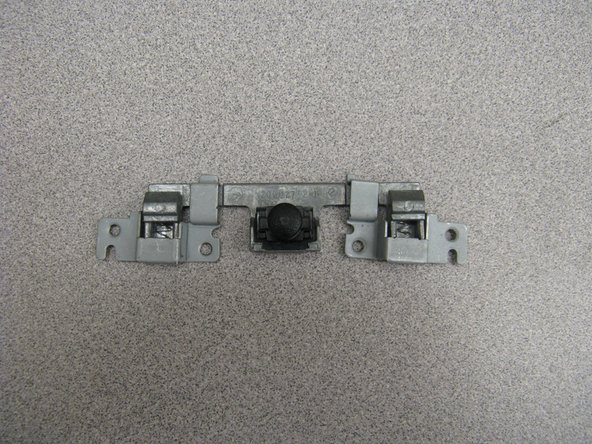
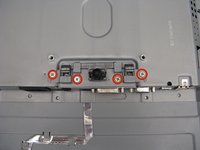
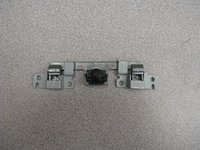
    • Remove the four 4 mm Phillips #2 screws that secure the monitor mount release mechanism to the panel.

    • Set this mechanism off to the side, taking care to keep it all in one piece.

    Ask FixBot

    Add Comment

  9. Dell 1907FPc Monitor Power Supply Replacement: step 9, image 1 of 2 Dell 1907FPc Monitor Power Supply Replacement: step 9, image 2 of 2
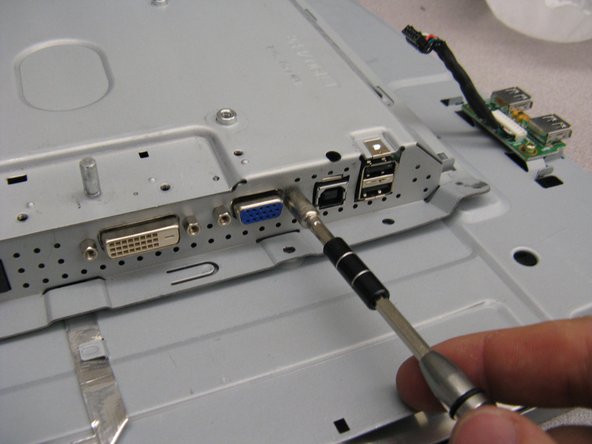
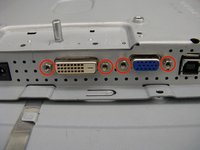
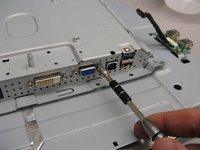
    • Use a 5 mm nut driver to remove the four 12 mm standoff screws securing the video connectors to the panel.

    Ask FixBot

    Add Comment

  10. Dell 1907FPc Monitor Power Supply Replacement: step 10, image 1 of 2 Dell 1907FPc Monitor Power Supply Replacement: step 10, image 2 of 2
    Tool used on this step:
    Tweezers
    $4.99
    Buy
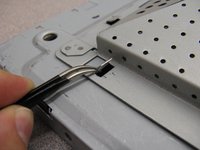
    • Use the tweezers to lift up the seven security tabs that secure the back panel to the rest of the monitor.

    • If the security tabs are held down too tightly, use the spudger to pry them up, and then finish them off with the tweezers.

    Ask FixBot

    Add Comment

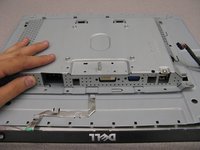
  11. Dell 1907FPc Monitor Power Supply Replacement: step 11, image 1 of 3 Dell 1907FPc Monitor Power Supply Replacement: step 11, image 2 of 3 Dell 1907FPc Monitor Power Supply Replacement: step 11, image 3 of 3
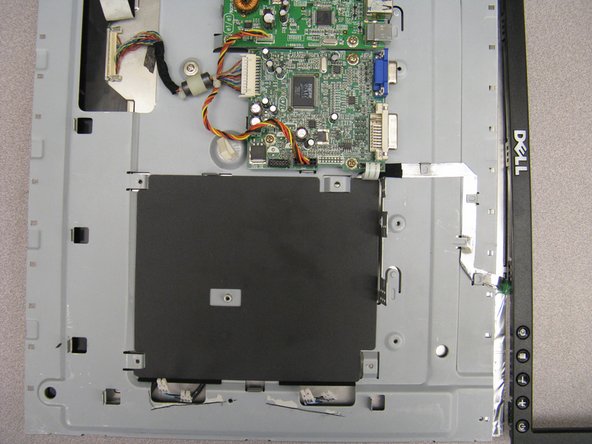
    • Lift up on the back panel to remove it from the rest of the monitor.

    • Be careful when doing so, as the edges of the back panel can be very sharp.

    Ask FixBot

    Add Comment

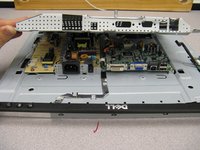
  12. Dell 1907FPc Monitor Power Supply Replacement: step 12, image 1 of 2 Dell 1907FPc Monitor Power Supply Replacement: step 12, image 2 of 2
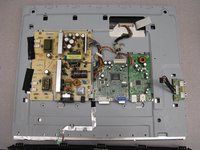
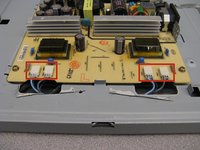
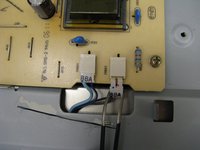
    • The power supply has several large capacitors (they look like little cylinders), that can shock you if they discharge. Be careful not to touch them as you continue to work.

    • Use the tweezers to remove the four connectors from the power supply board.

    Ask FixBot

    Add Comment

  13. Dell 1907FPc Monitor Power Supply Replacement: step 13, image 1 of 1
    • Remove the five 7 mm Phillips #2 screws from the power supply board.

    Ask FixBot

    Add Comment

  14. Dell 1907FPc Monitor Power Supply Replacement: step 14, image 1 of 2 Dell 1907FPc Monitor Power Supply Replacement: step 14, image 2 of 2
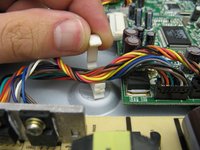
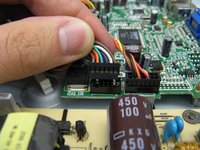
    • Open up the clip securing the wires running between the power supply and video boards.

    • Gently remove the connector running from the video board to the power supply board.

    Ask FixBot

    Add Comment

  15. Dell 1907FPc Monitor Power Supply Replacement: step 15, image 1 of 2 Dell 1907FPc Monitor Power Supply Replacement: step 15, image 2 of 2
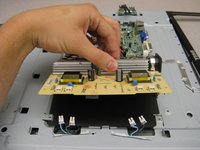
    • The power supply board can now be removed.

    Ask FixBot

    Add Comment

Conclusion

To reassemble your device, follow these instructions in reverse order.

Cancel: I did not complete this guide.

8 other people completed this guide.

Geoff Wacker

Member since: 09/30/13

92,866 Reputation

89 Guides authored

0 Guide Comments

Add Comment

View Statistics:

Past 24 Hours: 4

Past 7 Days: 15

Past 30 Days: 90

All Time: 7,478