Introduction
The HV board is located in front of the fuser unit and provides the electrostatic/ high voltage supply for the toners. Replacement of this part is a similar process to the fuser unit.
What you need
-
-
Insert prying tool behind each end of the plastic strip. Pry outwards to unclip and pull the ends forwards away from the printer.
-
Note - Unclipping the right-hand end requires opening the toner cover for access.
 Ask FixBot
-
-
-
Insert prying tool between the front band and top cover of the printer, and pry forwards to release the clips holding the top edge in place.
-
-
-
Tilt the top of the front band away from the printer and lift away to remove.
-
-
-
Unclip the back end of the plastic trim by prying away from the printer back panel.
-
Pull the trim piece towards the back of the printer.
-
Tilt the top edge away from the printer and lift away to remove.
-
-
-
Pry up front edge of the control panel module to unclip.
-
Lift up front edge and pull module forwards slightly to unhook rear edge.
-
Pull out cable connector to unplug the display/ control panel module.
-
-
-
Remove the front lower flap by carefully bending in the middle and pulling out the locating pins one end at a time.
-
-
-
Remove both 7mm phillips screws securing the front cover in place.
-
-
-
Unclip the three clips along each end of the front cover by prying outwards and forwards with a prying tool as shown.
-
-
-
Slide out the bottom edge away from the printer and pull the front cover down away from the top edge to remove.
-
-
-
-
Undo both the 5mm M3 phillips screws holding the top cover brackets to the chassis.
-
-
-
Pull the top cover brackets forwards off the metal frame and lift up to loosen the front edge of the top cover.
-
-
-
Pry the top cover clip off the locating peg at the back of the printer, and lift up the top cover corner.
-
-
-
Pry apart the back edge of the top cover and the back cover of the printer to unclip the top cover.
-
-
-
Lift up the top cover from the control panel corner, pulling towards the back right-hand corner.
-
Note - The top cover should unclip from the back corner with the corner/side piece still attached.
-
-
-
Unclip the back edge of the side cover by prying away from the printer back panel.
-
Pull the top of the side panel away from the printer.
-
Lift up the printer from underneath to release the bottom clips, and the side panel drops away from the printer.
-
-
-
Remove the four 7mm phillips screws holding the rear cover to the printer.
-
-
-
Pull out the connector for the rear cover sensor from the power supply board.
-
De-route the light pink coloured pair of sensor cables and remove from the wiring harness.
-
-
-
Unclip the rear cover opposite the de-routed cables by prying away from the rest of the printer using a prying tool.
-
The rear cover can now be removed from the printer.
-
-
-
Unscrew the 9mm phillips screw.
-
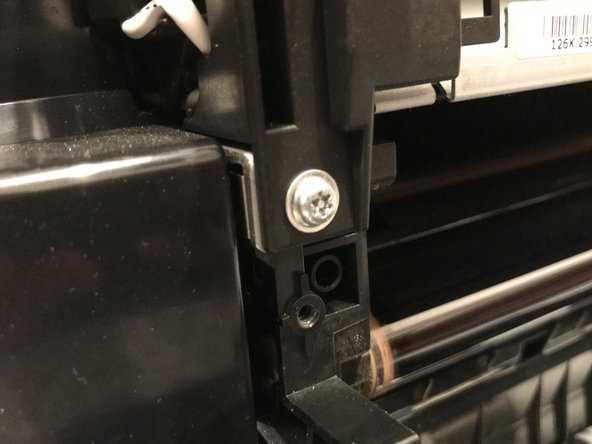
Unscrew the 9mm Torx TR10 security screw.
-
-
-
Unplug the fuser power cable by squeezing the top of the retaining clip and pulling the connector up from the power supply board.
-
De-route the fuser power cable and remove from the cable restraint.
-
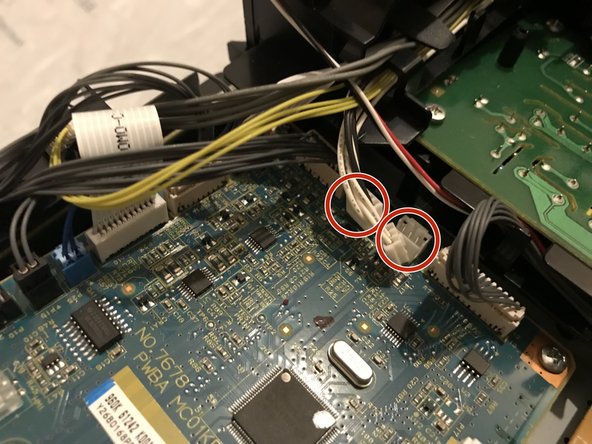
Pull up on the two fuser unit control cable connectors to unplug from the control board.
-
De-route the two sets of control cables from the control board to the fuser unit and remove from the wiring harness.
-
-
-
Unscrew the five 7mm phillips screws around the edges of the HV board.
-
-
-
Unscrew and unclip the fan shroud support bracket to the lower-right of the fan.
-
-
-
Pull the fan shroud away from the HV board and lift the PCB up and off the locating peg.
-
Once clear of the locating peg, pull the PCB towards the front of the printer to slide out from beneath the back part of the fan shroud/ cable support.
-
-
-
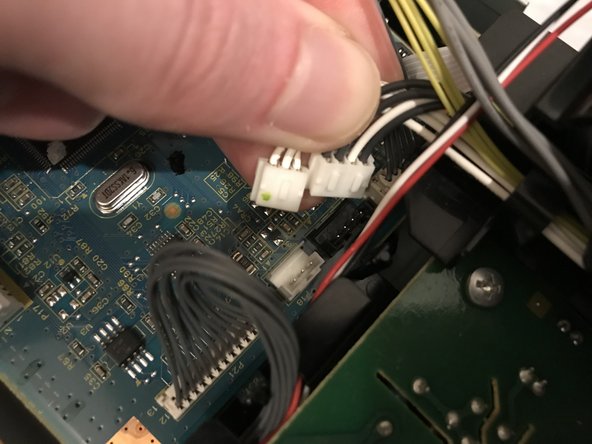
Pull up the HV board cable connector to disconnect from the control board.
-
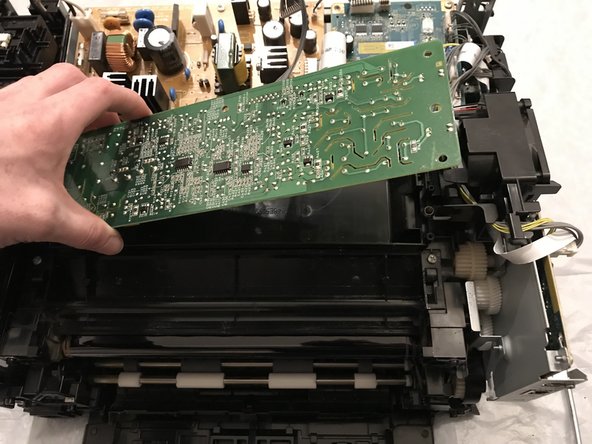
Lift up the HV board from the end nearest the fan to lift over the locating peg at the other end and remove from the printer.
-






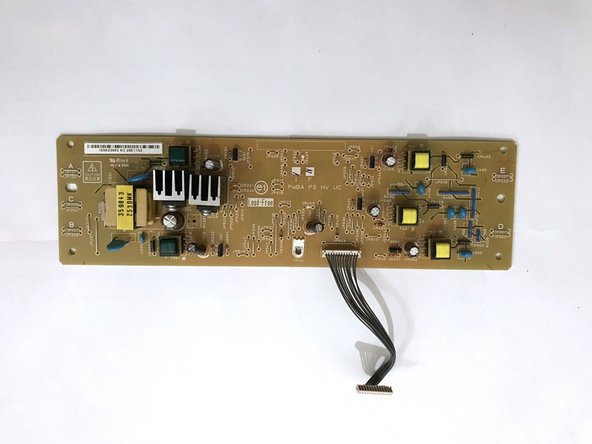


To reassemble your device, follow these instructions in reverse order.

