
Definitive Technology W7 Access Panel Replacement

Brendan Thibault and 2 other contributors
Last updated on Jan 3, 2023
Views: 631
View statistics:
- Past 24 Hours:
- 3
- Past 7 Days:
- 16
- Past 30 Days:
- 66
- All Time:
- 631
Comments: 0
No one has left comments on this guide. Will you be first?
Go to guide commentsCompleted: 0 1
No one has marked this guide "completed." Will you be the first?
1 person has marked this guide "completed." It's you — great job!
Favorites: 0 1
No one has favorited (and subscribed to) this guide. Will you be the first?
1 person has favorited (and subscribed to) this guide — and that's you!
Introduction
Go to step 1 ↓This guide outlines how to remove the access panel from the Definitive Technology W7, with a model number of 093207098505. The motivation behind removing/replacing this part is that it provides access to all electrical components and audio output devices located within the speaker. There are no potentially harmful things that can be encountered during this guide.
What you need
Tools


-
-
-
Wedge the spudger in any of the four corners of the panel and apply downward pressure on the spudgers handle to pry the panel away from the speaker housing.
-
Repeat this procedure around the perimeter until the panel releases, then lift the panel up by hand.
 Ask FixBot
-
-
-
Remove the thirteen 5 mm Phillips #0 screws.
-
Once all screws have been removed, gently pull up on the black panel to remove it from the top of the speaker.
-
-
-
The gray mesh bag covering the speaker will now be exposed.
-
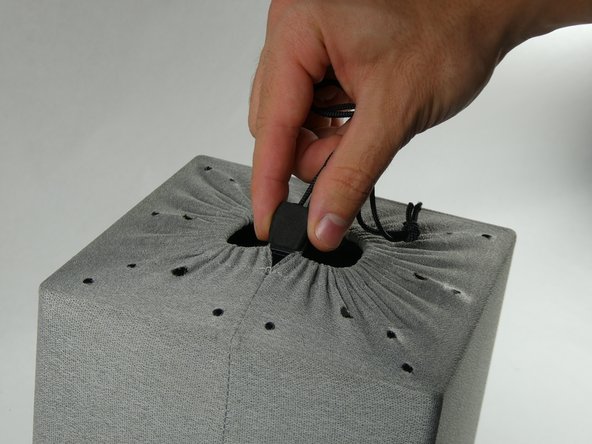
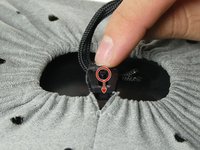
Flick the switch on the middle of the lock down to loosen the sack.
-
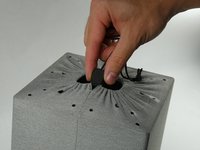
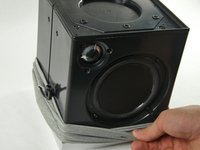
Pull upwards on the locking mechanism to loosen the drawstring. Stop pulling when the mesh bag is loose enough that it can be pulled downwards.
-
-
-
-
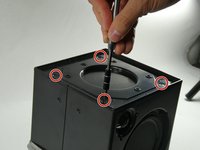
Remove the four screws on top of the device on each corner with a Phillips #0 screwdriver.
-
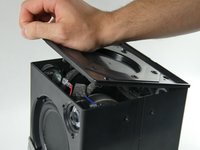
Remove the black panel.
-
-





To reassemble your device, follow these instructions in reverse order.

Team

UMass Dartmouth, Team 2-5, Petersen Fall 2022 Member of UMass Dartmouth, Team 2-5, Petersen Fall 2022
UMASSD-PETERSEN-F22S2G5
4 Members
60 Guides authored
