
DeWalt DWD112 Field Replacement

Samantha McSweeney and 3 other contributors
Last updated on Nov 30, 2017
Views: 1.4K
View statistics:
- Past 24 Hours:
- 4
- Past 7 Days:
- 20
- Past 30 Days:
- 117
- All Time:
- 1,403
Comments: 1
1 guide comment.
Go to guide commentsCompleted: 1 2
1 person has marked this guide "completed." Will you be next?
2 people have marked this guide "completed." Including you — great job!
Favorites: 1 2
1 person has favorited (and subscribed to) this guide. Will you be next?
2 people have favorited (and subscribed to) this guide — including you!
Slice and Dice
The steps in this guide should be split up and made into a series of prerequisite guides.
Introduction
Go to step 1 ↓The wound wires of a field coil can fail, causing a drill to function poorly or not at all. Use this guide to replace a broken field in the DeWalt DWD112.
What you need
Tools

-
-
-
Remove seven TR20 Torx Security screws from the side of the drill.
 Ask FixBot
-
-
-
Remove the top cover to reveal the inside of the drill.
-
Set the top cover of the drill aside.
-
-
-
Using one hand grab the trigger box and with the other grab the end of the wire connecting to the trigger box and disconnect the wire.
-
-
-
Lift the trigger box up to reveal the bottom side.
-
Disconnect the first connected wire from the bottom of the trigger box.
-
-
-
Disconnect the last wire from the trigger box using the same method from the previous step.
-
-
-
After all four wires are disconnected, the trigger and power cord are separated from the drill.
-
-
-
-
-
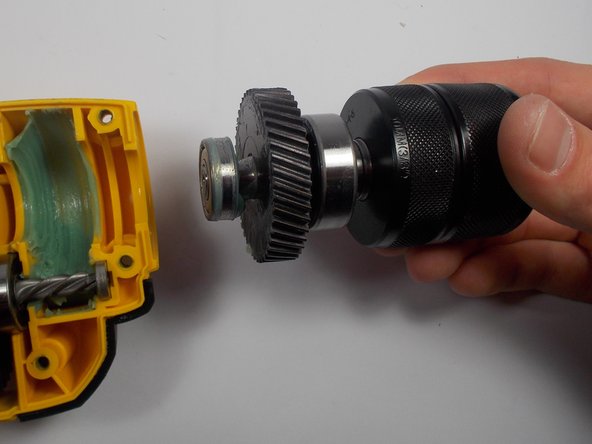
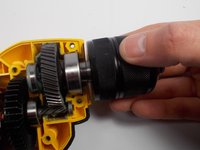
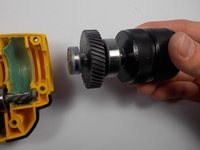
Grab the metal chuck by the rotating spindle as if you are to tighten in a drill bit.
-
Lift the metal chuck out of its resting place and set aside.
-
-
-
-
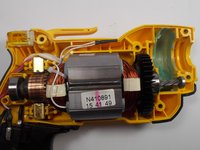
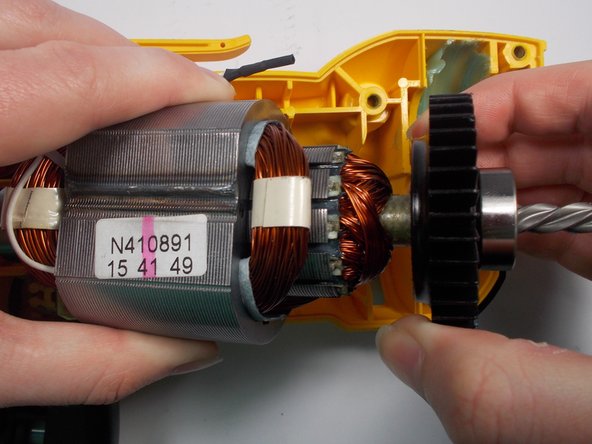
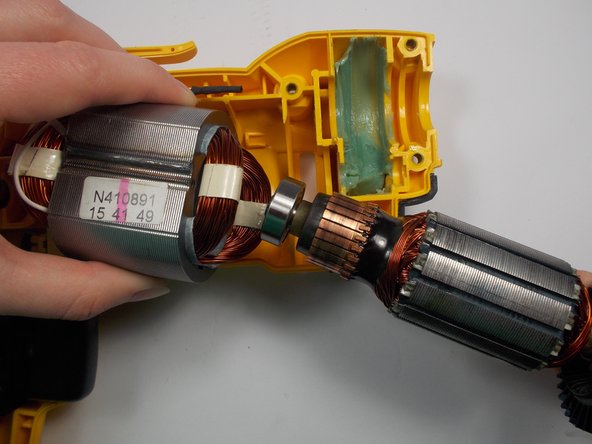
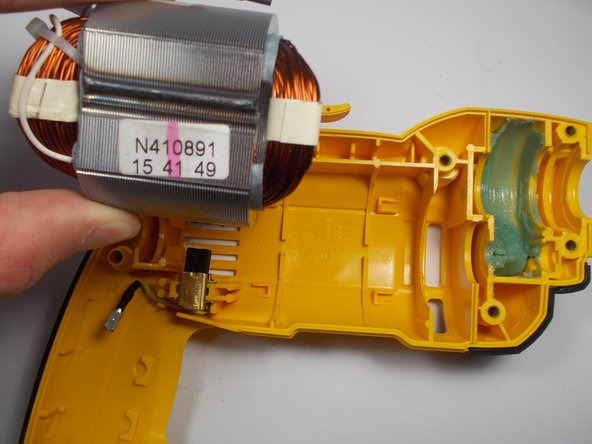
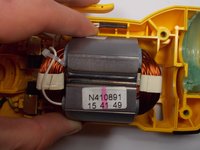
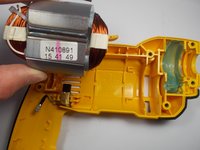
With your left hand, grab hold of the field, which is the large metal block with coils looped around the inside.
-
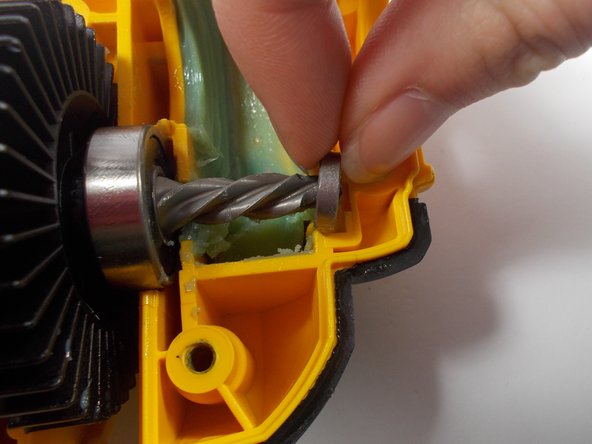
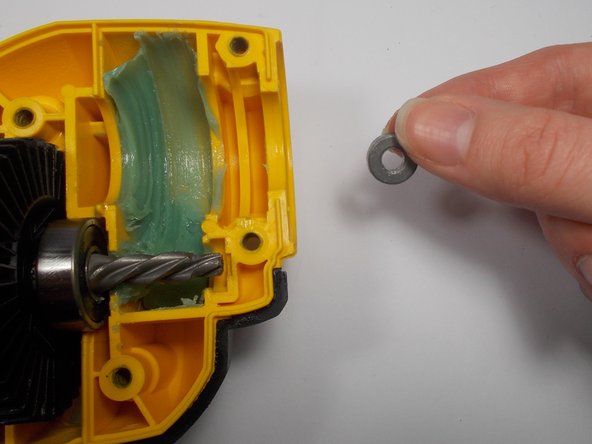
Use your other hand to take the bearing out from the end of the gear connected to the armature.
-
-
-
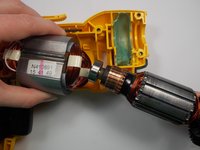
Lift the field up once more with one hand and grab the cooling fan with the other hand and gently slide the armature out of the field.
-
-
-
-
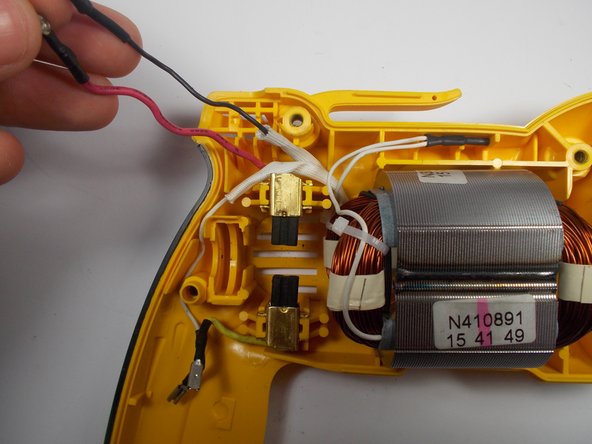
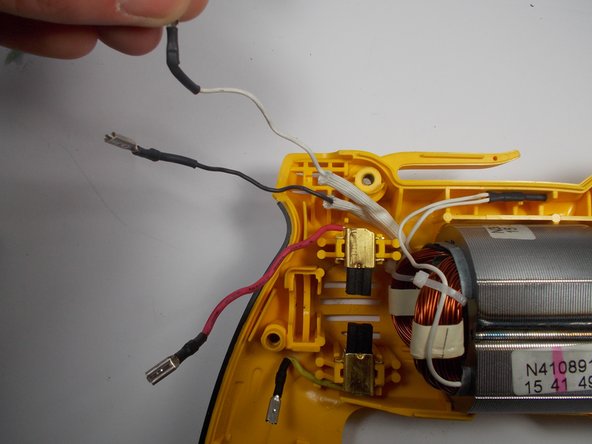
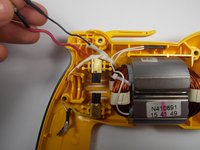
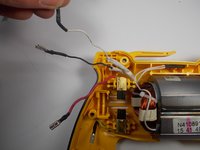
Move the black wire clear from any obstruction.
-
Repeat this step for the white wire and the red wire.
-
-






To reassemble your device, follow these instructions in reverse order.
Cancel: I did not complete this guide.
One other person completed this guide.

Team

UMass Dartmouth, Team 2-3, Isaacson Spring 2016 Member of UMass Dartmouth, Team 2-3, Isaacson Spring 2016
UMASSD-ISAACSON-S16S2G3
3 Members
72 Guides authored
1 Guide Comment
as a recommendation aimed at some or mark with a piece of ribbon cables disconnected the trigger with the contact number that corresponds to the rearm the drill going to not reverse the change control rotation.
