
DeWalt DWD112 Chuck Replacement

Joe Echelmeier and 2 other contributors
Last updated on Nov 17, 2017
Views: 3.6K
View statistics:
- Past 24 Hours:
- 3
- Past 7 Days:
- 20
- Past 30 Days:
- 113
- All Time:
- 3,629
Comments: 1
1 guide comment.
Go to guide commentsCompleted: 1 2
1 person has marked this guide "completed." Will you be next?
2 people have marked this guide "completed." Including you — great job!
Favorites: 1 2
1 person has favorited (and subscribed to) this guide. Will you be next?
2 people have favorited (and subscribed to) this guide — including you!
Introduction
Go to step 1 ↓The chuck holds the drill bit in place—and if the chuck becomes broken, the drill serves no function. Use this guide to replace a damaged or broken chuck in the DeWalt DWD112.
What you need
Tools

-
-
-
Remove the top cover to reveal the inside of the drill.
-
Set the top cover of the drill aside.
-
-
-
-
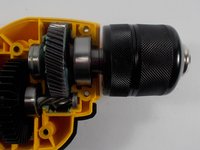
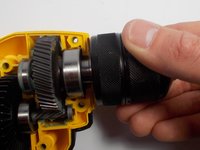
Grab the metal chuck by the rotating spindle as if you are to tighten in a drill bit.
-
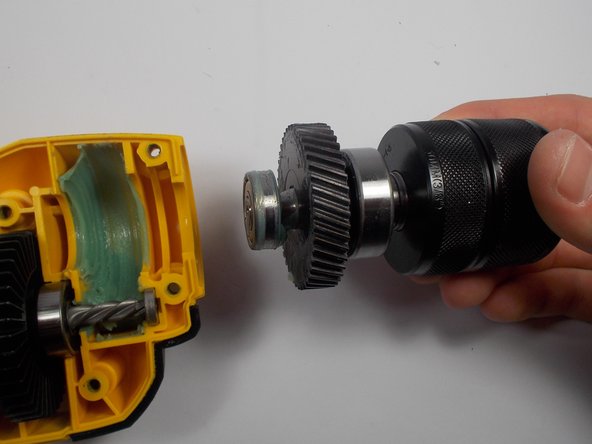
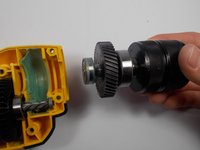
Remove the chuck assembly from the drill.
-

 Ask FixBot


To reassemble your device, follow these instructions in reverse order.
Cancel: I did not complete this guide.
One other person completed this guide.

Team

UMass Dartmouth, Team 2-3, Isaacson Spring 2016 Member of UMass Dartmouth, Team 2-3, Isaacson Spring 2016
UMASSD-ISAACSON-S16S2G3
3 Members
72 Guides authored
1 Guide Comment
Or actually read the manual, and find you can use an allen wrench with no dissasembly at all.
