
DeWalt DC970 Forward/Reverse switch Replacement

Last updated on May 19, 2016
Views: 3.4K
View statistics:
- Past 24 Hours:
- 2
- Past 7 Days:
- 27
- Past 30 Days:
- 117
- All Time:
- 3,368
Comments: 0
No one has left comments on this guide. Will you be first?
Go to guide commentsCompleted: 0 1
No one has marked this guide "completed." Will you be the first?
1 person has marked this guide "completed." It's you — great job!
Favorites: 0 1
No one has favorited (and subscribed to) this guide. Will you be the first?
1 person has favorited (and subscribed to) this guide — and that's you!
Introduction
Go to step 1 ↓This guide will teach you how to properly replace your forward/reverse switch for this device.
What you need
Tools


-
-
-
Compress the buttons on either side of the battery and lift the drill away from battery.
 Ask FixBot
-
-
-
-
-
-
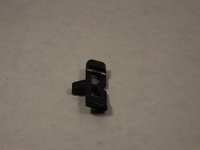
Disconnect the forward/reverse switch from the trigger by pulling the mechanism out and leaving the switch in the frame.
-
To replace just pull the switch out and put the new one in the opening.
-


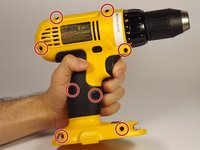
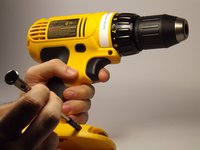


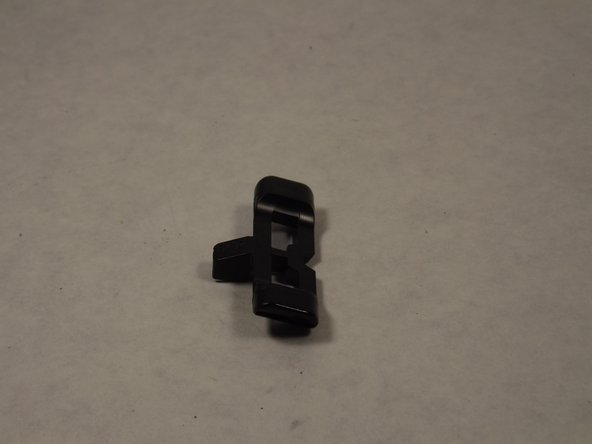
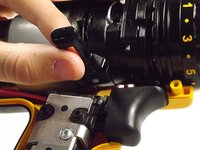
To reassemble your device, follow these instructions in reverse order.

Team

UMass Dartmouth, Team 4-2, Catania Spring 2016 Member of UMass Dartmouth, Team 4-2, Catania Spring 2016
UMASSD-CATANIA-S16S4G2
3 Members
84 Guides authored
