
DeLonghi ETAM Opening side panels

VauWeh and one other contributor
Last updated on Mar 29, 2022
Views: 3K
View statistics:
- Past 24 Hours:
- 5
- Past 7 Days:
- 27
- Past 30 Days:
- 132
- All Time:
- 2,968
Comments: 0
No one has left comments on this guide. Will you be first?
Go to guide commentsCompleted: 1 2
1 person has marked this guide "completed." Will you be next?
2 people have marked this guide "completed." Including you — great job!
Favorites: 0 1
No one has favorited (and subscribed to) this guide. Will you be the first?
1 person has favorited (and subscribed to) this guide — and that's you!
Community-Contributed Guide
An awesome member of our community made this guide. It was not created by iFixit staff.
Introduction
Go to step 1 ↓For most repairs, the device must be opened. These instructions show how to remove the side panels.
What you need
Tools


-
-
-
Remove all coffee beans. Remove all attachments such as drip tray, milk frother and water tank. Open the service door and remove the brew group.
-
Unscrew the two Phillips screws
-
The Phillips screw under the water tank can remain.
 Ask FixBot
-
-
-
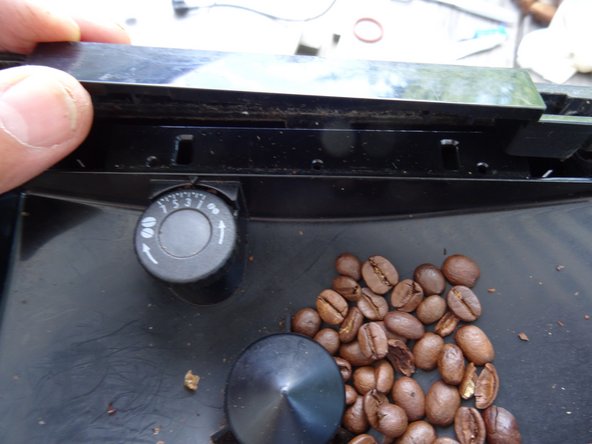
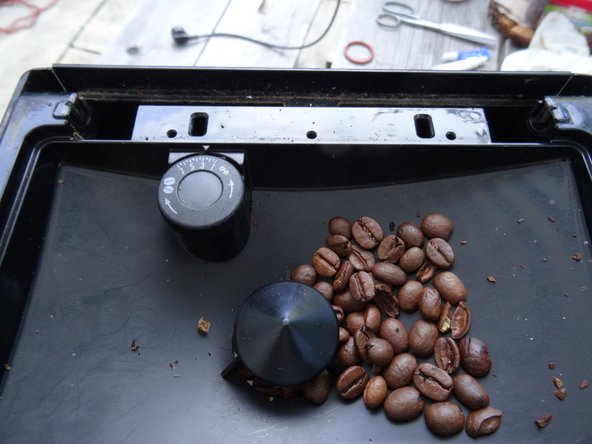
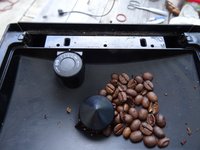
The bean compartment flap must be removed. It is latched on the left and right, the latch is held under tension by a spring. Compress the spring until the catch is free and lift off the flap.
-
-
-
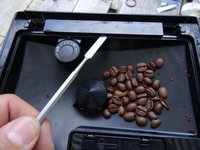
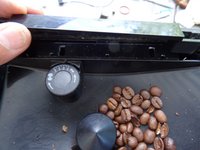
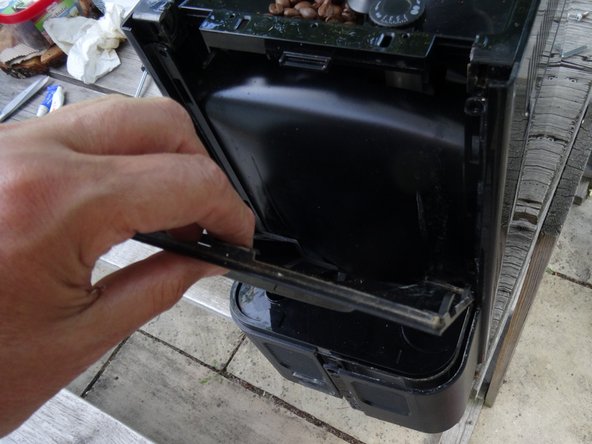
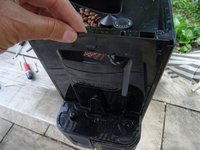
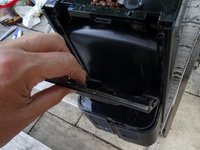
There is a plastic cover strip under the flap. It is only latched in place. Release it with a flat tool and lift it out.
-
-
-
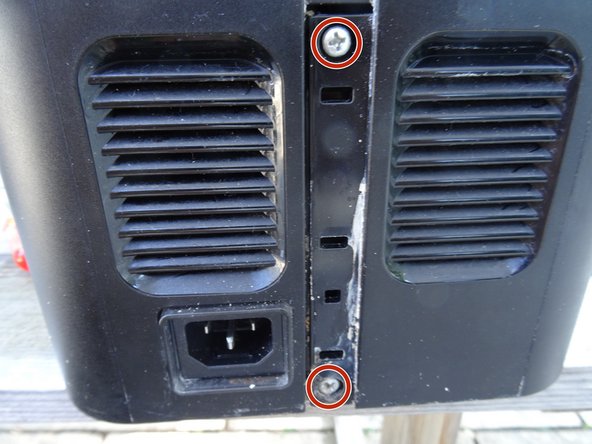
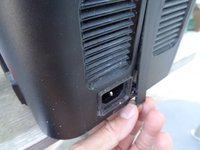
The side covers are still attached to the back with two screws. They are located under a cover strip that is only snapped in place. Take off the cover strip and put it aside.
-
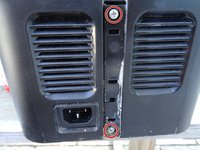
Unscrew the two Phillips screws.
-
-
-
-
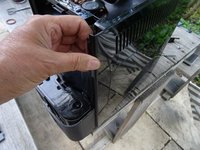
Push the left side panel back about 1 cm. It often jams strongly and you have to help it with a plastic opening tool.
-
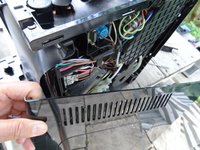
Remove the left side panel.
-
-
-
The right side panel is removed in the same way, but the service hatch is a bit obstructive. Open it first and push the side panel back a few millimeters. This is often difficult and you will need a plastic lever tool.
-
Close the flap again and push the sides further back. It is a bit tricky and you have to work carefully. Lift out the side panel.
-
-







Work through the steps in reverse order to reassemble your device.
Cancel: I did not complete this guide.
One other person completed this guide.
Special thanks to these translators:
100%

shingle is helping us fix the world! Want to contribute?
Start translating ›

