Free Shipping on Domestic Orders $75+

DeLonghi ECAM Series revise upper brew piston

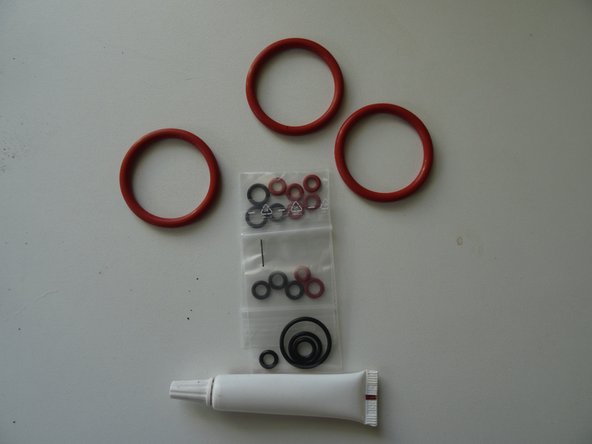
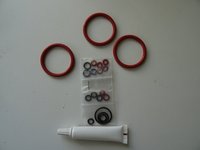
What you need

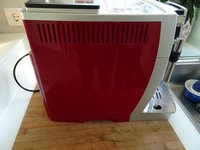
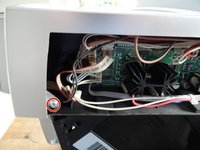
  1. DeLonghi ECAM Series revise upper brew piston, DeLonghi ECAM back panel removal: step 1, image 1 of 1
    • Unplug the power cord!

    • Remove all attachments such as water tank, pulp drawer, brew group.

    • Turn the machine with the back facing you.

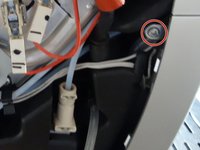
    • Remove five Torx T20 security screws.

    • A small hurdle: These screws have a pin in the middle, so the screwdriver must have a hole.

    Ask FixBot
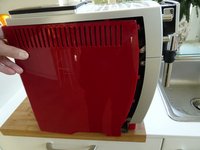
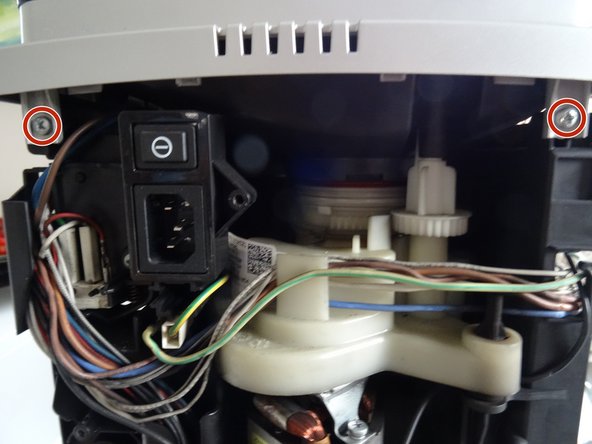
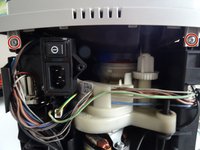
  2. DeLonghi ECAM Series revise upper brew piston: step 2, image 1 of 2 DeLonghi ECAM Series revise upper brew piston: step 2, image 2 of 2
    • Lift out the back.

    • The following components are immediately visible:

    • grinder

    • pump

    • flowmeter

    Ask FixBot
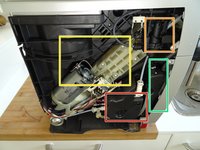
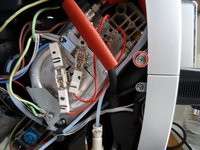
  3. DeLonghi ECAM Series revise upper brew piston, DeLonghi ECAM Series left side panel: step 3, image 1 of 3 DeLonghi ECAM Series revise upper brew piston, DeLonghi ECAM Series left side panel: step 3, image 2 of 3 DeLonghi ECAM Series revise upper brew piston, DeLonghi ECAM Series left side panel: step 3, image 3 of 3
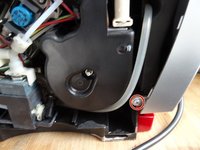
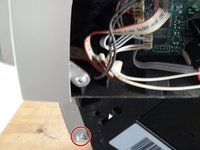
    • Push the side panel back about 1.5 cm.

    • Lift off the panel.

    • The following compononents are exposed:

    • Heater

    • Expansion chamber

    • Gear drive

    • Steam valve

    Ask FixBot
  4. DeLonghi ECAM Series revise upper brew piston, Remove DeLonghi ECAM series top cover: step 4, image 1 of 3 DeLonghi ECAM Series revise upper brew piston, Remove DeLonghi ECAM series top cover: step 4, image 2 of 3 DeLonghi ECAM Series revise upper brew piston, Remove DeLonghi ECAM series top cover: step 4, image 3 of 3
    • Depending on the model, the steam tap/water spout must be removed, there are slight differences here.

    • Pull out the plastic clip on the steam nozzle.

    • Pull the steam nozzle out towards you.

    Ask FixBot
  5. DeLonghi ECAM Series revise upper brew piston: step 5, image 1 of 2 DeLonghi ECAM Series revise upper brew piston: step 5, image 2 of 2
    • Carefully pull off the steam faucet toggle. Only use a plastic tool to pry to avoid damaging the bezel.

    Ask FixBot
  6. DeLonghi ECAM Series revise upper brew piston: step 6, image 1 of 3 DeLonghi ECAM Series revise upper brew piston: step 6, image 2 of 3 DeLonghi ECAM Series revise upper brew piston: step 6, image 3 of 3
    • If you haven't already done so, also detach the right-hand cover on the water tank.

    • Remove the four Phillips screws securing the top cover.

    • Lift the top cover up a bit. That might be a bit sticky.

    • Don't remove the top cover completely, some models still have cables attached to the cup warmer.

    • If there is a cup warmer, then unscrew the nut SW7 with which the two green-yellow cables are connected and loosen it. The two brown cables on the other side can stay if you just put the cover on top.

    • Place the top cover on top, or remove it entirely.

    Ask FixBot
  7. DeLonghi ECAM Series revise upper brew piston, Replace the upper brewing piston: step 7, image 1 of 3 DeLonghi ECAM Series revise upper brew piston, Replace the upper brewing piston: step 7, image 2 of 3 DeLonghi ECAM Series revise upper brew piston, Replace the upper brewing piston: step 7, image 3 of 3
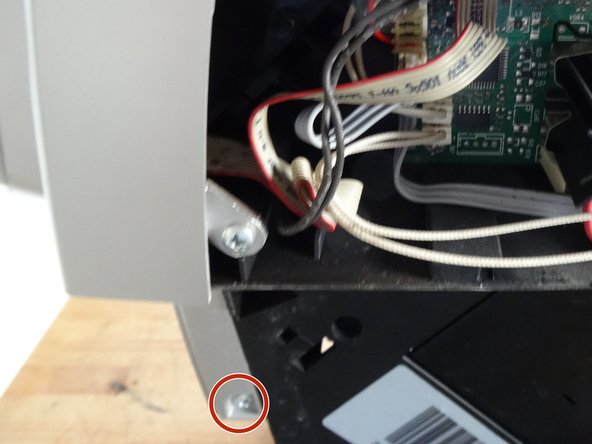
    • The remaining front cover must also be removed.

    • Unscrew two screws on the left side.

    • Unscrew a screw on the right side.

    • Gently pull the front cover down. She might be a bit stuck.

    Ask FixBot
  8. DeLonghi ECAM Series revise upper brew piston: step 8, image 1 of 1
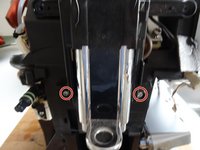
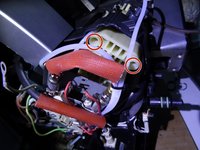
    • Remove the two screws on the control box.

    • Carefully lift the control box to one side.

    • Do not remove the box entirely, it is still connected with a ribbon cable. You can pull out the cable and put the box aside, possibly screwing it on loosely on one side.

    Ask FixBot
  9. DeLonghi ECAM Series revise upper brew piston: step 9, image 1 of 2 DeLonghi ECAM Series revise upper brew piston: step 9, image 2 of 2
    • Remove the two screws on the coffee spout.

    • Lift off the coffee spout.

    • Pull off the silicone hose on the back of the coffee spout and remove the spout.

    Ask FixBot
  10. DeLonghi ECAM Series revise upper brew piston: step 10, image 1 of 3 DeLonghi ECAM Series revise upper brew piston: step 10, image 2 of 3 DeLonghi ECAM Series revise upper brew piston: step 10, image 3 of 3
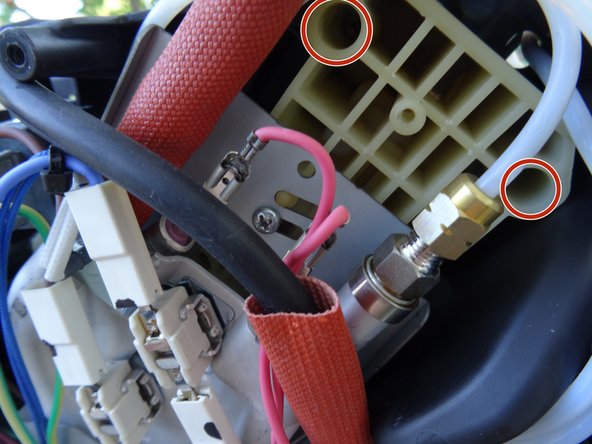
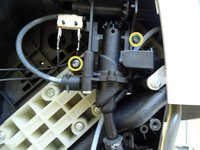
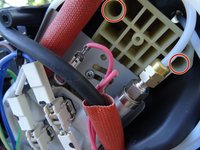
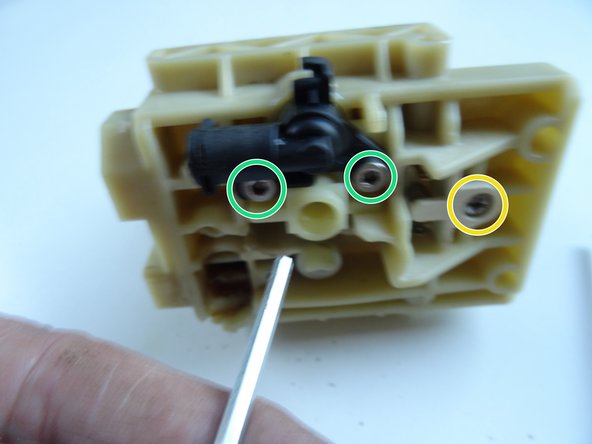
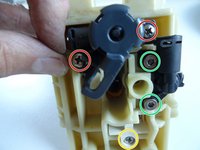
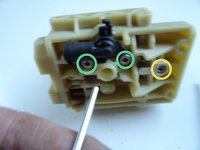
    • The support of the upper piston is fixed with two screws on the left side. Depending on the model, these screws must be uncovered.

    • The first picture shows a model with an additional steam heater. Here the steam heater has to be unscrewed (one short screw on top, one further down), then it can be pulled out a few centimetres.

    • The second picture shows a model with a manual steam tap. Here the two screws on the tap must be loosened, then the steam tap can be pushed a little to the side.

    • Once the two screws are exposed, unscrew them.

    Ask FixBot
  11. DeLonghi ECAM Series revise upper brew piston: step 11, image 1 of 3 DeLonghi ECAM Series revise upper brew piston: step 11, image 2 of 3 DeLonghi ECAM Series revise upper brew piston: step 11, image 3 of 3
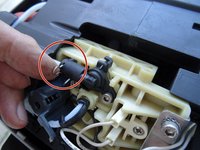
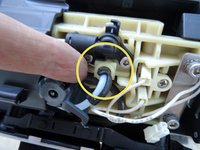
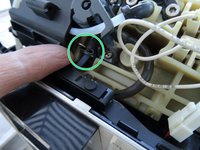
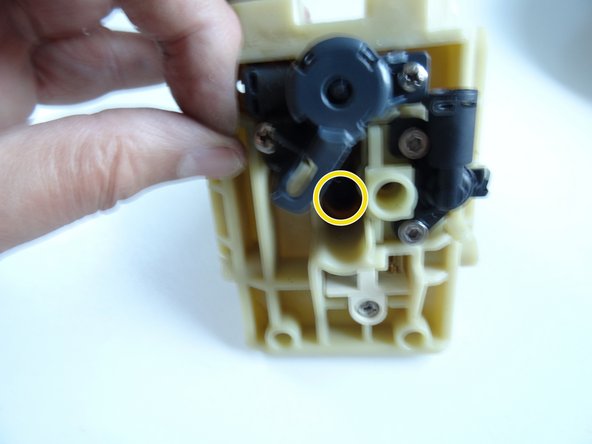
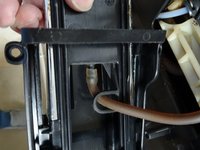
    • There are six connections on the upper brewing piston: three hot water pressure lines, one non-pressurized waste water line, a hose line to the coffee spout and two cables to the microswitch. All must be resolved first.

    • Pull out the clip at the top left and loosen the pressure line. Pay attention to the O-ring seal. It either hangs on the line or afterwards. When reassembling, replace it with a new one if possible.

    • Pull out the clamp in the middle and loosen the pressure line. Pay attention to the O-ring seal. It either hangs on the line or afterwards. When reassembling, replace it with a new one if possible.

    • Pull out the clamp on the bottom left and loosen the pressure line. Pay attention to the O-ring seal. It either hangs on the line or afterwards. When reassembling, replace it with a new one if possible.

    Ask FixBot
  12. DeLonghi ECAM Series revise upper brew piston: step 12, image 1 of 1
    • Disconnect the two flat connectors from the microswitch connection

    Ask FixBot
  13. DeLonghi ECAM Series revise upper brew piston: step 13, image 1 of 1
    • Take off the black bend protection on the middle pressure line.

    Ask FixBot
  14. DeLonghi ECAM Series revise upper brew piston: step 14, image 1 of 1
    • Unscrew the two Allen screws (4 mm).

    • Lift off the stainless steel bracket.

    Ask FixBot
  15. DeLonghi ECAM Series revise upper brew piston: step 15, image 1 of 1
    • Pull out the pressure hoses that are in the way through the openings on the left.

    • Detach any silicone hose that may be present.

    • The upper piston support plate is now free. However, it is very tight and it is tricky to get it out. Be patient and work carefully. Make sure that the ribbon cable to the control panel is not damaged.

    Ask FixBot
  16. DeLonghi ECAM Series revise upper brew piston, Repair upper brewing piston: step 16, image 1 of 2 DeLonghi ECAM Series revise upper brew piston, Repair upper brewing piston: step 16, image 2 of 2
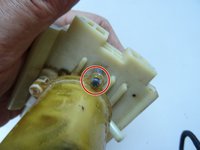
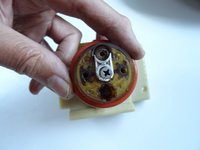
    • The piston is attached to the gray plastic part with a small ring retainer. Push the fuse to the side and store it well.

    • Turn the piston around. There is a recessed Torx T10 screw in the exact center. Unscrew it.

    Ask FixBot
  17. DeLonghi ECAM Series revise upper brew piston: step 17, image 1 of 2 DeLonghi ECAM Series revise upper brew piston: step 17, image 2 of 2
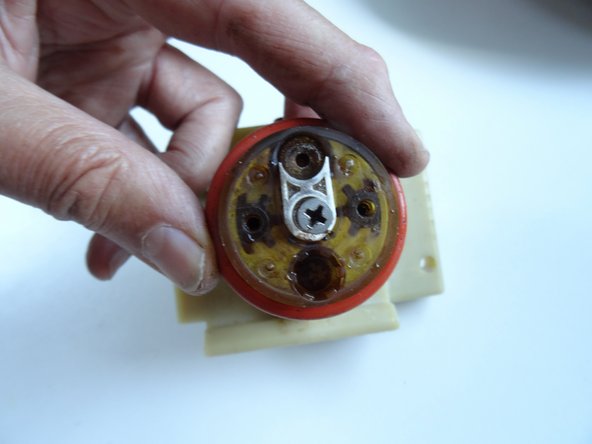
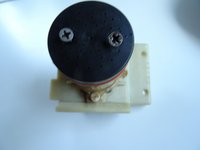
    • Unscrew the two Phillips screws on the piston and remove the black cover.

    • Remove the large O-ring on the piston.

    • Unscrew the single Phillips head screw in the center of the piston.

    Ask FixBot
  18. DeLonghi ECAM Series revise upper brew piston: step 18, image 1 of 1
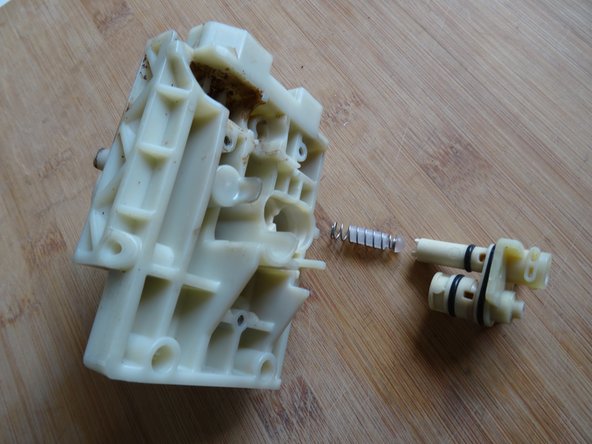
    • Gently pull off the plunger. Note the springs inside.

    • Also pay attention to the spring with the valve hemisphere. When assembling, the ball must point upwards.

    Ask FixBot
  19. DeLonghi ECAM Series revise upper brew piston: step 19, image 1 of 2 DeLonghi ECAM Series revise upper brew piston: step 19, image 2 of 2
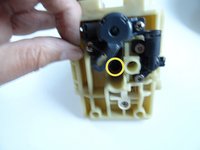
    • Turn the piston over and remove the attachments:

    • Unscrew the two Phillips screws on the valve and remove the valve.

    • Unscrew the two Allen screws (2 mm) on the raccord and remove the raccord.

    • Unscrew the single Phillips head screw on the microswitch and lift the microswitch out.

    Ask FixBot
  20. DeLonghi ECAM Series revise upper brew piston: step 20, image 1 of 3 DeLonghi ECAM Series revise upper brew piston: step 20, image 2 of 3 DeLonghi ECAM Series revise upper brew piston: step 20, image 3 of 3
    • Thoroughly degrease and descale all parts. If possible, replace the O-rings. Re-grease them and reassemble the upper piston.

    • Note the valve: the plunger points upwards.

    • The maintenance kit contains a total of 18 seals for the upper piston, plus two for the lower piston.

    Ask FixBot
Conclusion

Work the steps in reverse order to reassemble your device.

Special thanks to these translators:

de en

100%

These translators are helping us fix the world! Want to contribute?
Start translating ›

VauWeh

Member since: 10/19/15

327,766 Reputation

310 Guides authored

6 Guide Comments

Would really be good to see o-ring measurements as maintenance kits I can find are overpriced (50 USD+)

stranger - Reply Share
Hallo,

danke für die super Anleitung! 😅Welches Fett empfiehlst du zum einfetten der Dichtungen?

VG

Ralph

Ralph Diodone - Reply Share

Freut mich. Nimm Silikonfett -lebensmittelecht, wie z.B. dieses hier. Ist bei vielen Wartungssets dabei.

VauWeh - Reply Share

Was für eine Feder mit Halbkugel meinst Du, kann nichts dergleichen finden?

Perc - Reply Share

In Schritt 20, Bild 2. Genau in der Mitte liegt eine Feder, die mit einem Kunststoffdämpfer gefüllt ist und oben die Halbkugel hat.

VauWeh - Reply Share

Add Comment

View Statistics:

Past 24 Hours: 14

Past 7 Days: 89

Past 30 Days: 455

All Time: 15,955