Introduction
This replacement may be needed if the water pump is still functioning, but there are still problems with the flow of water.
What you need
-
-
-
Flip open the top panel to reveal water reservoir.
-
Grab the water reservoir by the handle and lift out.
 Ask FixBot
-
-
-
-
-
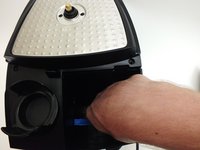
Flip the device on its head.
-
Using the Phillips #2 screwdriver, unscrew the four 12 mm screws found at each corner of the bottom panel.
-
Lift the panel off or flip the device over and let the panel drop out.
-
-
-
-
-
Flip the device on its head, front end facing you.
-
Using the Phillips #2 unscrew the two 52 mm screws found underneath the top portion of the device.
-
-
-
Flip the device back to its proper orientation.
-
Using the Phillips #2 screwdriver remove the two 52 mm screws found on the lip next to the reservoir.
-
-
-
-
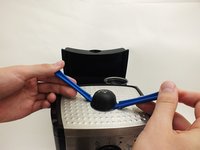
Insert the two plastic opening tools beneath the top knob.
-
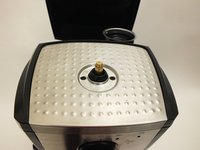
Use the two plastic opening tools as leverage to lift the top knob off.
-
-
-
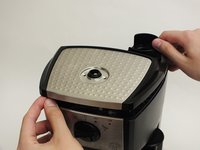
Grasp the lid firmly with both hands.
-
Pull mightily with both hands away from the device.
-
-
-
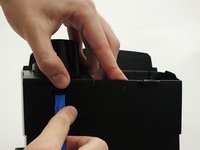
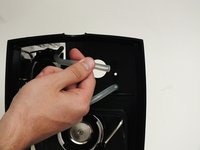
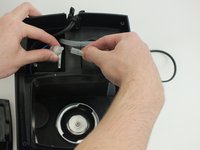
Use a plastic opening tool to push in the slot on the back panel while lifting.
-
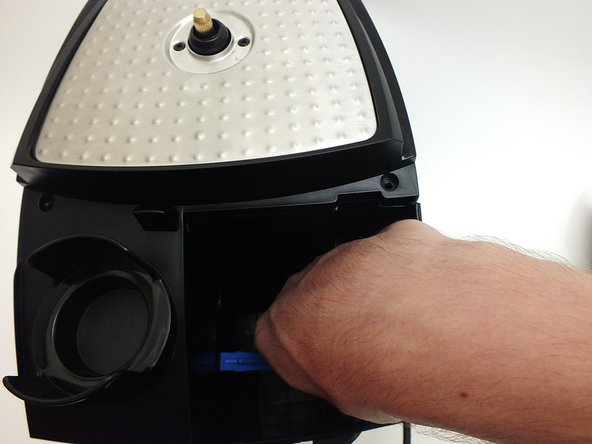
Similarly, reach into where the reservoir used to be and insert a plastic spudger underneath the inside panel.
-
-
-
You are now ready to lift the top off.
-
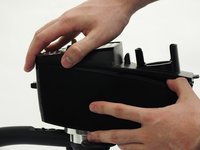
Place one hand near the back, the other at the front, and lift.
-
-
-
-
-
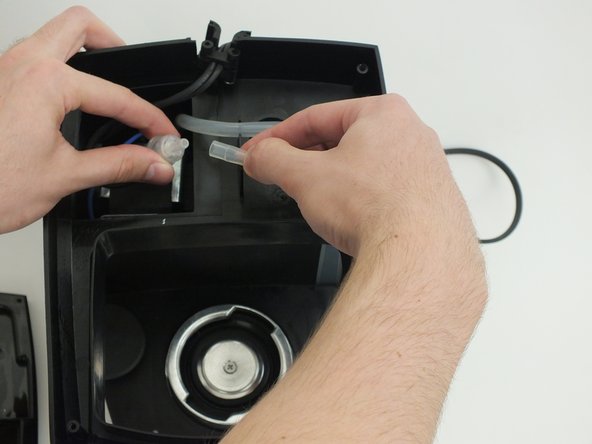
Flip the device and remove one end of the tube from the water reservoir hole.
-
-
-
Pull the tube through the chamber with the water pump so it comes out of the top end.
-
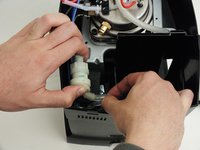
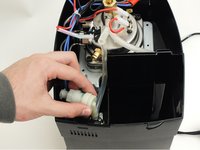
Twist the valve counterclockwise while pulling gently.
-
-









To reassemble your device, follow these instructions in reverse order.
Cancel: I did not complete this guide.
6 other people completed this guide.

Team

Cal Poly, Team 4-2, Maness Fall 2015 Member of Cal Poly, Team 4-2, Maness Fall 2015
CPSU-MANESS-F15S4G2
4 Members
45 Guides authored
5 Guide Comments
I done this earlier today without the guide after it started to leak after descaling the machine , so i fixed it by taking valve apart an putting back together it worked once before leaking again , im just concerned it will just go again if i replace the safety valve , im wondering if scale has moved an is blocking and causing valve to leak? any ideas?
Great description! Is the water valve ever used to control brew pressure?
Great guide!, carefull the water valve has inside, two small orings, don´t loss it. Muy buena guia, hice todo lo indicado y funciono perfectamente, mi máquina comenzo a gotear agua por dentro y gracias a este manual pude encontrar la falla, que es la válvula, tengo con la maquina mas de 7 años y hasta ahora fallo, la válvula por ser de plastico no se puede reparar, pero se consiguen las partes en ereplacementparts.com. Solo un comentario la valvula tiene 2 orings pequeños, así que tengan cuidado cuando la saquen no se les pierdan.
I update my comment, the spare part for the valve has arrived (ereplacementparts.com), I replaced it and everything is perfect, I can drink my espresso again.
Actualizo mi comentario, ya me llego el repuesto de la válvula (ereplacementparts.com), lo reemplace y todo perfecto, de nuevo puedo tomar mi expresso.
