Free Shipping on Domestic Orders $75+

De' Longhi CTOV 2103- AZ

What you need

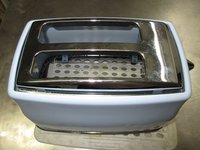
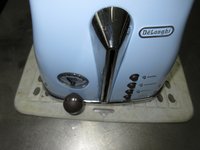
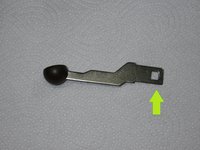
  1. De' Longhi CTOV 2103- AZ, Pull the lever: step 1, image 1 of 3 De' Longhi CTOV 2103- AZ, Pull the lever: step 1, image 2 of 3 De' Longhi CTOV 2103- AZ, Pull the lever: step 1, image 3 of 3
    • First unplug the cable. ...Pull off the lever, it is snapped in.

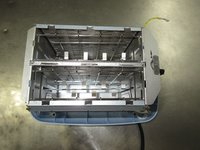
    • Pull out the drawer.

    • Now clean it with a vacuum.

    • On the underside are 4 screws Torx 10 resistant visible - in each corner one.

    Ask FixBot
  2. De' Longhi CTOV 2103- AZ, Screw: step 2, image 1 of 2 De' Longhi CTOV 2103- AZ, Screw: step 2, image 2 of 2
    • Detail of the screw

    Ask FixBot
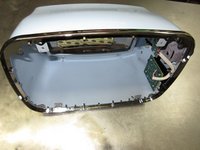
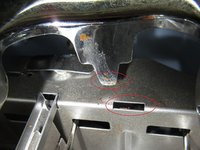
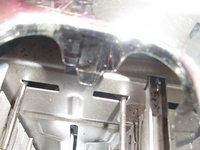
  3. De' Longhi CTOV 2103- AZ, Housing chrome plastic ring: step 3, image 1 of 3 De' Longhi CTOV 2103- AZ, Housing chrome plastic ring: step 3, image 2 of 3 De' Longhi CTOV 2103- AZ, Housing chrome plastic ring: step 3, image 3 of 3
    • here you have two pictures of the housing and the chrome plastic frame.

    Ask FixBot
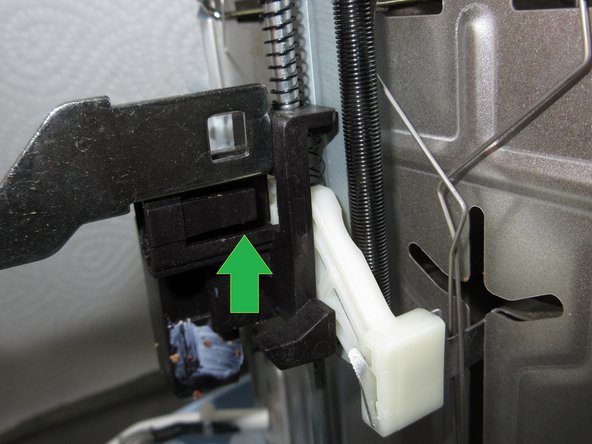
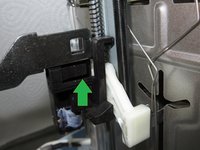
  4. De' Longhi CTOV 2103- AZ, Lever: step 4, image 1 of 2 De' Longhi CTOV 2103- AZ, Lever: step 4, image 2 of 2
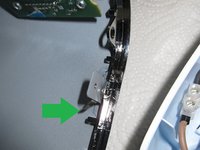
    • Here you have details of the lever and how it is snapped in the mechanic.

    • This shows you how to unlock it when you dismantle the housing. Good luck. ;)

    Ask FixBot
  5. De' Longhi CTOV 2103- AZ, Tempeaturesensor: step 5, image 1 of 2 De' Longhi CTOV 2103- AZ, Tempeaturesensor: step 5, image 2 of 2
    • Detail of the Sensor: It is the little black pearl at the black hoses which is strapped to the white hose.

    Ask FixBot
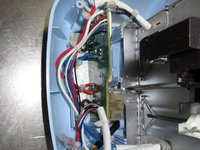
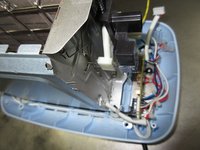
  6. De' Longhi CTOV 2103- AZ: step 6, image 1 of 3 De' Longhi CTOV 2103- AZ: step 6, image 2 of 3 De' Longhi CTOV 2103- AZ: step 6, image 3 of 3
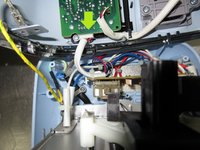
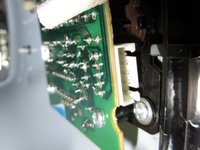
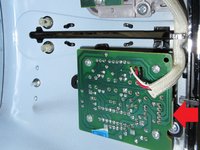
    • The connector from the main platine to the switch platine.

    Ask FixBot
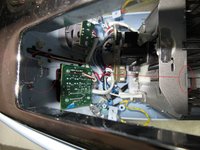
  7. De' Longhi CTOV 2103- AZ: step 7, image 1 of 3 De' Longhi CTOV 2103- AZ: step 7, image 2 of 3 De' Longhi CTOV 2103- AZ: step 7, image 3 of 3
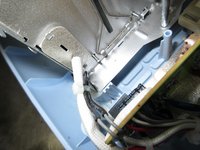
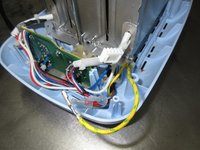
    • Details of the plug and the bottom part after disassembly.

    • Where to find the plug for the yellow ground wire i show you in the next step. :)

    Ask FixBot
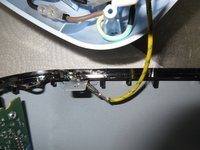
  8. De' Longhi CTOV 2103- AZ: step 8, image 1 of 2 De' Longhi CTOV 2103- AZ: step 8, image 2 of 2
    • here you can see where the yellow cable belongs to.

    Ask FixBot
  9. De' Longhi CTOV 2103- AZ, Reassembly: step 9, image 1 of 3 De' Longhi CTOV 2103- AZ, Reassembly: step 9, image 2 of 3 De' Longhi CTOV 2103- AZ, Reassembly: step 9, image 3 of 3
    • Reassembly: Putt all cables at the right places, don't forget the yellow cable at the housing !!!

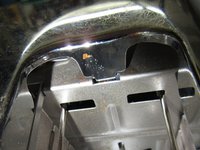
    • Look at the picture how to fit in the metal notch in the right place !

    Ask FixBot
  10. De' Longhi CTOV 2103- AZ: step 10, image 1 of 3 De' Longhi CTOV 2103- AZ: step 10, image 2 of 3 De' Longhi CTOV 2103- AZ: step 10, image 3 of 3
    • Here the notch is in the right place.

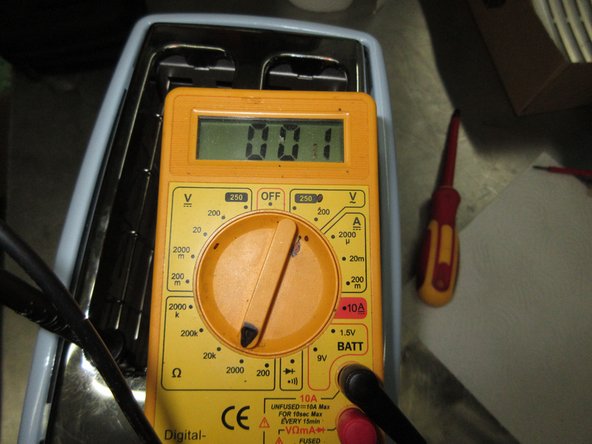
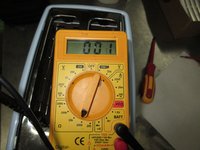
    • Do NOT forget to make an insulation test. Check the wiring with a multimeter.

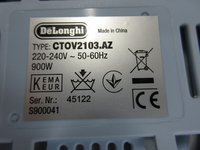
    • Made in China.

    • Hope it was fun and may the pictures help you. Greets. :)

    Ask FixBot
Conclusion

To reassemble your device, follow these instructions in reverse order.

3 other people completed this guide.

Schwarzstein

Member since: 07/15/13

2,964 Reputation

13 Guides authored

3 Guide Comments

The lever broke on my toaster. And it's difficult to glue it.

skan - Reply Share

My daughter toasted a piece of bread but the bread burned and caught fire. I've opened the toaster, and see no fire-damage. Although, it is impossible to toast because the lever won't stay down.

Dieter Troubleyn - Reply Share
I referred to this post to replace the horribly short code in CTOV2003.

Thanks to your detailed explanation, I was able to complete the replacement in one go without any trial and error.

Thank you very much.

amurobs - Reply Share

Add Comment

View Statistics:

Past 24 Hours: 0

Past 7 Days: 13

Past 30 Days: 83

All Time: 3,423