Introduction
This guide will help you replace the casing on the DROCON Ninja DC-014. The carbon fiber casing provides support to the drone during flight. The casing might need to be replaced if the power button isn’t functioning or the frame is cracked. For this guide, you will need a Phillips 00 screwdriver and an opening tool. There are no difficult steps required for this guide.
What you need
-
-
-
To turn the drone off, press and hold the black button on the top of the drone until all lights are off.
-
Firmly grasp the battery tab between your thumb and index finger.
-
Pull the battery away from the drone's body
 Ask FixBot
-
-
-
-
-
Using a Phillips #00 Screwdriver remove the eight 4mm screws on the bottom of the drone.
-
-
-
-
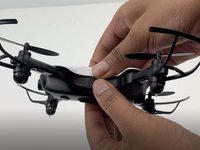
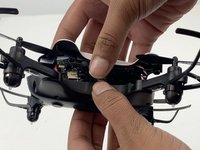
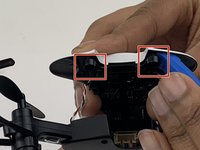
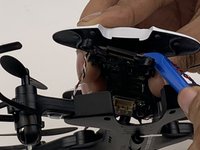
Insert the opening tool under one of the black plastic connector slots that connects the circuit-board to the casing.
-
Gently pull the opening tool toward you to disconnect the circuit-board from the plastic casing.
-
-




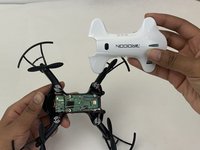
To reassemble your device, follow these instructions in reverse order.

Team

Embry-Riddle Aeronautical University, Team S3-G5, Watkins Spring 2020 Member of Embry-Riddle Aeronautical University, Team S3-G5, Watkins Spring 2020
ERAU-WATKINS-S20S3G5
4 Members
60 Guides authored
