Free Shipping on Domestic Orders $75+

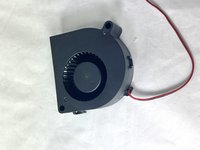
DR.J Professional HI-04 Fan Replacement

What you need

  1. DR.J Professional HI-04 Fan Replacement, Fan: step 1, image 1 of 3 DR.J Professional HI-04 Fan Replacement, Fan: step 1, image 2 of 3 DR.J Professional HI-04 Fan Replacement, Fan: step 1, image 3 of 3
    • Flip the projector so that the bottom is facing up.

    • Remove the eight 10.0 mm screws with a Phillips #0 screwdriver.

    • The screws are set deep in the holes. Be careful not to drop the screws.

    • Remove the two 20.0 mm screws with a Phillips #0 screwdriver.

    Ask FixBot

    Add Comment

  2. DR.J Professional HI-04 Fan Replacement: step 2, image 1 of 3 DR.J Professional HI-04 Fan Replacement: step 2, image 2 of 3 DR.J Professional HI-04 Fan Replacement: step 2, image 3 of 3
    • Flip the projector so it is upright.

    • Remove the top case of the projector.

    • The top case should come off fairly easily but be gentle while removing it.

    • Don't yank the top case off as there are cables attached to the motherboard and the top case.

    Ask FixBot

    Add Comment

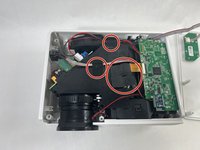
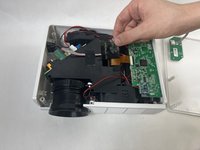
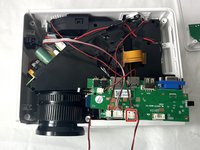
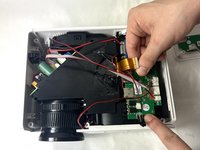
  3. DR.J Professional HI-04 Fan Replacement: step 3, image 1 of 2 DR.J Professional HI-04 Fan Replacement: step 3, image 2 of 2
    • Remove the three pieces of tape securing cables.

    • Keep the tape for reassembly.

    Ask FixBot

    Add Comment

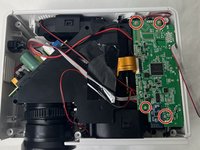
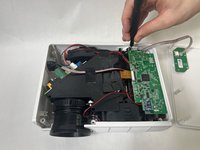
  4. DR.J Professional HI-04 Fan Replacement: step 4, image 1 of 2 DR.J Professional HI-04 Fan Replacement: step 4, image 2 of 2
    • Use a Phillips #0 screwdriver to remove the four 15.0 mm screws from the motherboard.

    • Be sure to not drop the screws in the device as they can be difficult to recover.

    Ask FixBot

    Add Comment

  5. DR.J Professional HI-04 Fan Replacement: step 5, image 1 of 2 DR.J Professional HI-04 Fan Replacement: step 5, image 2 of 2
    • Squeeze the tab against the connector, and pull the connector straight from the socket to disconnect the power cable from the port.

    • The cable should come out easily so do not pull too hard.

    Ask FixBot

    Add Comment

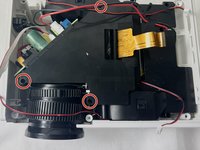
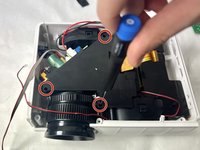
  6. DR.J Professional HI-04 Fan Replacement: step 6, image 1 of 2 DR.J Professional HI-04 Fan Replacement: step 6, image 2 of 2
    • Use a Phillips #0 screwdriver to remove the three 15.0 mm screws from the black cover.

    • The screws are set deep in the holes, so be careful to not drop the screws, as they can be difficult to recover.

    Ask FixBot

    Add Comment

  7. DR.J Professional HI-04 Fan Replacement: step 7, image 1 of 2 DR.J Professional HI-04 Fan Replacement: step 7, image 2 of 2
    • Gently remove the black cover.

    Ask FixBot

    Add Comment

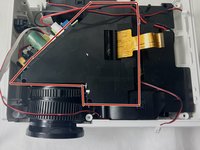
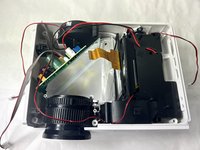
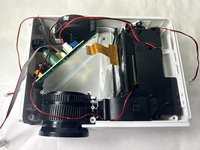
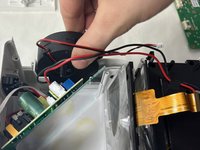
  8. DR.J Professional HI-04 Fan Replacement: step 8, image 1 of 3 DR.J Professional HI-04 Fan Replacement: step 8, image 2 of 3 DR.J Professional HI-04 Fan Replacement: step 8, image 3 of 3
    • Gently remove the fan from the project.

    Ask FixBot

    Add Comment

Conclusion

To reassemble your device, follow these instructions in reverse order.

Cancel: I did not complete this guide.

Baron Dutra

Member since: 11/01/23

825 Reputation

4 Guides authored

Team

UMass Dartmouth, Team 1-5, Petersen Fall 2023 Member of UMass Dartmouth, Team 1-5, Petersen Fall 2023

UMASSD-PETERSEN-F23S1G5

4 Members

5 Guides authored

0 Guide Comments

Add Comment

View Statistics:

Past 24 Hours: 0

Past 7 Days: 6

Past 30 Days: 34

All Time: 619