
DOSS SoundBox Speaker Replacement

Brendan Harkreader and 8 other contributors
Last updated on Jan 5, 2024
Views: 3.9K
View statistics:
- Past 24 Hours:
- 2
- Past 7 Days:
- 24
- Past 30 Days:
- 114
- All Time:
- 3,895
Comments: 2
1 comment on steps, 1 guide comment.
Go to guide commentsCompleted: 2 3
2 people have marked this guide "completed." Will you be next?
3 people have marked this guide "completed." Including you — great job!
Favorites: 0 1
No one has favorited (and subscribed to) this guide. Will you be the first?
1 person has favorited (and subscribed to) this guide — and that's you!
Introduction
Go to step 1 ↓In the case of a faulty speaker, use this guide to remove the speaker on the DOSS Soundbox for replacement.
Removing the speaker properly allows you to be able to install a new speaker to improve the quality of the speaker for better listening.
For this project you will need a Soldering Iron and knowledge on how to safely use this tool. Soldering Irons can be very hot so its important to use this took properly and take proper measures to protect yourself from the heat it produces.
What you need
Tools


-
-
-
Use the JIS #00 screwdriver to remove the 3/32" screws that secure the speaker to the body.
-
Remove the smaller 3/32" screws that secure the left side of the speaker with a JIS #1 screwdriver.
 Ask FixBot
-
-
-
Use the Plastic Opening Tool to gently lift the speaker enough to see the connected wires.
-
-
-
-
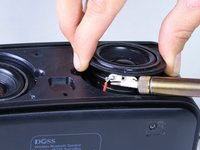
Use a soldering iron to de-solder the two speaker wires from the speaker itself.
-
The speakers are ready to be removed and replaced.
-
-


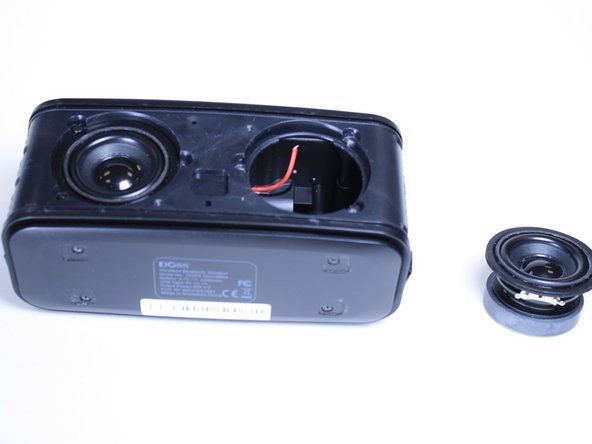
To reassemble your device, follow instructions in reverse order.
Cancel: I did not complete this guide.
2 other people completed this guide.

Team

Linn Benton Community College, Team S1-G3, Johnson Fall 2018 Member of Linn Benton Community College, Team S1-G3, Johnson Fall 2018
LBCC-JOHNSON-F18S1G3
4 Members
60 Guides authored
1 Guide Comment
The instructions say: "The speakers are ready to be removed and replaced." But nowhere in this article am I told where to get replacement speakers. Am I just on my own for that? This website has always been so helpful in providing links for such things. :(
