
DOSS SoundBox Motherboard Replacement

Cassandra Remsing and 6 other contributors
Last updated on May 7, 2024
Views: 6.7K
View statistics:
- Past 24 Hours:
- 3
- Past 7 Days:
- 14
- Past 30 Days:
- 98
- All Time:
- 6,744
Comments: 18
12 comments on steps, 6 guide comments.
Go to guide commentsCompleted: 1 2
1 person has marked this guide "completed." Will you be next?
2 people have marked this guide "completed." Including you — great job!
Favorites: 0 1
No one has favorited (and subscribed to) this guide. Will you be the first?
1 person has favorited (and subscribed to) this guide — and that's you!
Introduction
Go to step 1 ↓This guide shows the necessary steps for removing the mother board from a DOSS SoundBox.
This motherboard controls the connection between Bluetooth and Auxiliary devices so signals transmitted by Bluetooth or Auxiliary can be processed and played over the loudspeakers. If the motherboard fails in the DOSS SoundBox, diagnostic symptoms can include static, intermittent connection issues or failure to play music.
Minimal knowledge is required for soldering as uninstalling the motherboard requires two contacts to be unsoldered.
There is also some adhesive holding the motherboard in place, so caution is recommended during removal to prevent breaks or cracks.
What you need
Tools


-
-
-
Use a small plastic opening tool to gently lift the side of the grille.
-
Gently slide the tool to the front of the speaker.
-
Repeat the process on the bottom of the grille.
-
Gently pull the grille off of the speaker enclosure.
 Ask FixBot
-
-
-
-
-
Use the JIS #00 screwdriver to remove the 3/32" screws that secure the speaker to the body.
-
Remove the smaller 3/32" screws that secure the left side of the speaker with a JIS #1 screwdriver.
-
-
-
Use the Plastic Opening Tool to gently lift the speaker enough to see the connected wires.
-
-
-
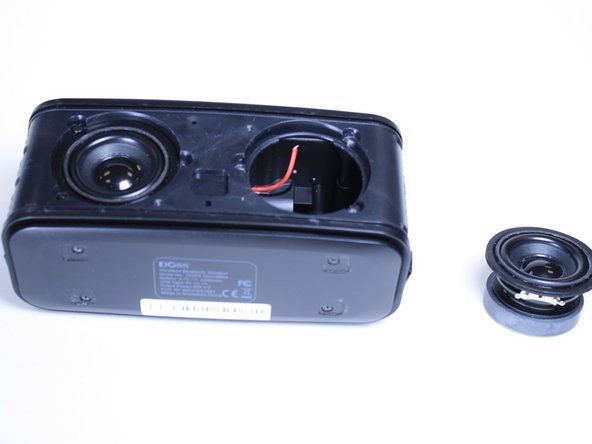
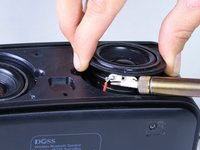
Use a soldering iron to de-solder the two speaker wires from the speaker itself.
-
The speakers are ready to be removed and replaced.
-
-
-
-
-
Use a JIS #00 screwdriver to remove the four 3/32" screws that attach the base-plate to the speaker enclosure.
-
-
-
Use a JIS #1 screwdriver to remove the six 3/32" screws marked with a red circle.
-
Remove the two 1/16" screws marked with orange circles using a JIS #000 screwdriver.
-
-
-
Remove the six 3/32" screws marked with red circles using a JIS #00 screwdriver.
-
Remove the larger 3/32" screw indicated by an orange circle using a JIS #1 screwdriver.
-
Once the screws are removed, gently lift the top (where the touch controls are) off of the speaker.
-
-
-
-
-
Tool used on this step:Tweezers$4.99
-
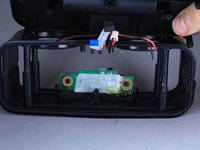
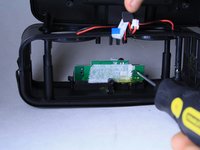
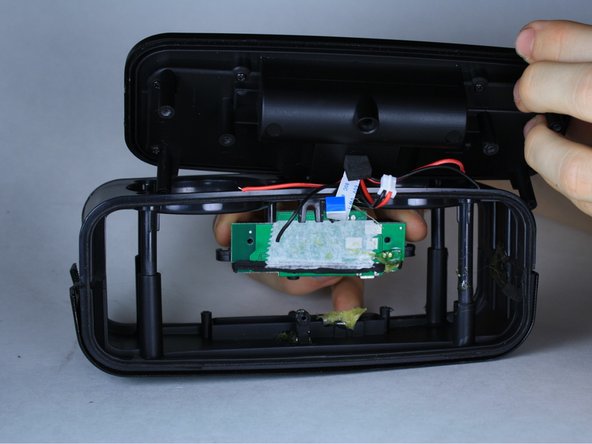
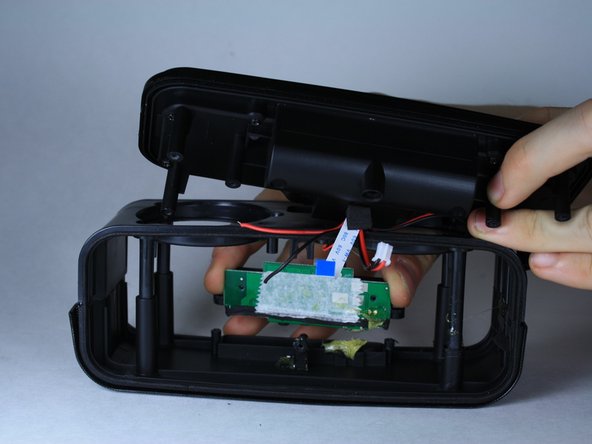
Remove the two 3/32" screws that attach the motherboard to the battery compartment using a JIS #00 screwdriver.
-
Use your fingers or a pair of tweezers to remove the clip holding the ribbon connector in place. The connector is indicated with an orange marker.
-
Find the speaker connector, indicated by a yellow circle, and using your fingers disconnect it.
-
-
-
Locate and remove the two 3/32" screws, indicated by red markers, that fix the motherboard to the speaker enclosure.
-
-
-
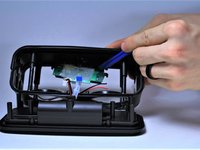
Using the plastic opening tool, gently begin to pry the circuit card away from the speaker enclosure.
-
Using your fingers, you can now remove the motherboard.
-
-





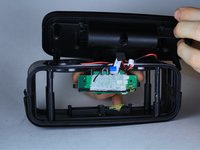
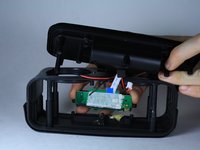
To reassemble your device, follow these instructions in reverse order.
Cancel: I did not complete this guide.
One other person completed this guide.

Team

Linn Benton Community College, Team S1-G3, Johnson Fall 2018 Member of Linn Benton Community College, Team S1-G3, Johnson Fall 2018
LBCC-JOHNSON-F18S1G3
4 Members
60 Guides authored
6 Guide Comments
Cassandra, the million dollar question is dWhere can i buy the motherboard for the SiundBox Doos.
please let me know at rubenalexander2611@hotmail.com, ahora todo lo mandan de la china please, a ver si me das una pagina web.
As Cassandra said before,,,,WHere we can find the parts??? is it any possibilities ?
bunker1312@gmail.com
Where to buy your motherboard for doss torch Bluetooth speaker
Ffs, Where do you get the board? Pretty useless writeup if there's no known location to aquire parts.
I have taken the motherboard out. Where can I purchase another one as I don't see any link for that?
