
DMC-GF3 LCD Display Replacement

Sales Cameraparts4you and 3 other contributors
Last updated on Jul 31, 2024
Views: 1.8K
View statistics:
- Past 24 Hours:
- 2
- Past 7 Days:
- 31
- Past 30 Days:
- 147
- All Time:
- 1,819
Comments: 0
No one has left comments on this guide. Will you be first?
Go to guide commentsCompleted: 2 3
2 people have marked this guide "completed." Will you be next?
3 people have marked this guide "completed." Including you — great job!
Favorites: 0 1
No one has favorited (and subscribed to) this guide. Will you be the first?
1 person has favorited (and subscribed to) this guide — and that's you!
Community-Contributed Guide
An awesome member of our community made this guide. It was not created by iFixit staff.
Introduction
Go to step 1 ↓This guide will help you safely disassemble your unit and replace your existing damaged LCD. You will need a Phillips #000 screwdriver.
What you need
Tools
-
Spudger4.9


-
-
-
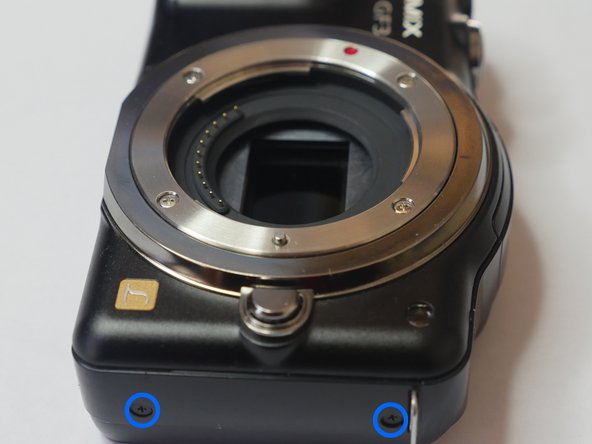
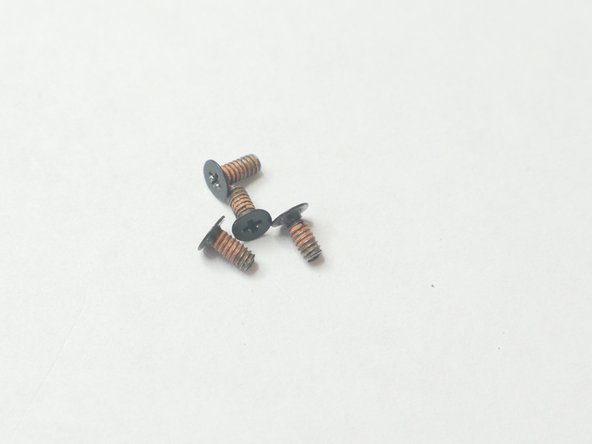
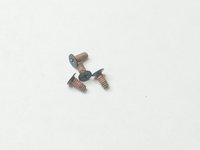
Remove 4 (4mm) screws from the sides of the unit. You are removing screws from both the right and left sides of the unit (4 screws total)
-
-
-
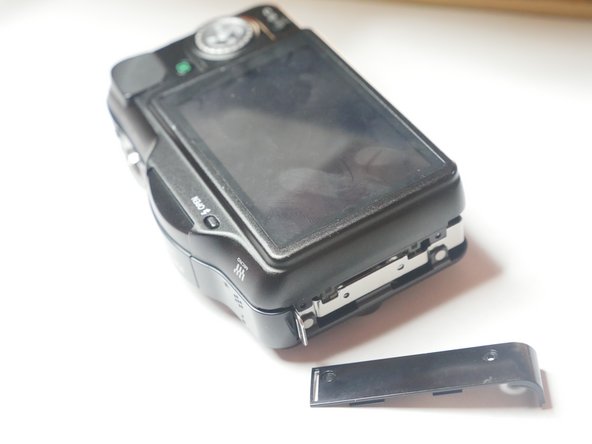
Slightly lift up the left side of unit to remove the side panel. Do not remove the rear chassis. Just lift up enough to remove side panel.
-
-
-
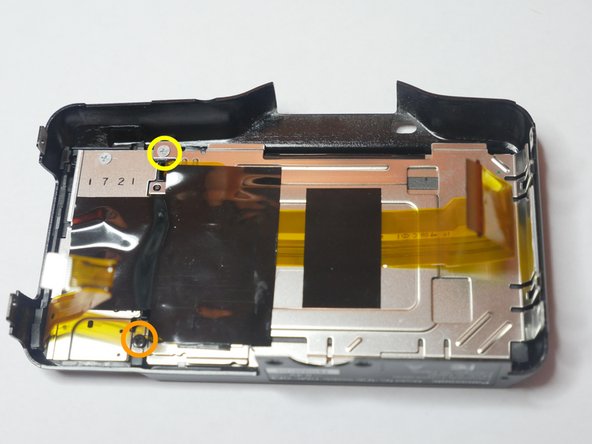
When opening the rear casing be careful not to pull on the flex cables. There are 2 flex cables on each side of the rear casing.
-
Slightly lift the rear casing. Do not completely remove it. Just lift just enough so the right flex clamp is visible. Keep in mind the left side of the rear casing is also attached to a flex clamp. Use a spudger or other method to release the cable. Do not remove the rear casing yet.
-
-

 Ask FixBot





To reassemble your device, follow these instructions in reverse order.
Cancel: I did not complete this guide.
2 other people completed this guide.

