
DJI Phantom 4 Advanced Remote Controller Back Panel Replacement

cade knott and 11 other contributors
Last updated on Jul 6, 2026
Views: 1.2K
View statistics:
- Past 24 Hours:
- 1
- Past 7 Days:
- 11
- Past 30 Days:
- 70
- All Time:
- 1,224
Comments: 0
No one has left comments on this guide. Will you be first?
Go to guide commentsCompleted: 0 1
No one has marked this guide "completed." Will you be the first?
1 person has marked this guide "completed." It's you — great job!
Favorites: 0 1
No one has favorited (and subscribed to) this guide. Will you be the first?
1 person has favorited (and subscribed to) this guide — and that's you!
Action Shots
Be an action hero! This guide needs images that better demonstrate how to perform specific actions.
Introduction
Go to step 1 ↓Use this guide to replace the back panel of your DJI Phantom 4 Advanced remote controller.
You can also use this guide to access the internal components in the controller.
What you need


-
-
-
Remove the four screws with a Torx T8 screwdriver to access the back con board.
 Ask FixBot
-
-
Tool used on this step:Tweezers$4.99
-
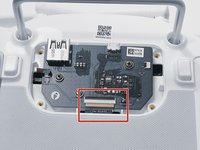
With tweezers, gently remove the large con board tab.
-
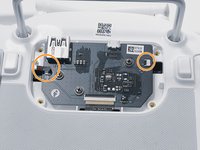
Use your hands to remove the two small clips. Pull out from the socket, in a horizontal direction.
-
-
-
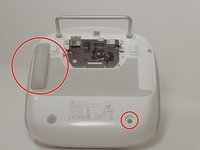
Peel off the rubber grips to access the screw holes.
-
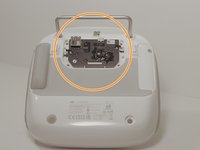
Remove the back board and set it aside.
-
-
-
-
Pull apart the back plastic panel.
-
Once the back panel is off, you will have access to the motherboard.
-
-






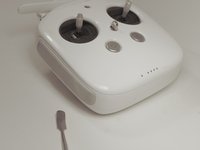
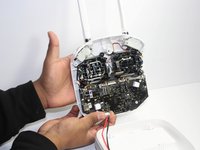
To reassemble your device, follow these instructions in reverse order.

Team

Linn Benton Community College, Team S1-G4, Johnson Fall 2018 Member of Linn Benton Community College, Team S1-G4, Johnson Fall 2018
LBCC-JOHNSON-F18S1G4
3 Members
72 Guides authored
