
D-Link DIR-890L Power Switch Replacement

Rachel Shaw and 5 other contributors
Last updated on Mar 7, 2024
Views: 1.7K
View statistics:
- Past 24 Hours:
- 3
- Past 7 Days:
- 15
- Past 30 Days:
- 92
- All Time:
- 1,662
Comments: 0
No one has left comments on this guide. Will you be first?
Go to guide commentsCompleted: 0 1
No one has marked this guide "completed." Will you be the first?
1 person has marked this guide "completed." It's you — great job!
Favorites: 0 1
No one has favorited (and subscribed to) this guide. Will you be the first?
1 person has favorited (and subscribed to) this guide — and that's you!
Featured Student Guide
This guide has been the hard work of our awesome students and is found to be exceptionally cool by the iFixit staff.
Introduction
Go to step 1 ↓The power switch is the black button on the back of the router. If it is not pressing and appears to be broken, this guide will walk you through on the replacement of this switch.
What you need
Tools


-
-
-
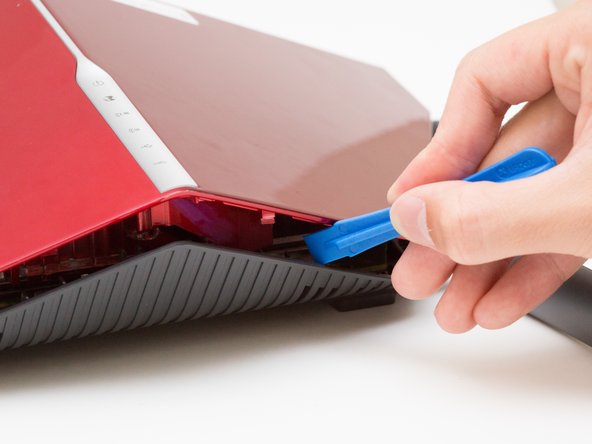
Wedge the opening tool between the red top panel and the gray bottom panel.
-
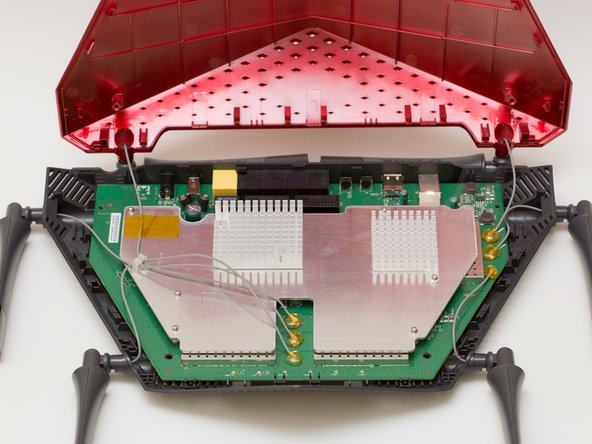
Twist the opening tool to separate the panels. Work your way around the case until both of the panels are separated.
-
-
-
-
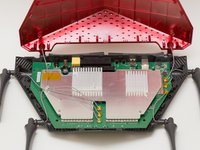
Orient the router so the narrow end of the router faces you and the ports face away from you.
-
The six, hot-glued antenna connections are in the middle and at the top right of the motherboard.
-
-
Tool used on this step:Heavy-Duty Spudger$4.99
-
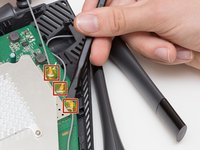
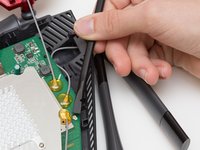
Pry off the antenna connectors using a heavy-duty spudger.
-
-
-
Continue to pry off the last three antenna connections on the upper right portion of the motherboard.
-
-
-
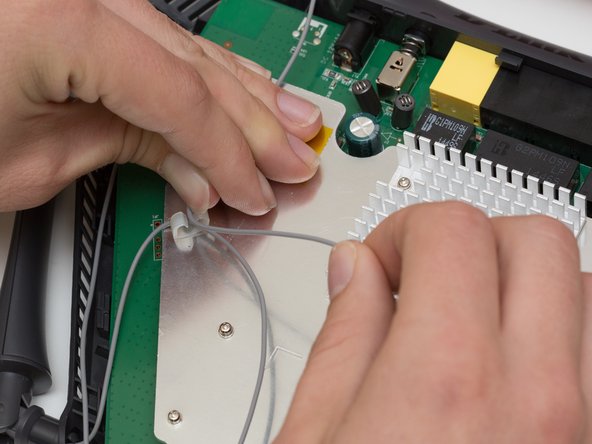
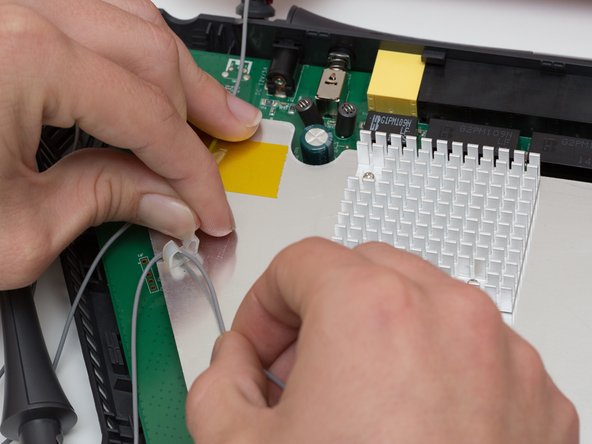
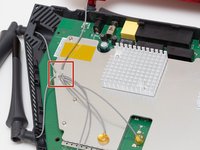
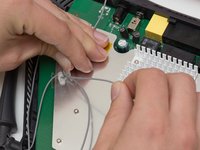
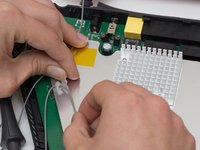
Open the plastic bracket enclosing the three antenna wires and pull the wires out with your hands.
-
-
-
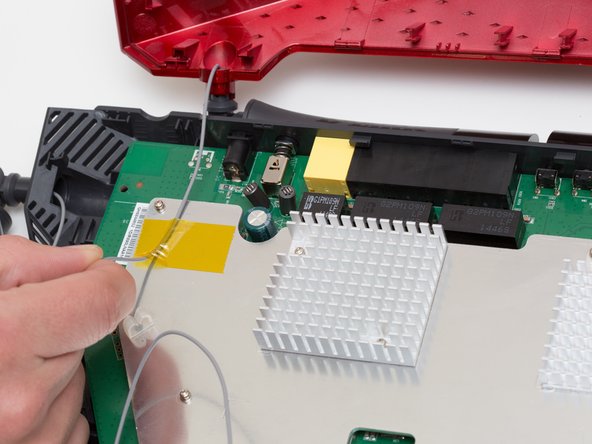
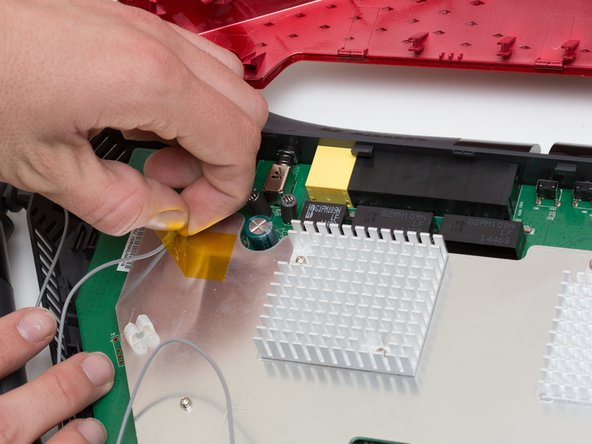
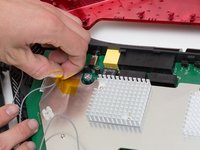
Pull the yellow tape off of the motherboard to release the final antenna wire.
-
-
-
-
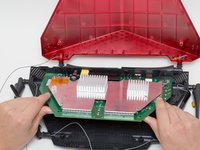
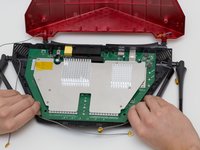
Pull the the motherboard away from the case to remove it. Start on the side closest to you, and pull up and out.
-
-
-
-
-
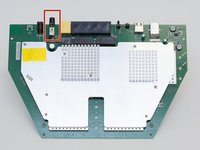
Locate the power switch on the top left of the motherboard.
-
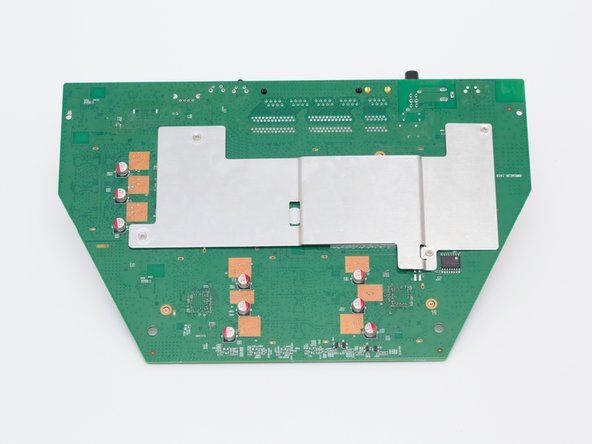
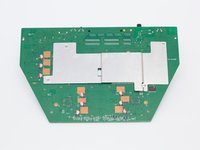
Turn the motherboard upside down.
-
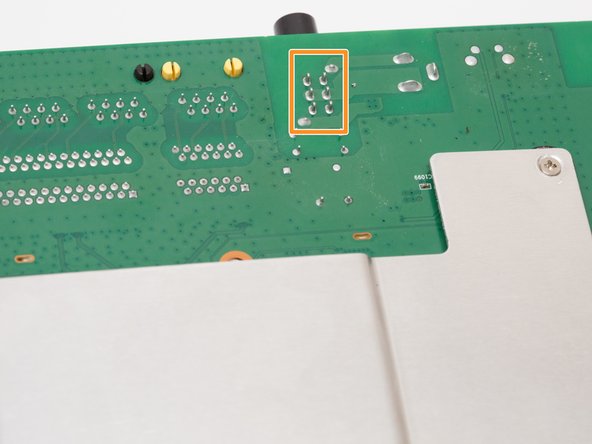
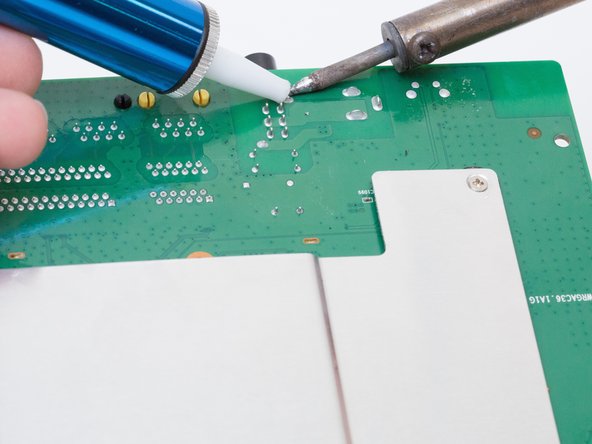
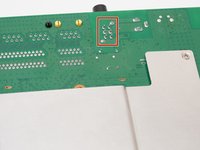
Locate the 6 solder joints that connect the power switch to the motherboard. They are arranged in 2 columns of 3.
-
-
Tool used on this step:Desoldering Pump$3.99
-
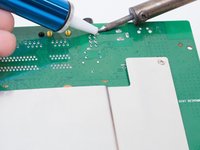
Using a soldering iron and desoldering pump, desolder the power switch from the board.
-
-


 Ask FixBot










To reassemble your device, follow these instructions in reverse order.

Team

Cal Poly, Team 10-7, Livingston Fall 2016 Member of Cal Poly, Team 10-7, Livingston Fall 2016
CPSU-LIVINGSTON-F16S10G7
4 Members
72 Guides authored
