Free Shipping on Domestic Orders $75+

D-Link DCS-825L Back Casing Replacement

Views: 790

View statistics:

Past 24 Hours:
2
Past 7 Days:
8
Past 30 Days:
62
All Time:
790
Comments: 0

No one has left comments on this guide. Will you be first?

Go to guide comments
Completed: 0

No one has marked this guide "completed." Will you be the first?

Favorites: 0

No one has favorited (and subscribed to) this guide. Will you be the first?

Time Required: 5 minutes
Difficulty: Moderate
D-Link DCS-825L Back Casing Replacement

Introduction

Go to step 1 ↓

Did the back casing of your Wi-Fi Baby Camera crack? The answer to fixing and replacing that is in this guide.

What you need

Tools

    1. D-Link DCS-825L Back Casing Replacement, Accent Ring: step 1, image 1 of 1
      • Grasp the side of the accent ring. There is a notch that your thumb will be able to grab ahold of.

      Ask FixBot

      Add Comment

    2. D-Link DCS-825L Back Casing Replacement: step 2, image 1 of 1
      • Twist the accent ring until it pops off. You may need to use both hands if the accent ring is stuck.

      Ask FixBot

      Add Comment

    3. D-Link DCS-825L Back Casing Replacement: step 3, image 1 of 1
      • Replace your accent ring with whichever color you choose.

      Ask FixBot

      Add Comment

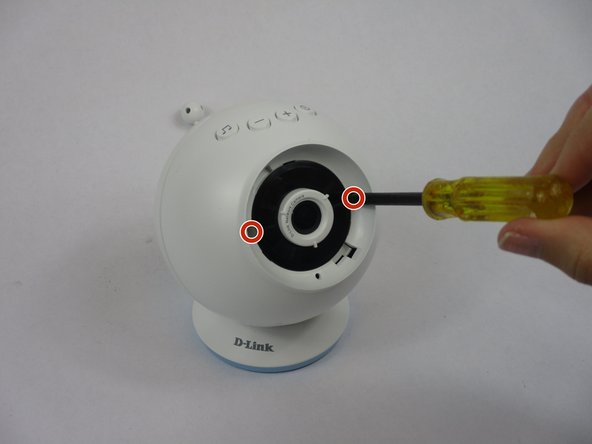
    1. D-Link DCS-825L Back Casing Replacement, Back Casing: step 4, image 1 of 2 D-Link DCS-825L Back Casing Replacement, Back Casing: step 4, image 2 of 2
      • Remove one Phillips #2 screw from each side of the camera lens.

      Ask FixBot

      Add Comment

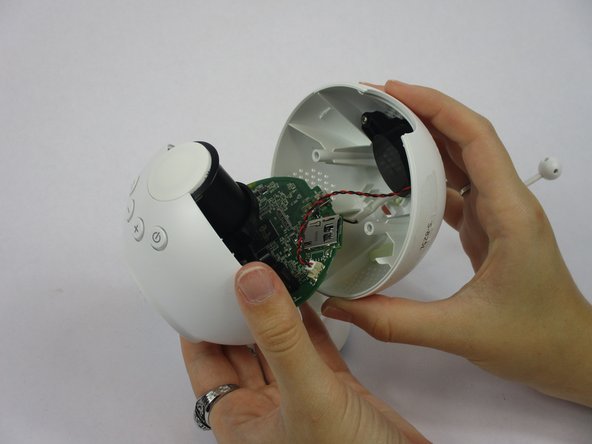
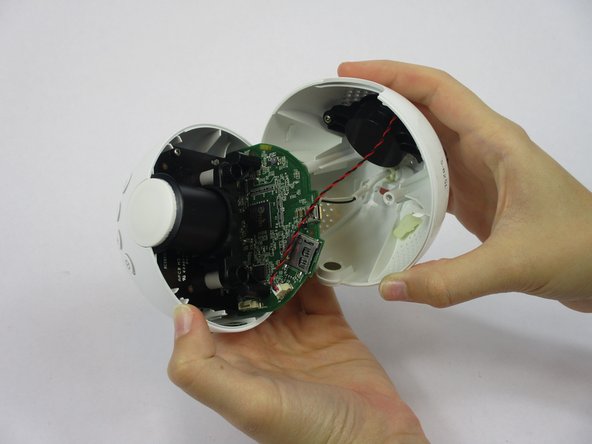
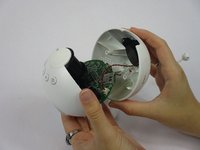
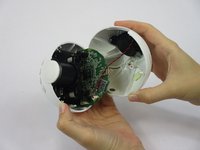
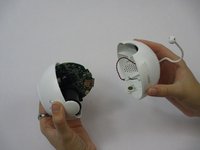
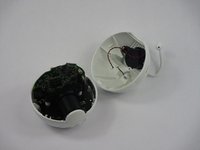
    2. D-Link DCS-825L Back Casing Replacement: step 5, image 1 of 3 D-Link DCS-825L Back Casing Replacement: step 5, image 2 of 3 D-Link DCS-825L Back Casing Replacement: step 5, image 3 of 3
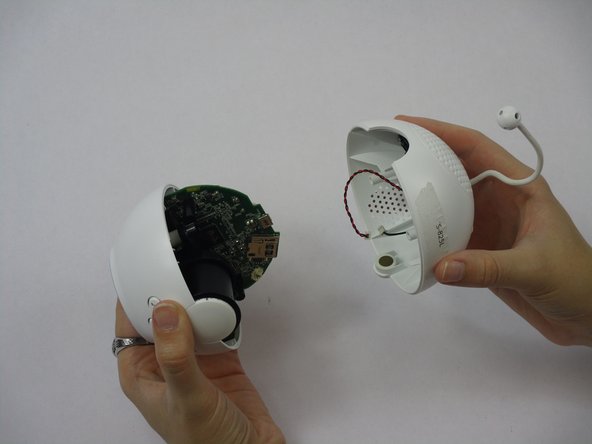
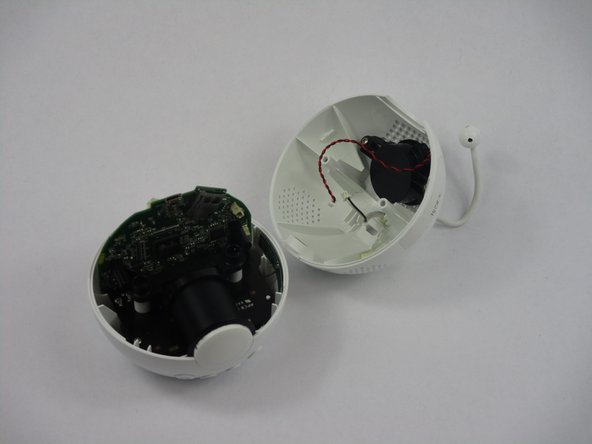
      • Pull the Wi-Fi Baby Camera open.

      • It should be easily done after the screws are removed.

      Ask FixBot

      Add Comment

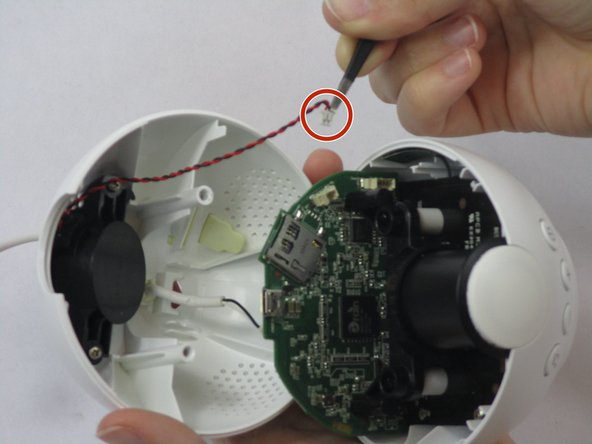
    3. D-Link DCS-825L Back Casing Replacement: step 6, image 1 of 2 D-Link DCS-825L Back Casing Replacement: step 6, image 2 of 2
      Tool used on this step:
      Tweezers
      $4.99
      Buy
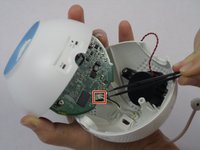
      • Take your tweezers and gently pull the white tip out from its plug that is connected to a red and black twisted wire.

      Ask FixBot

      Add Comment

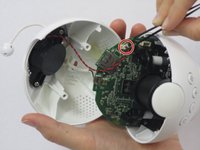
    4. D-Link DCS-825L Back Casing Replacement: step 7, image 1 of 3 D-Link DCS-825L Back Casing Replacement: step 7, image 2 of 3 D-Link DCS-825L Back Casing Replacement: step 7, image 3 of 3
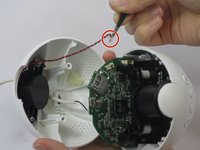
      • Take your tweezers and gently pull the white tip that is on the end of the white wire (the antenna) out from its plug in.

      Ask FixBot

      Add Comment

Conclusion

To reassemble your device, follow these instructions in reverse order.

Cancel: I did not complete this guide.

April Ulrich

Member since: 10/09/18

217 Reputation

2 Guides authored

Team

USF Tampa, Team S1-G5, Leahy Fall 2018 Member of USF Tampa, Team S1-G5, Leahy Fall 2018

USFT-LEAHY-F18S1G5

4 Members

48 Guides authored

0 Guide Comments

Add Comment

View Statistics:

Past 24 Hours: 2

Past 7 Days: 8

Past 30 Days: 62

All Time: 790