
Curtain Rod Bracket Replacement

Ashtyn Drake and one other contributor
Last updated on Dec 14, 2022
Views: 2.8K
View statistics:
- Past 24 Hours:
- 6
- Past 7 Days:
- 51
- Past 30 Days:
- 155
- All Time:
- 2,770
Comments: 1
1 comment on steps.
Completed: 0 1
No one has marked this guide "completed." Will you be the first?
1 person has marked this guide "completed." It's you — great job!
Favorites: 0 1
No one has favorited (and subscribed to) this guide. Will you be the first?
1 person has favorited (and subscribed to) this guide — and that's you!
Introduction
Go to step 1 ↓If your curtain rod bracket has been ripped out of the wall, use this guide to securely reattach the bracket to the wall.
It is common for a curtain rod bracket to come apart from the wall as a result of accidental tension. A broken bracket may leave you without curtains that provide you privacy in your home.
Before using this guide, confirm that the screws have been stripped from the wall and cannot be screwed directly back in without further action. Otherwise, the bracket can be screwed in without additional steps.
Before beginning, confirm that all screws, drill bits, and anchors are the same size as your bracket to avoid any mistakes.
Caution: Step three requires you to use a cordless drill to drill a hole in the wall. Remember to keep your hands and hair away from the electric drill at all times.
What you need
Tools


-
-
-
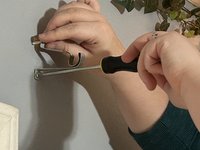
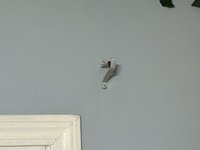
If the bracket is still partially attached, use a screwdriver to remove the remaining screw(s), then remove the bracket from the wall completely.
 Ask FixBot
-
-
-
Observe the hole of the screw(s) that was ripped out of the wall.
-
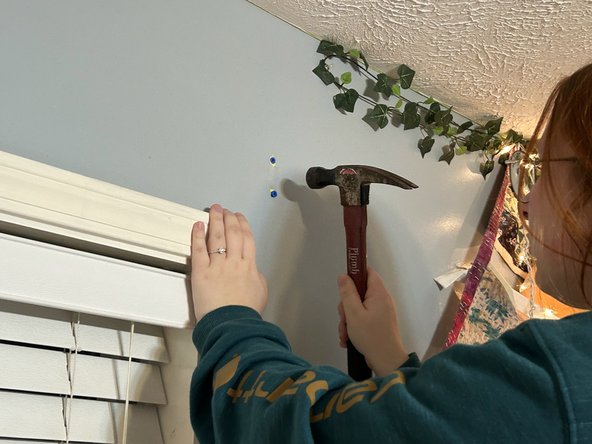
Determine whether the plastic anchor will fit in the current size of the hole.
-
If the hole is smaller than the anchor, continue to Step 3. If the hole is bigger, complete this guide on patching a hole in dry wall.
-
-
-
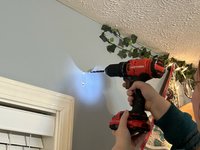
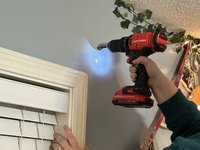
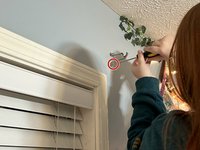
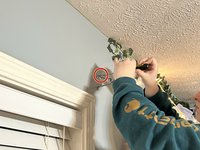
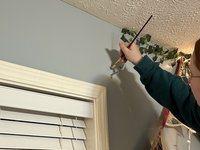
Use a ¼ inch drill bit to drill the hole(s) that the anchor will be placed into. Drill into the wall and continue drilling as you pull out of the wall.
-
-
-
Paint the wall anchor and any surrounding area that has been damaged so that it matches the wall.
-
-
-
Screw the bracket into the anchor(s) with a screwdriver. The bracket will be secured to the wall.
-
-
-





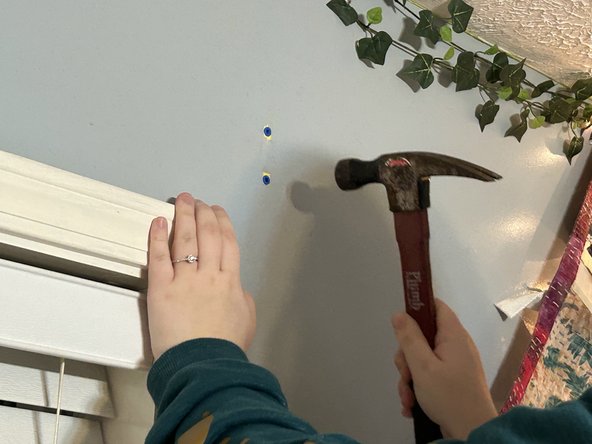






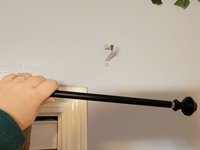
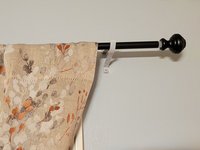
Enjoy your renewed privacy!

Team

University of Memphis, Team 51-1, Kim Fall 2022 Member of University of Memphis, Team 51-1, Kim Fall 2022
UM-KIM-F22S51G1
2 Members
12 Guides authored
