
Curtain Rail Clipper Replacement

hakim and 2 other contributors
Last updated on Jul 21, 2021
Views: 1.3K
View statistics:
- Past 24 Hours:
- 4
- Past 7 Days:
- 37
- Past 30 Days:
- 124
- All Time:
- 1,341
Comments: 0
No one has left comments on this guide. Will you be first?
Go to guide commentsCompleted: 0 1
No one has marked this guide "completed." Will you be the first?
1 person has marked this guide "completed." It's you — great job!
Favorites: 0 1
No one has favorited (and subscribed to) this guide. Will you be the first?
1 person has favorited (and subscribed to) this guide — and that's you!
Introduction
Go to step 1 ↓If your curtain rail clipper can not support the curtain rail any longer, use this guide to replace the clipper. The curtain rail clipper is what is mounted into the wall to hold the curtain rail in place for your curtain. A faulty curtain rail clipper will result in the inability for your curtain to be put in place.
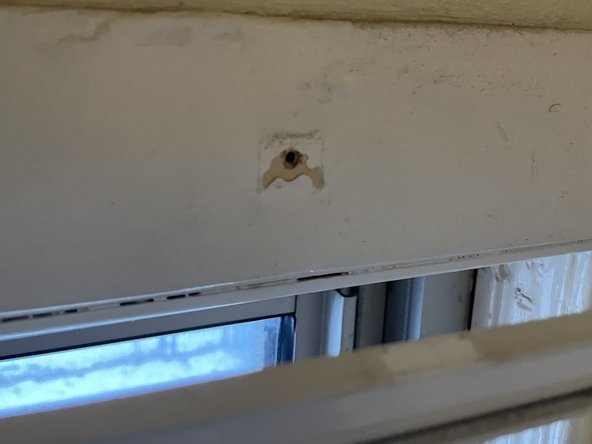
Before consulting this guide, inspect the wall where your curtain rail clipper is screwed in as it simply just may be the hole in the wall which can no longer support the clipper. If the suggestion has been exercised, you may proceed to use this guide to replace your curtain rail clipper.
-
-
-
Unhook the curtain hooks and move your curtain aside for working space.
 Ask FixBot
-
-
-
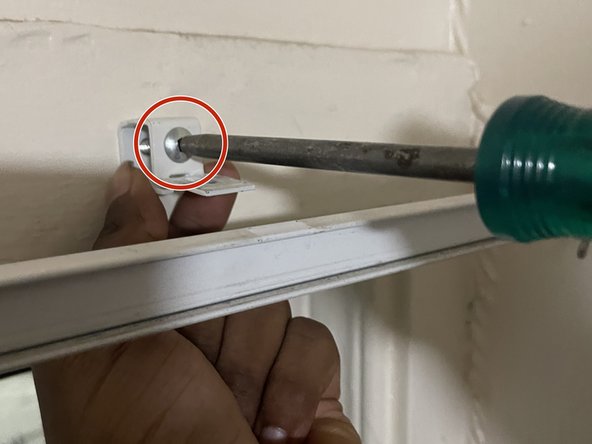
Using a Square #0 Screwdriver, unscrew the faulty curtain clipper from the wall in a counter clockwise motion.
-
-
-
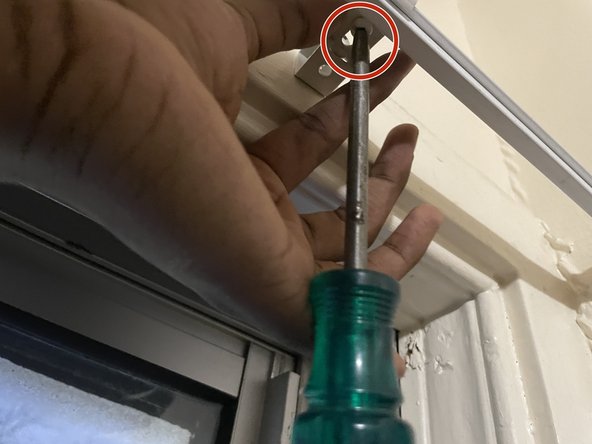
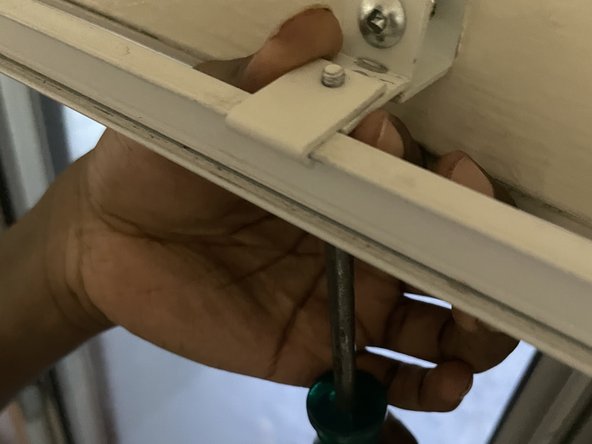
Unscrew the connecting piece of the curtain clipper using the Square #0 screwdriver.
-
Remove the curtain clipper from the wall and the curtain rail.
-
-
-
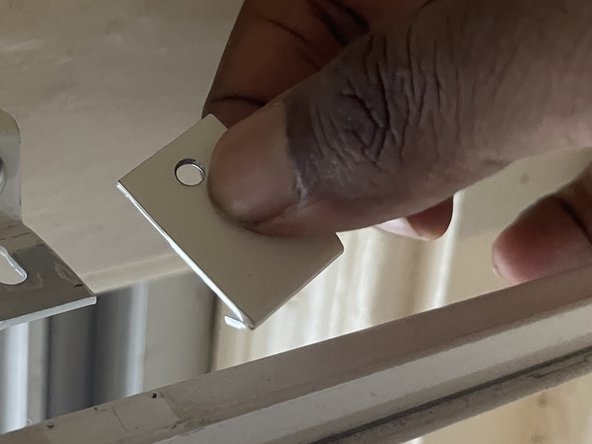
Position the new curtain clipper directly over the opening the faulty clipper was installed in.
-
Screw in the new curtain clipper using the Square #0 screwdriver and 40 mm square head screw into the wall.
-
-
-
-
Align the connecting piece of the curtain clipper to the clipper as well as the curtain rail.
-
Screw the connecting piece to the clipper and curtain rail until fastened securely using the Square #0 screwdriver and the 4 mm square head screw.
-
-








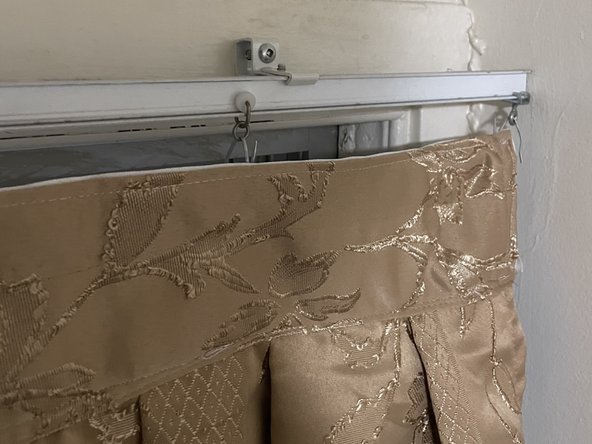


To reassemble your device, follow these instructions in reverse order.

Team

York University, Team S1-G19, O'Regan Winter 2021 Member of York University, Team S1-G19, O'Regan Winter 2021
YORK-O'REGAN-W21S1G19
2 Members
12 Guides authored
