Introduction
This guide will lead you through the process of replacing a dead or dying motor in your Cuisinart Mini-Prep DLC-2A.
What you need
-
-
Remove the back panel using a Phillips #1 Screwdriver on the four screws that hold it in place.
 Ask FixBot
-
-
-
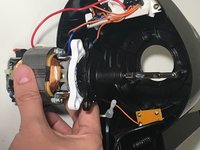
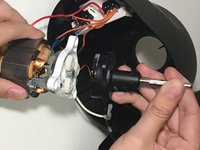
Remove the three screws that hold the motor to the top case using a Phillips #1 screwdriver.
-
-
-
-
Pull out the metal piece from the casing.
-
Pull apart the plastic casing that contains the rod.
-
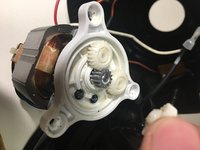
Take off the plastic gears.
-
-
-
Use the Phillips #1 screwdriver to take off the screws that hold the white plastic to the metal piece.
-
Pull apart the white plastic from the metal piece.
-
-
-
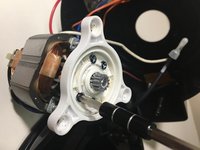
Use an electric screwdriver with a Phillips #1 head to take off the top metal piece.
-




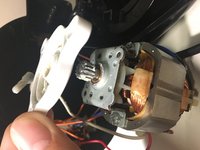

To reassemble your device, follow these instructions in reverse order.
Cancel: I did not complete this guide.
2 other people completed this guide.

Team

University of North Texas, Team S3-G1, Thompson Fall 2017 Member of University of North Texas, Team S3-G1, Thompson Fall 2017
UNT-THOMPSON-F17S3G1
3 Members
8 Guides authored
