Introduction
In this guide you will learn how to replace the Cuisinart DCC-1100 Heating Element if you are having issues with the device heating up. Please have a replacement heating element ready and potentially extra thermal paste. Also unplug the machine before beginning work.
What you need
-
-
-
Remove the coffee pot and unplug the maker.
-
Flip the coffee maker over so that way the bottom is facing you.
 Ask FixBot
-
-
-
Remove the five 1.6mm Phillips #1 screws from the bottom.
-
Remove the bottom cover.
-
-
-
-
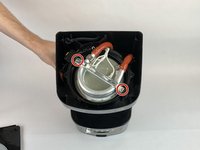
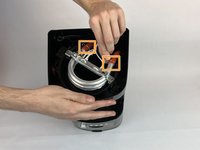
Remove the two 1.6mm Phillips #0 screws from the heating element.
-
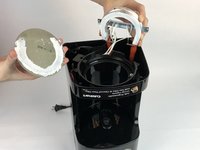
Lift up the heating element and remove the hot plate.
-
-
-
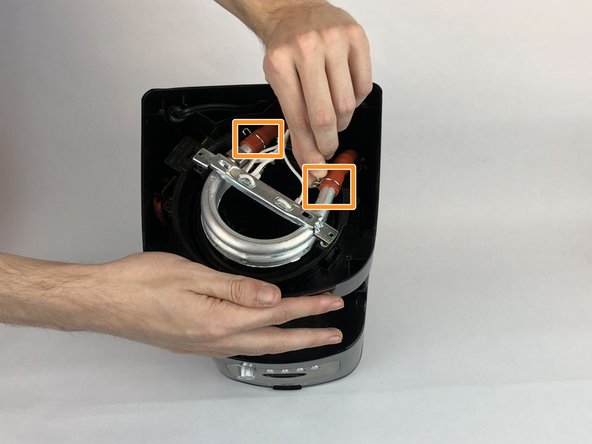
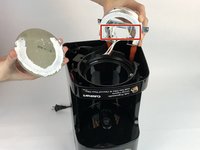
Disconnect the heating element.
-
Pinch the tube clips and remove from tubes from the heating element.
-
-



To reassemble your device, follow these instructions in reverse order.
Cancel: I did not complete this guide.
3 other people completed this guide.

Team

USF Tampa, Team S20-G4, Passmore Spring 2018 Member of USF Tampa, Team S20-G4, Passmore Spring 2018
USFT-PASSMORE-S18S20G4
4 Members
84 Guides authored
