Introduction
If your Cub Cadet LT1042 Riding Mower won't start because of a bad starter, this guide will help you replace it with a new one. The starter motor connects to the battery and engages the engine when you turn the key.
Before you begin, inspect the lawn mower battery to check the voltage and ensure the connections are secure. If you find any corrosion on the battery terminals, clean it with a wire brush. Use a multimeter to test other components, like the starter solenoid and magneto, to confirm that the starter motor is the only part not working.
Follow the steps in order, and make sure to disconnect the battery before you begin to ensure a safe repair. If you have recently used your mower, make sure the engine is cool to avoid burns.
What you need
-
-
-
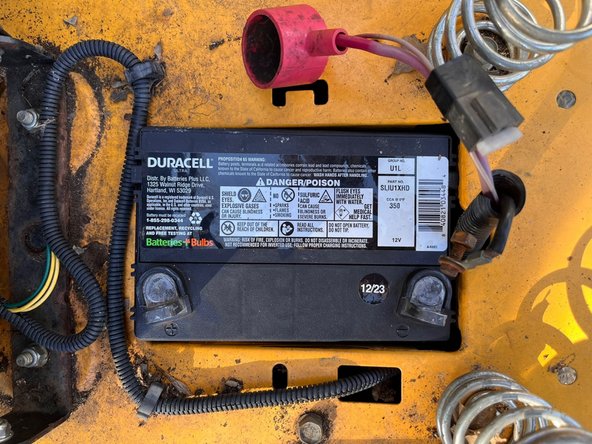
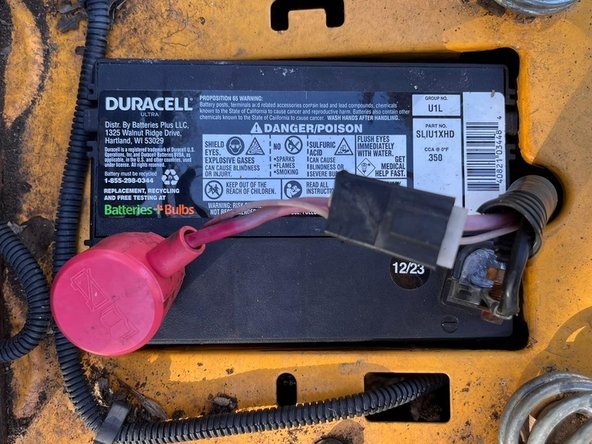
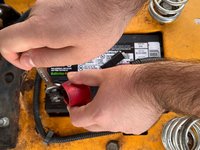
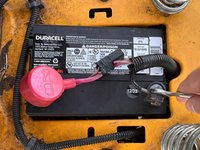
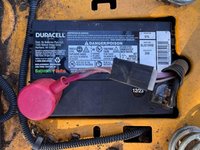
Remove the plastic covers from the battery terminals.
-
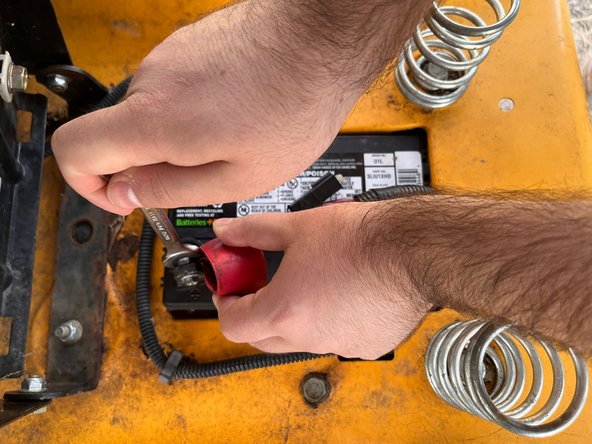
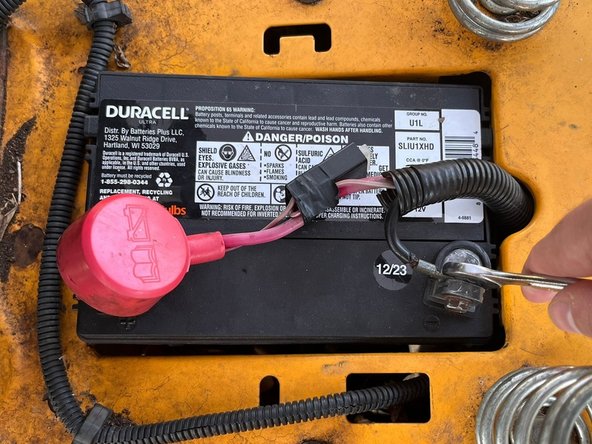
Use a wrench to disconnect the lawn mower battery terminals.
 Ask FixBot
-
-
-
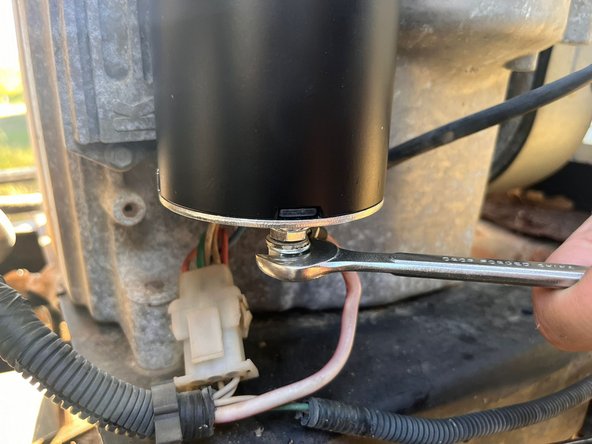
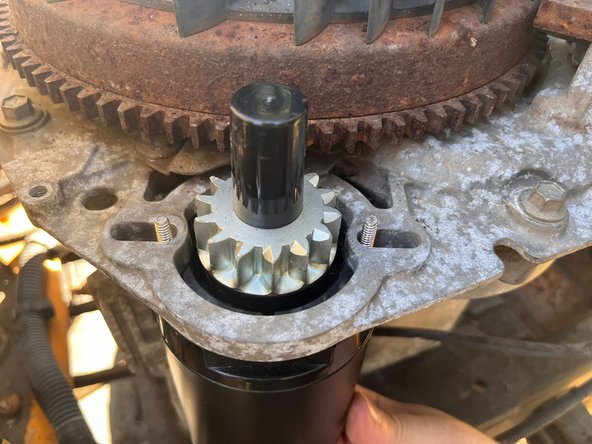
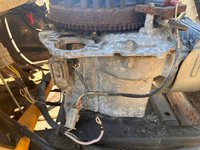
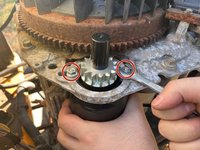
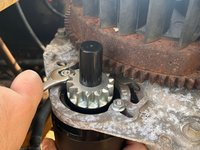
Use wrench and unfasten the two top bolts that hold the old starter in place.
-
-
-
-
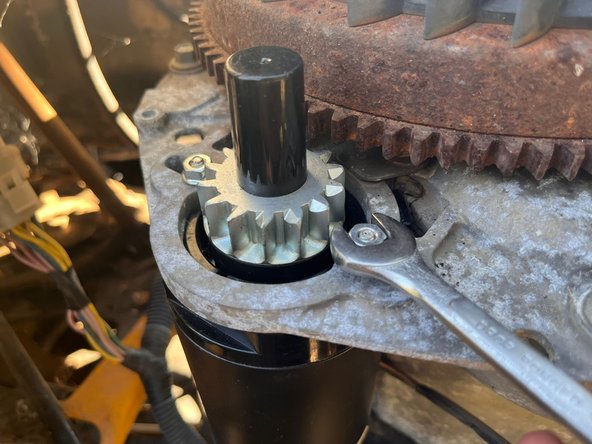
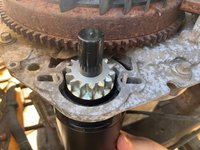
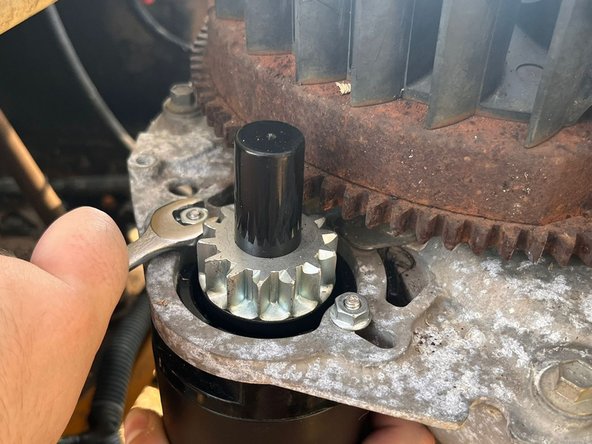
Fasten the new starter in place by tightening the two bolts at the top with the wrench.
-
-
-
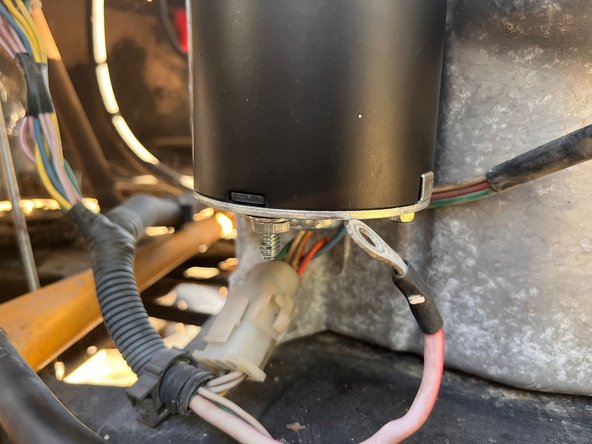
Refasten the cable that leads to the battery to the bottom bolt of the new starter.
-
-
-
Reconnect the battery by fastening the positive (red) terminal first, followed by the negative (black) terminal.
-
-









To reassemble your device, follow these instructions in reverse order.

Team

Austin Community College, Team 1-9, Kapoor Fall 2024 Member of Austin Community College, Team 1-9, Kapoor Fall 2024
AUSTINCC-KAPOOR-F24S1G9
1 Member
12 Guides authored
