Free Shipping on Domestic Orders $75+

Crosley CR42 Power Cable Replacement

What you need

  1. Crosley CR42 Power Cable Replacement, Power Cable: step 1, image 1 of 2 Crosley CR42 Power Cable Replacement, Power Cable: step 1, image 2 of 2
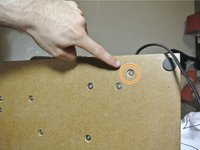
    • Turn the device around until you are looking at the line-out port.

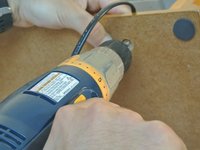
    • With a cordless drill or Phillips #0 screwdriver, remove the ten 12-mm screws.

    Ask FixBot

    Add Comment

  2. Crosley CR42 Power Cable Replacement: step 2, image 1 of 3 Crosley CR42 Power Cable Replacement: step 2, image 2 of 3 Crosley CR42 Power Cable Replacement: step 2, image 3 of 3
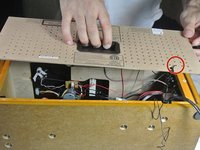
    • Gently remove the back of the device. It should be connected by two wires.

    Ask FixBot

    Add Comment

  3. Crosley CR42 Power Cable Replacement: step 3, image 1 of 3 Crosley CR42 Power Cable Replacement: step 3, image 2 of 3 Crosley CR42 Power Cable Replacement: step 3, image 3 of 3
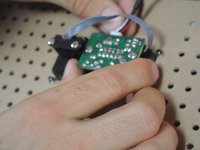
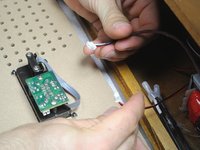
    • Gently remove both wires.

    • After de-threading the antenna wire, remove the back of the device and set it aside.

    Ask FixBot

    Add Comment

  4. Crosley CR42 Power Cable Replacement: step 4, image 1 of 3 Crosley CR42 Power Cable Replacement: step 4, image 2 of 3 Crosley CR42 Power Cable Replacement: step 4, image 3 of 3
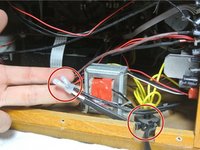
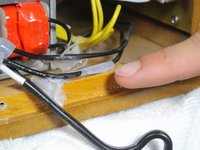
    • Locate where the power cable connects to the device.

    • Pick up the device and locate the screw holding the small black peg to the device. Unscrew it and set the screw aside.

    Ask FixBot

    Add Comment

  5. Crosley CR42 Power Cable Replacement: step 5, image 1 of 3 Crosley CR42 Power Cable Replacement: step 5, image 2 of 3 Crosley CR42 Power Cable Replacement: step 5, image 3 of 3
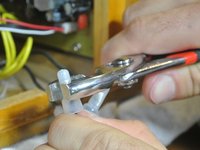
    • With the pliers, remove the wire connectors. You may need to be forceful

    • It is wise to attach a marking in order to recognize how the wires should be reattached.

    Ask FixBot

    Add Comment

  6. Crosley CR42 Power Cable Replacement: step 6, image 1 of 3 Crosley CR42 Power Cable Replacement: step 6, image 2 of 3 Crosley CR42 Power Cable Replacement: step 6, image 3 of 3
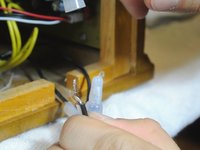
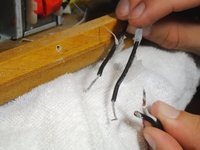
    • Pull apart both groups of wires.

    • After getting your replacement power cord, make sure you recognize how the wires should reattach.

    Ask FixBot

    Add Comment

  7. Crosley CR42 Power Cable Replacement: step 7, image 1 of 3 Crosley CR42 Power Cable Replacement: step 7, image 2 of 3 Crosley CR42 Power Cable Replacement: step 7, image 3 of 3
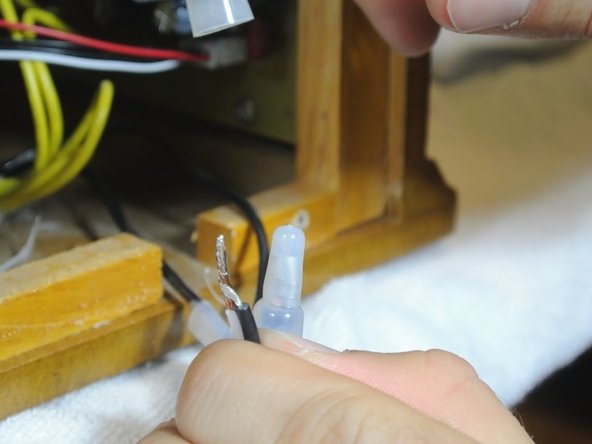
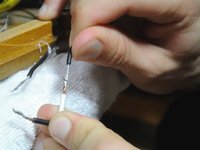
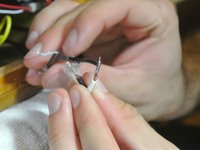
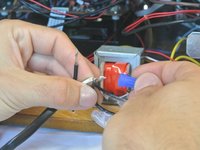
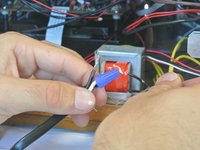
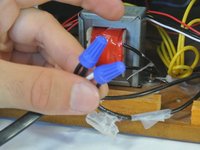
    • Twist the connecting wires together.

    • Attach the twist-on wire connectors to the exposed wires.

    Ask FixBot

    Add Comment

Conclusion

To reassemble your device, follow these instructions in reverse order.

Cancel: I did not complete this guide.

One other person completed this guide.

Eric Dybsetter

Member since: 01/26/14

193 Reputation

1 Guide authored

Team

Cal Poly, Team 1-38, Maness Winter 2014 Member of Cal Poly, Team 1-38, Maness Winter 2014

CPSU-MANESS-W14S1G38

4 Members

5 Guides authored

0 Guide Comments

Add Comment

View Statistics:

Past 24 Hours: 2

Past 7 Days: 9

Past 30 Days: 34

All Time: 6,910