Free Shipping on Domestic Orders $75+

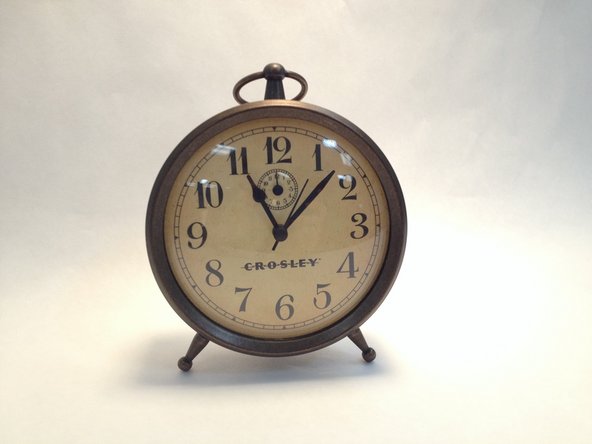
Crosley 33301 Front Glass Replacement

What you need

    1. Crosley 33301 Front Glass Replacement, Crosley 33301 Front Glass: step 1, image 1 of 3 Crosley 33301 Front Glass Replacement, Crosley 33301 Front Glass: step 1, image 2 of 3 Crosley 33301 Front Glass Replacement, Crosley 33301 Front Glass: step 1, image 3 of 3
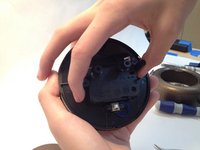
      • Rotate Clock till the face/or front is pointing away from you.

      • Continue on by unscrewing the 5.5 millimeter screws with your hands.

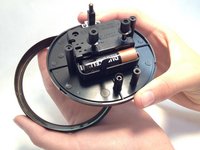
      • Once all the screws are removed, take the circular back panel off and lay it down flat on a stable surface to put back on later.

      Ask FixBot

      Add Comment

    2. Crosley 33301 Front Glass Replacement: step 2, image 1 of 2 Crosley 33301 Front Glass Replacement: step 2, image 2 of 2
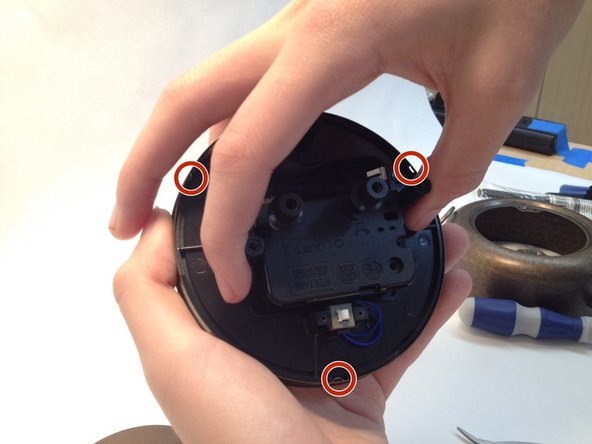
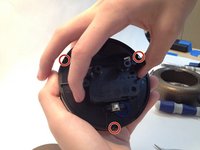
      • Unscrew the two remaining screws with a PH2 bit.

      • Do not be afraid to use additional force to remove these screws. Just be careful not to break the clock!

      Ask FixBot

      Add Comment

    3. Crosley 33301 Front Glass Replacement: step 3, image 1 of 2 Crosley 33301 Front Glass Replacement: step 3, image 2 of 2
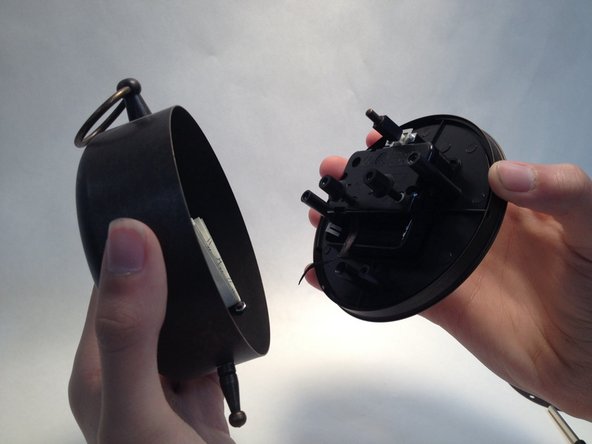
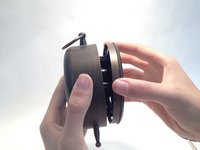
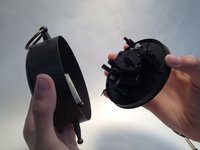
      • Remove the front part of the clock from the back frame.

      • No major force is required. The back frame should slide right off.

      Ask FixBot

      Add Comment

    4. Crosley 33301 Front Glass Replacement: step 4, image 1 of 2 Crosley 33301 Front Glass Replacement: step 4, image 2 of 2
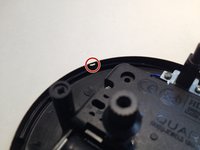
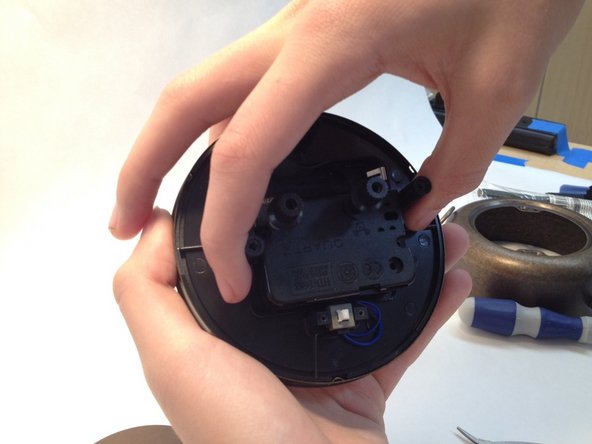
      • You will notice that there are three small indents on alternate sides.

      • You will see small slits where the indents can slide through.

      • Twist the center counter clockwise so that the face and the back are no longer connected.

      Ask FixBot

      Add Comment

    5. Crosley 33301 Front Glass Replacement: step 5, image 1 of 2 Crosley 33301 Front Glass Replacement: step 5, image 2 of 2
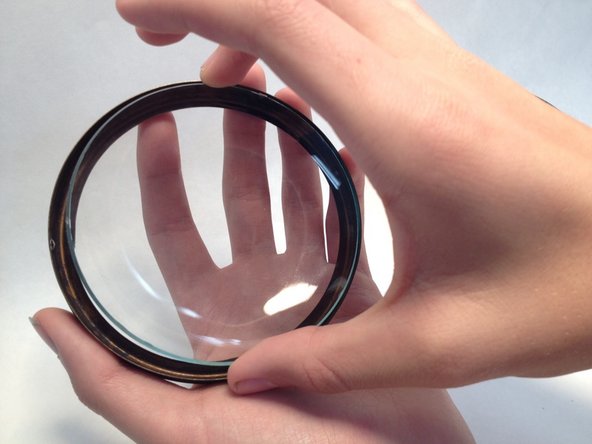
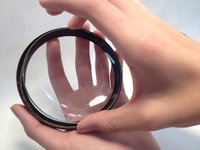
      • Replace the front of the clock with your new glass face protector and settle it on the frame.

      • The glass for this clock is 10cm in diameter. It would be best to use glass that fits this measurement!

      Ask FixBot

      Add Comment

    6. Crosley 33301 Front Glass Replacement: step 6, image 1 of 3 Crosley 33301 Front Glass Replacement: step 6, image 2 of 3 Crosley 33301 Front Glass Replacement: step 6, image 3 of 3
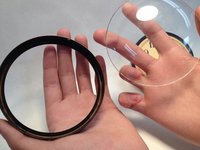
      • Apply the clock face back on the frame, then reverse your steps. Take a step back and admire your handiwork!

      Ask FixBot

      Add Comment

Conclusion

To reassemble your device, follow these instructions in reverse order.

Cancel: I did not complete this guide.

2 other people completed this guide.

0 Guide Comments

Add Comment

View Statistics:

Past 24 Hours: 1

Past 7 Days: 5

Past 30 Days: 44

All Time: 2,890