Free Shipping on Domestic Orders $75+

Cricut Maker Motor Replacement

What you need

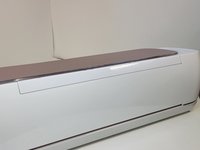
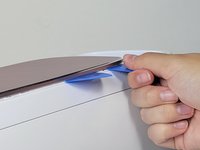
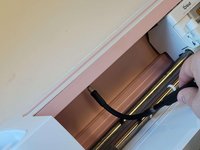
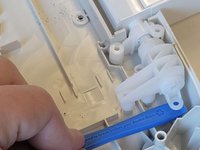
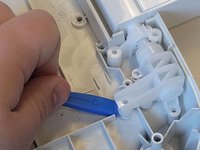
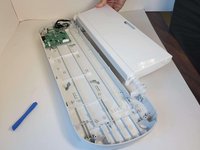
    1. Cricut Maker Motor Replacement, Cricut Maker Lid Replacement: step 1, image 1 of 3 Cricut Maker Motor Replacement, Cricut Maker Lid Replacement: step 1, image 2 of 3 Cricut Maker Motor Replacement, Cricut Maker Lid Replacement: step 1, image 3 of 3
      • To remove the cover from the connecting joint, use an iFixit opening tool, and pry around the perimeter of the cover to release it.

      • Applying too much pressure to this can break it as it is very fragile.

      • There is some adhesive holding the cover, so it may take some patience and finesse to pry the cover off.

      • Remove the cover from the connecting joint and set it aside.

      Ask FixBot

      Add Comment

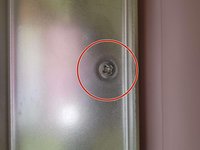
    2. Cricut Maker Motor Replacement: step 2, image 1 of 2 Cricut Maker Motor Replacement: step 2, image 2 of 2
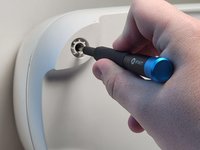
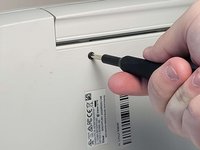
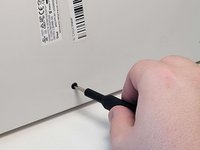
      • Remove the four, 10 mm Torx TR8 security screws holding the lid in place.

      Ask FixBot

      Add Comment

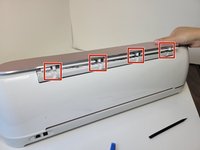
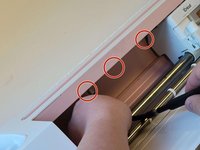
    3. Cricut Maker Motor Replacement: step 3, image 1 of 3 Cricut Maker Motor Replacement: step 3, image 2 of 3 Cricut Maker Motor Replacement: step 3, image 3 of 3
      • Turn the device around, so that the back is facing you.

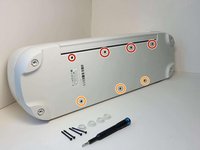
      • Look for the small rectangles along the back of the device. For every two rectangles, there is one cylindrical connector in between the two.

      • Wedge one or two iFixit opening picks in the seam connecting the Top Door to the device, and use the iFixit opening tool to pry upwards along the seam.

      • These actions should reveal the cylindrical connectors.

      Ask FixBot

      Add Comment

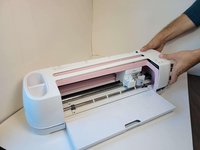
    4. Cricut Maker Motor Replacement: step 4, image 1 of 1
      • Press down on the lid.

      • Push the lid outwards to free it from the jointed clasps.

      Ask FixBot

      Add Comment

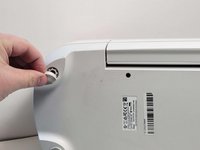
    1. Cricut Maker Motor Replacement, Front Door Replacement: step 5, image 1 of 2 Cricut Maker Motor Replacement, Front Door Replacement: step 5, image 2 of 2
      • Using your hands or an opening tool, remove the four foot pads covering four screws.

      • Use a Phillips #1 screwdriver to remove four 41 mm screws from the feet.

      Ask FixBot

      Add Comment

    2. Cricut Maker Motor Replacement: step 6, image 1 of 3 Cricut Maker Motor Replacement: step 6, image 2 of 3 Cricut Maker Motor Replacement: step 6, image 3 of 3
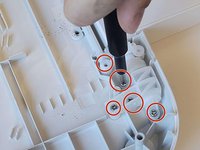
      • Remove the seven screws (Four 8.5 mm screws, and three 12.5 mm screws) on the bottom of the device, this will allow you to remove the cover later on.

      • Use a Phillips #1 screwdriver to remove the four 8.5 mm screws from the bottom of the device.

      • Use a Phillips #0 screwdriver to remove the three 12.5 mm screws.

      Ask FixBot

      Add Comment

    3. Cricut Maker Motor Replacement: step 7, image 1 of 3 Cricut Maker Motor Replacement: step 7, image 2 of 3 Cricut Maker Motor Replacement: step 7, image 3 of 3
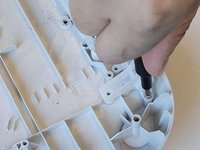
      • Turn the device on its side.

      • To remove the seven 10 mm screws from the underside of the top of the device, use a Phillips #1 screwdriver with the flex extension.

      Ask FixBot

      Add Comment

    4. Cricut Maker Motor Replacement: step 8, image 1 of 3 Cricut Maker Motor Replacement: step 8, image 2 of 3 Cricut Maker Motor Replacement: step 8, image 3 of 3
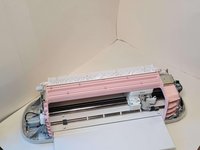
      • Lift the top case off of the base of the device.

      • After removing this cover, the internals of the device will be exposed.

      Ask FixBot

      Add Comment

    5. Cricut Maker Motor Replacement: step 9, image 1 of 2 Cricut Maker Motor Replacement: step 9, image 2 of 2
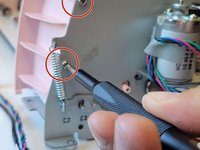
      • Use a Phillips #1 screwdriver to remove four 10 mm screws on the side of the device next to the motors.

      • Use a Phillips #1 screwdriver to remove the two 22 mm screws.

      Ask FixBot

      Add Comment

    6. Cricut Maker Motor Replacement: step 10, image 1 of 3 Cricut Maker Motor Replacement: step 10, image 2 of 3 Cricut Maker Motor Replacement: step 10, image 3 of 3
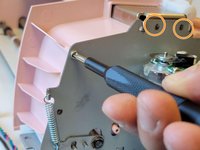
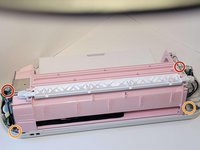
      • Use a Phillips #1 screwdriver to remove two 10 mm screws. These are parallel to one another, one on either side of the machine.

      • Use a Phillips #1 screwdriver to remove two 8mm screws, these are also directly parallel to one another on either side of the machine.

      Ask FixBot

      Add Comment

    7. Cricut Maker Motor Replacement: step 11, image 1 of 2 Cricut Maker Motor Replacement: step 11, image 2 of 2
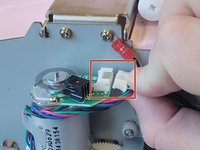
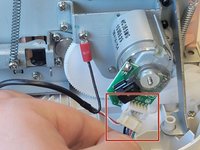
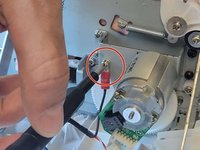
      • Unplug the bundled connector from the motor on both sides of the machine. To to avoid damage, coax the connector out of the socket gently using a spudger.

      Ask FixBot

      Add Comment

    8. Cricut Maker Motor Replacement: step 12, image 1 of 2 Cricut Maker Motor Replacement: step 12, image 2 of 2
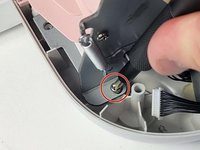
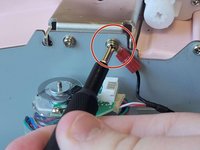
      • Using a Phillips #1 screwdriver, remove one 10 mm screw from both sides of the machine. This will release wires that are screwed into the sides of device.

      • Once the screws are removed and wires detached, the main body can be lifted off the base, and set aside.

      Ask FixBot

      Add Comment

    9. Cricut Maker Motor Replacement: step 13, image 1 of 3 Cricut Maker Motor Replacement: step 13, image 2 of 3 Cricut Maker Motor Replacement: step 13, image 3 of 3
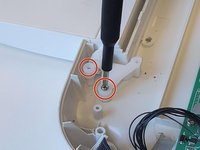
      • Remove a total of seven 10 mm screws from the underside of the door.

      • One side of the base has two 10mm screws.

      • The other side of the base has five 10 mm screws.

      Ask FixBot

      Add Comment

    10. Cricut Maker Motor Replacement: step 14, image 1 of 3 Cricut Maker Motor Replacement: step 14, image 2 of 3 Cricut Maker Motor Replacement: step 14, image 3 of 3
      • Pry the door from hinges using an iFixit opening tool.

      • Lift upwards and towards you, to remove the door from the hinges.

      Ask FixBot

      Add Comment

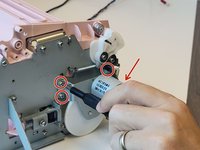
    1. Cricut Maker Motor Replacement, Motor: step 15, image 1 of 2 Cricut Maker Motor Replacement, Motor: step 15, image 2 of 2
      • Use a Phillips #1 screwdriver to remove the four 5 mm screws that attach the motor on the left side of the machine.

      Ask FixBot

      Add Comment

    2. Cricut Maker Motor Replacement: step 16, image 1 of 1
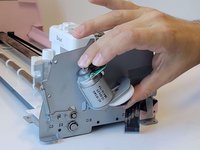
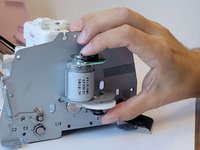
      • Remove the motor by pulling it from the device.

      Ask FixBot

      Add Comment

    3. Cricut Maker Motor Replacement: step 17, image 1 of 1
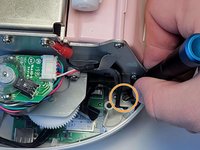
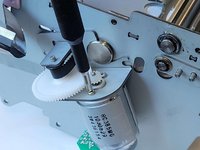
      • Under the motor there is a white plastic gear. To remove it, gently pull it off the axle.

      Ask FixBot

      Add Comment

    4. Cricut Maker Motor Replacement: step 18, image 1 of 2 Cricut Maker Motor Replacement: step 18, image 2 of 2
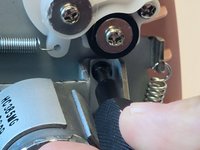
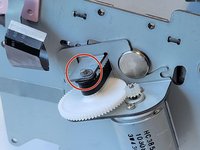
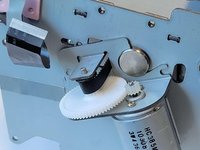
      • Remove the washer from the top screw above the motor.

      • We found it was easier done by hand.

      Ask FixBot

      Add Comment

    5. Cricut Maker Motor Replacement: step 19, image 1 of 2 Cricut Maker Motor Replacement: step 19, image 2 of 2
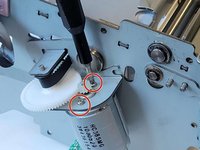
      • Remove the two 5 mm screws from the remaining motor on the opposite side, using a Phillips #2 screwdriver.

      Ask FixBot

      Add Comment

    6. Cricut Maker Motor Replacement: step 20, image 1 of 2 Cricut Maker Motor Replacement: step 20, image 2 of 2
      • Twist and remove the motor from the machine.

      • Avoid touching the various tach disks on these motors.

      Ask FixBot

      Add Comment

Conclusion

To reassemble your device, follow these instructions in reverse order.

Cancel: I did not complete this guide.

3 other people completed this guide.

Collin Kidd

Member since: 09/20/22

169 Reputation

1 Guide authored

3 Guide Comments

Bonjour,

Merci pour vos précisions c’est parfait comme tuto mais quels sont les signaux de la cricut nous alarmant que c’est une panne de moteur ? Car ma machine en l’occurrence fait un drôle de bruit au démarrage mais je ne sais pas d’où vient la panne ni le centre d’assistance de cricut d’ailleurs à part me conseiller d’en acheter une autre. Pouvez-vous peut-être me conseiller ?

Merci d’avance

Fanny

Fanny Houitte-Marion - Reply Share
Convenient that the tools list doesn't have the flex extension. Great directions dick face.

Nick - Reply Share
Bonjour pouvez vous me dire où se procurer ces moteurs ?

Cordialement

Mr Lopez

Jacqueline Lopez - Reply Share

Add Comment

View Statistics:

Past 24 Hours: 8

Past 7 Days: 24

Past 30 Days: 95

All Time: 5,393