
Creative Zen X-Fi LCD Screen Replacement

Westley Courchene and 3 other contributors
Last updated on Aug 28, 2015
Views: 2.3K
View statistics:
- Past 24 Hours:
- 1
- Past 7 Days:
- 18
- Past 30 Days:
- 96
- All Time:
- 2,259
Comments: 0
No one has left comments on this guide. Will you be first?
Go to guide commentsCompleted: 3 4
3 people have marked this guide "completed." Will you be next?
4 people have marked this guide "completed." Including you — great job!
Favorites: 1 2
1 person has favorited (and subscribed to) this guide. Will you be next?
2 people have favorited (and subscribed to) this guide — including you!
Needs Better Images
Better photos will improve this guide. Help out by taking, editing, or uploading new ones!
Introduction
Go to step 1 ↓The LCD screen is an output component that displays information to the user.
What you need
Tools
-
Spudger4.9


-
-
-
Using a spudger, wedge the tip between the front and back case to pry them apart.
 Ask FixBot
-
-
-
-
-
The black rubber button pad can be removed by simply picking it up.
-
-
-
-
-
Flip the LCD screen off the midsection plate to gain access to the space around the input button chip.
-
-
-
Using a spudger, pry off the button input chip from the mid-section of the device. To gain best leverage, start at the bottom right corner and level your way up the side of the chip.
-
-
-
-
-
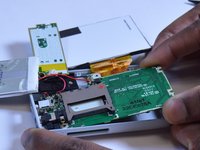
Lift open the LCD screen and button input chip to access the entire midsection plate.
-
-
-
Use a Phillips Head screwdriver to unscrew the three 3/16 inch screws that were underneath the button input chip.
-
-
-
Use a Phillips Head screwdriver to unscrew the three 3/16 inch screws that were underneath the LCD screen.
-
-
-
-
-
-
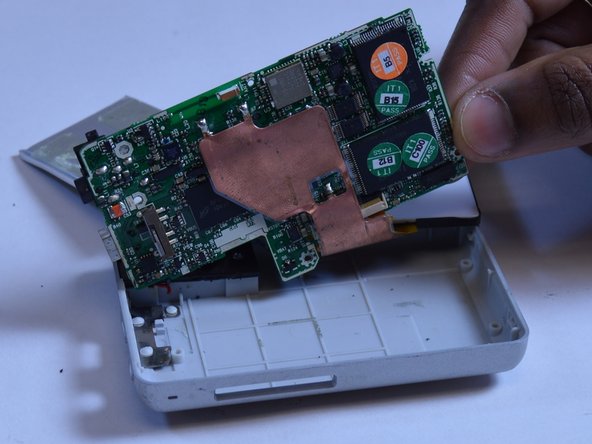
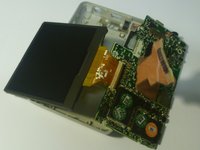
Lift the right edge of the motherboard off the back case.
-
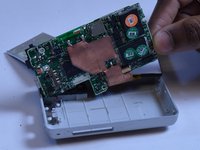
Using two fingers to grip the edge of the board, slide the motherboard out of the case to the right.
-
-
-
-
-
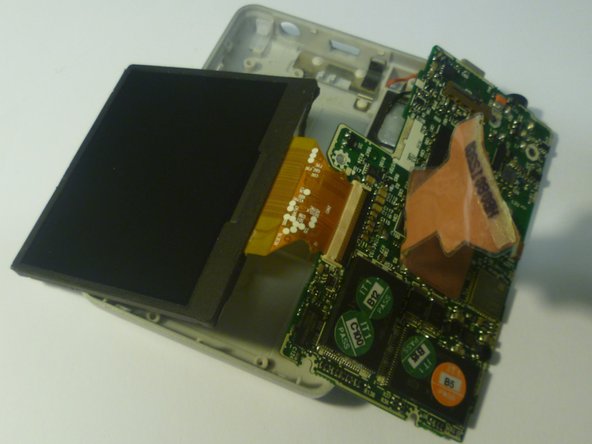
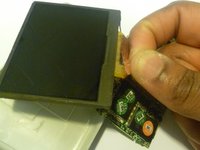
Use two fingers to peel back the edge of the ribbon connector that is glued to the bottom of the LCD screen.
-
-
-
Using a plastic opening tool, unlock the ribbon connector by unlatching the black lever that pins it on the motherboard.
-
Once the black lever arm is open, pull the ribbon connector out to disconnect the LCD screen.
-
-




To reassemble your device, follow these instructions in reverse order.
Cancel: I did not complete this guide.
3 other people completed this guide.

