
Creative Zen Vision W LCD Screen Replacement

Tim Wilson and 7 other contributors
Last updated on Jan 5, 2024
Views: 2K
View statistics:
- Past 24 Hours:
- 2
- Past 7 Days:
- 14
- Past 30 Days:
- 95
- All Time:
- 1,999
Comments: 1
1 guide comment.
Go to guide commentsCompleted: 1 2
1 person has marked this guide "completed." Will you be next?
2 people have marked this guide "completed." Including you — great job!
Favorites: 3 4
3 people have favorited (and subscribed to) this guide. Will you be next?
4 people have favorited (and subscribed to) this guide — including you!
Introduction
Go to step 1 ↓This guide will show you how to remove and install a new LCD screen in your device. Use this guide if your screen is broken or damaged and needs to be replaced.
What you need
Tools
-
Spudger4.9


-
-
-
Remove the two screws (2.5 mm) on the top and bottom of the device using a Phillips #0 screwdriver.
 Ask FixBot
-
-
-
Run the spudger along the cover and pry.
-
The button pad may fall off when the cover is removed.
-
-
-
-
-
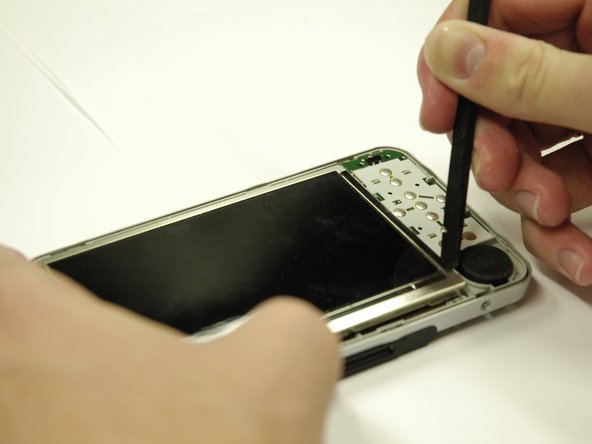
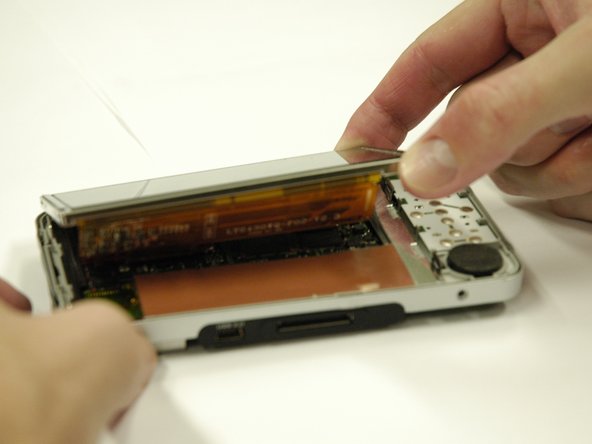
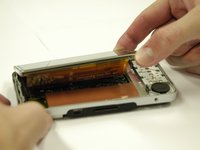
Use a spudger to separate the metal tabs that hold the screen in place on the right side.
-
-
-
Put the screen face down so you can see where the ribbon cables are attached.
-
Remove the red sticker that covers the ribbon cable connections.
-
-
-
-
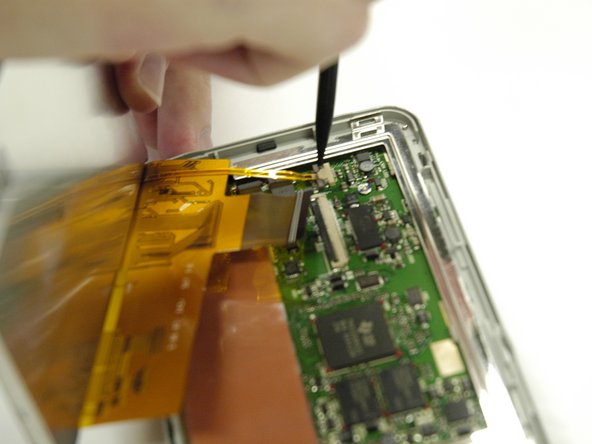
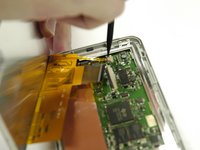
Use a plastic opening tool to get underneath the black flap on the larger ribbon cable connection and lift it.
-
-
-
Use a spudger to slide the two small gray tabs away from the ribbon cable connection.
-
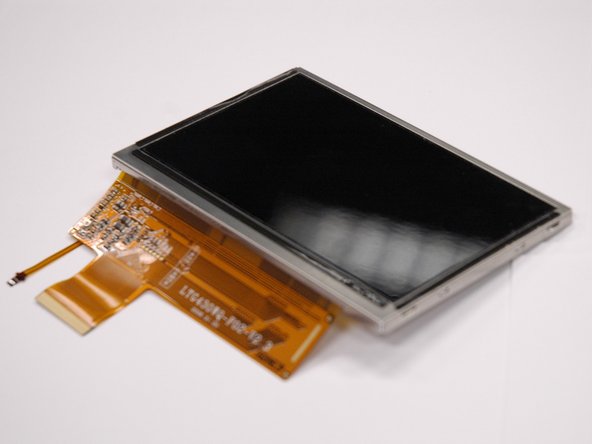
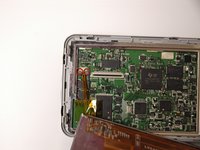
Remove the screen from the device.
-
-




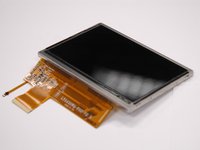
To reassemble your device, follow these instructions in reverse order.
Cancel: I did not complete this guide.
One other person completed this guide.

Team

Cal Poly, Team 17-2, Regan Spring 2013 Member of Cal Poly, Team 17-2, Regan Spring 2013
CPSU-REGAN-S13S17G2
4 Members
96 Guides authored
