
Creative Zen Vision W Keypad Replacement

Tim Wilson and 7 other contributors
Last updated on May 7, 2024
Views: 934
View statistics:
- Past 24 Hours:
- 2
- Past 7 Days:
- 19
- Past 30 Days:
- 102
- All Time:
- 934
Comments: 0
No one has left comments on this guide. Will you be first?
Go to guide commentsCompleted: 0 1
No one has marked this guide "completed." Will you be the first?
1 person has marked this guide "completed." It's you — great job!
Favorites: 0 1
No one has favorited (and subscribed to) this guide. Will you be the first?
1 person has favorited (and subscribed to) this guide — and that's you!
Incorrect Tools
Help make this guide better by using the correct tools in images and/or text.
Introduction
Go to step 1 ↓This step-by-step guide will show you how to remove a broken keypad and install a new one on your device when the buttons stop working. This guide is for you if you are looking to fix the keyboard to your Creative Zen Vision device.
The buttons are used to turn the device on and off, as well as allowing you to switch shows and use controls. When the buttons do not work, the device will not function properly.
Before beginning, make sure to unplug your device from any external power sources to ensure safety.
What you need
Tools
-
Spudger4.9
-
-


-
-
-
Remove the two screws (2.5 mm) on the top and bottom of the device using a Phillips #0 screwdriver.
 Ask FixBot
-
-
-
Run the spudger along the cover and pry.
-
The button pad may fall off when the cover is removed.
-
-
-
-
-
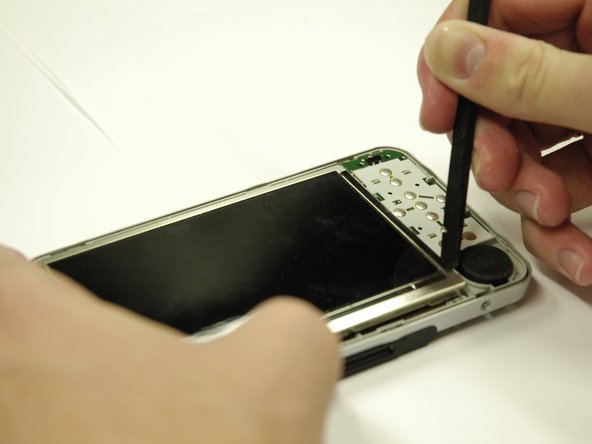
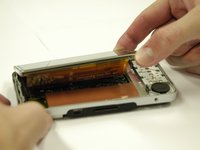
Use a spudger to separate the metal tabs that hold the screen in place on the right side.
-
-
-
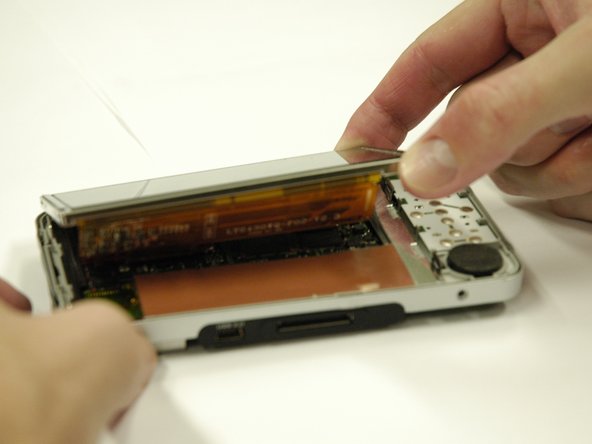
Put the screen face down so you can see where the ribbon cables are attached.
-
Remove the red sticker that covers the ribbon cable connections.
-
-
-
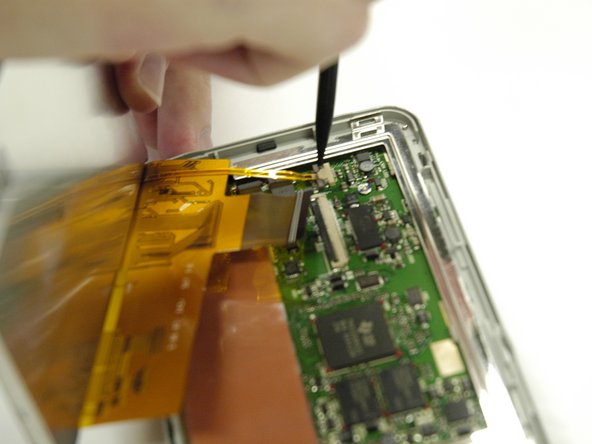
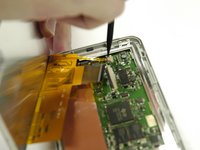
Use a plastic opening tool to get underneath the black flap on the larger ribbon cable connection and lift it.
-
-
-
Use a spudger to slide the two small gray tabs away from the ribbon cable connection.
-
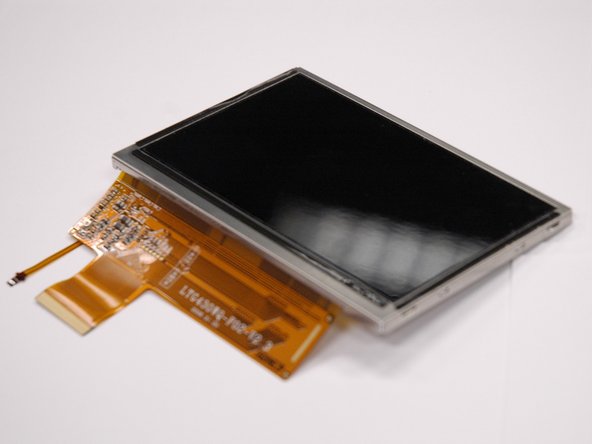
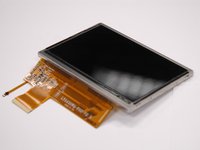
Remove the screen from the device.
-
-
-
-
-
Tool used on this step:Tweezers$4.99
-
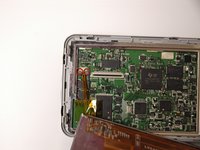
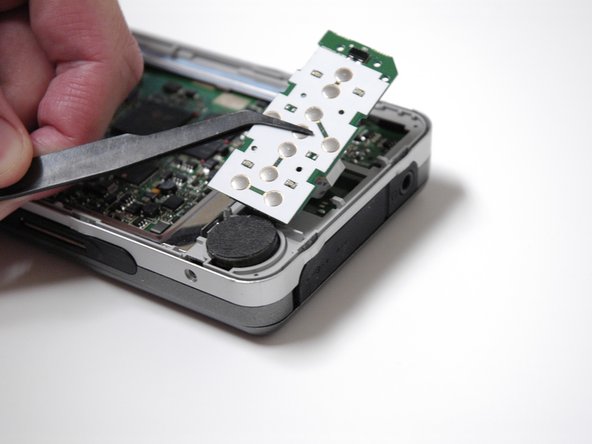
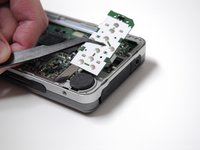
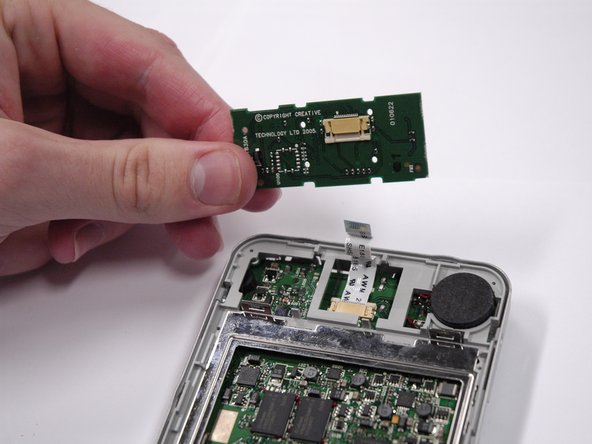
Lift the keypad from the left side and use tweezers to slide it out to the left.
-
-
-
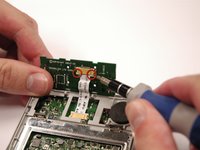
Use a small flat head screw driver to slide the white tabs away from the ribbon cable connection.
-
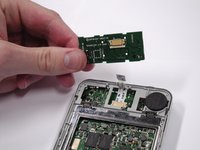
Remove the ribbon cable from the keypad.
-







To reassemble your device, follow these instructions in reverse order.

Team

Cal Poly, Team 17-2, Regan Spring 2013 Member of Cal Poly, Team 17-2, Regan Spring 2013
CPSU-REGAN-S13S17G2
4 Members
96 Guides authored
