
Creative Zen Vision M Screen Replacement

Kirstie G and 9 other contributors
Last updated on Jan 21, 2019
Views: 2.2K
View statistics:
- Past 24 Hours:
- 2
- Past 7 Days:
- 18
- Past 30 Days:
- 113
- All Time:
- 2,189
Comments: 0
No one has left comments on this guide. Will you be first?
Go to guide commentsCompleted: 1 2
1 person has marked this guide "completed." Will you be next?
2 people have marked this guide "completed." Including you — great job!
Favorites: 0 1
No one has favorited (and subscribed to) this guide. Will you be the first?
1 person has favorited (and subscribed to) this guide — and that's you!
Introduction
Go to step 1 ↓This guide demonstrates how to replace a screen. You will need a one mm Phillips head screwdriver. Keep in mind that the Creative Zen Vision was released in 2005 and discontinued shortly after that. So it may be difficult to obtain a new screen to use as a replacement.
What you need
Tools


-
-
-
Pop off the top plastic on the device with a flat tool like a flathead screwdriver.
-
Unscrew and remove the two exposed Phillips head screws.
 Ask FixBot
-
-
-
Work your way around the recess of the device with a flat tool like a flathead screwdriver.
-
Don't try attempt to open it from the recess between the buttons and the device.
-
-
-
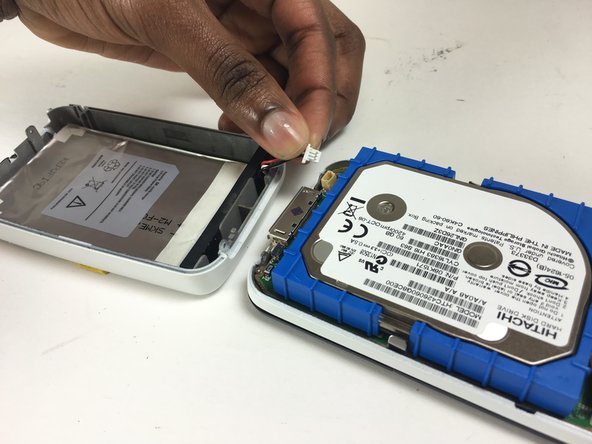
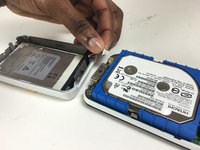
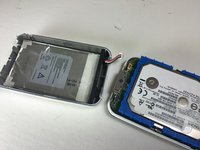
Disconnect the wire from the bottom device.
-
Handle with care as the wires tend to disconnect easily.
-
-
-
In the top right corner, pull the black foam square off to separate the hard drive from the screen.
-
Handle with care as the hard drive also comes off easily.
-
-
-
Unscrew the seven screws placed around the mother board.
-
You will need a one millimeter Phillips head screwdriver.
-
The screws are small, so keep them safely.
-
-
-
Flip your device upside down so that the motherboard will loosen.
-
Detach the connector from the motherboard.
-
-
-
-
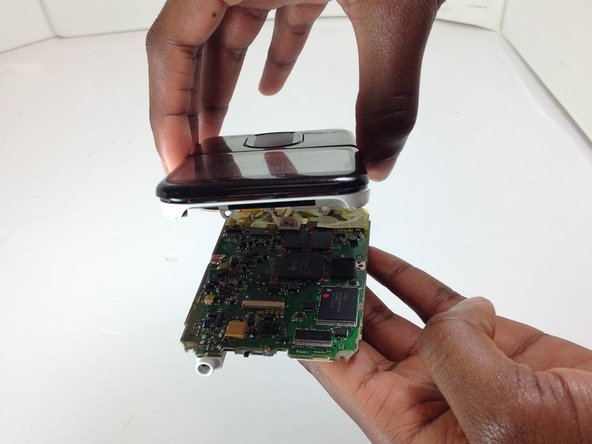
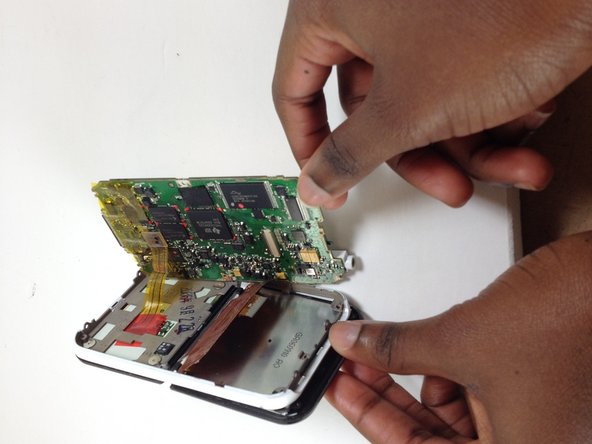
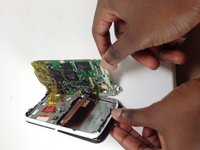
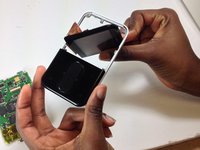
Tilt the screen diagonally. Separate the screen and motherboard from the device frame.
-
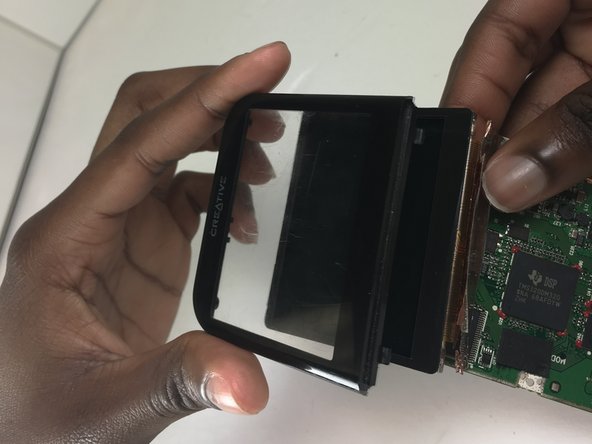
Lift the light gray flap to detach the screen from the motherboard.
-
-
-
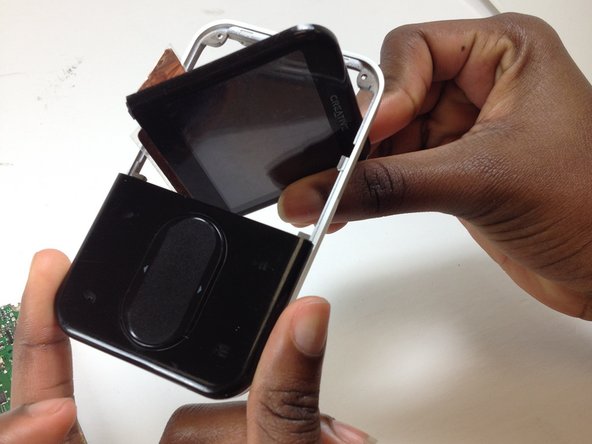
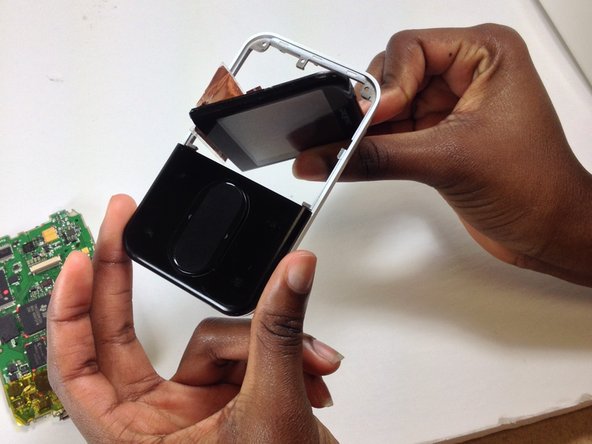
Separate the clear screen frame from the digital display.
-
-






To reassemble your device, follow these instructions in reverse order.
Cancel: I did not complete this guide.
One other person completed this guide.

Team

Texas Tech, Team 12-1, Bennett Fall 2016 Member of Texas Tech, Team 12-1, Bennett Fall 2016
TTU-BENNETT-F16S12G1
4 Members
48 Guides authored
