
Creating a Buttonhole Using a Sewing Machine

Brittany McCrigler and 5 other contributors
Last updated on Feb 20, 2026
Views: 30K
View statistics:
- Past 24 Hours:
- 4
- Past 7 Days:
- 34
- Past 30 Days:
- 157
- All Time:
- 30,199
Comments: 2
2 guide comments.
Go to guide commentsCompleted: 7 8
7 people have marked this guide "completed." Will you be next?
8 people have marked this guide "completed." Including you — great job!
Favorites: 20 21
20 people have favorited (and subscribed to) this guide. Will you be next?
21 people have favorited (and subscribed to) this guide — including you!
Patagonia
Patagonia and iFixit are celebrating the stories we wear by collaborating to provide guides for Patagonia's most popular apparel repairs.
Introduction
Go to step 1 ↓Use this guide to create a buttonhole with your sewing machine. We’re using a Bernina 830, but the process should be similar for all sewing machines with a mechanical buttonhole dial. Since every sewing machine is different, refer to your sewing machine’s owner’s manual for specific information. In this guide we’re using contrasting thread for visibility. When it comes time for your actual project, you’ll want to use thread that matches the color of your fabric.
What you need
Tools


-
-
-
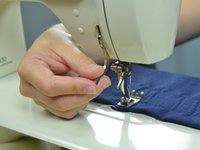
Select your buttonhole foot. Buttonhole feet can vary in appearance, so check you manual.
-
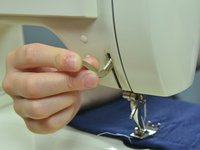
Thread the buttonhole foot by sliding the thread through the diagonal slit into the center hole.
 Ask FixBot
-
-
-
Mark where you would like the top and bottom of the buttonhole to be with tailor's chalk.
-
Align the sewing machine at the upper left corner of the buttonhole.
-
-
-
Set your stitch length dial to nearly zero, this will create a satin stitch. The usual stitch length is around the 2.5.
-
-
-
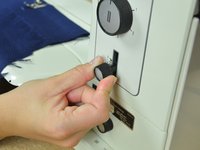
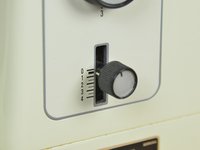
Set your button hole dial to one. If you have an electronic sewing machine, refer to your manual.
-
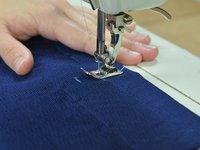
Start sewing. Sew to your second line.
-
-
-
Set your button hole dial to two.
-
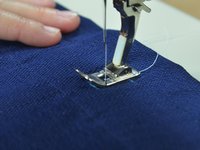
Sew the bar tack at the bottom of the buttonhole.
-
-
-
Set your buttonhole dial to three.
-
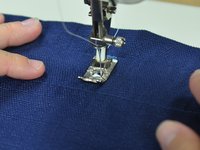
Sew up the second side of your buttonhole, stopping at your top mark.
-
-
-
Set your buttonhole dial to four.
-
Sew the top bar tack at the top of the buttonhole.
-
-
-
-
Set your buttonhole dial to five.
-
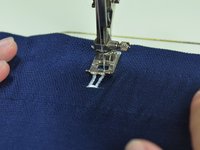
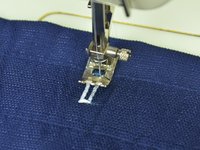
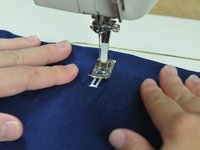
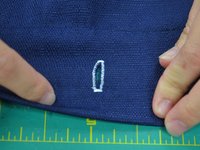
This setting backstitches to hold the thread in place. Sew a few more stitches, which will finish the buttonhole.
-
-
-
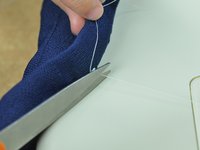
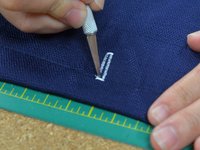
Clip the threads, freeing the fabric from the machine.
-
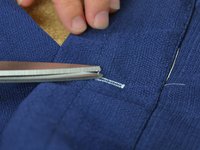
Clip any extra loose threads.
-
-























Cancel: I did not complete this guide.
7 other people completed this guide.


2 Guide Comments
The same thing happened to me when I first tried this too, Holly.
I discovered that I was over-stitching position 2.
Now, I do a maximum 3 stitches only, before I go on to position 3 and everything works beautifully. I don’t have to turn the fabric around - position 3 stitches in reverse, and I finish off with a couple of stitches in position 2, to top off the button-hole.
I hope this helps!
