
Creating a Bootable SD Card

Ema.exe and 2 other contributors
Last updated on Jul 17, 2023
Views: 2.2K
View statistics:
- Past 24 Hours:
- 2
- Past 7 Days:
- 31
- Past 30 Days:
- 116
- All Time:
- 2,225
Comments: 0
No one has left comments on this guide. Will you be first?
Go to guide commentsCompleted: 1 2
1 person has marked this guide "completed." Will you be next?
2 people have marked this guide "completed." Including you — great job!
Favorites: 1 2
1 person has favorited (and subscribed to) this guide. Will you be next?
2 people have favorited (and subscribed to) this guide — including you!
Community-Contributed Guide
An awesome member of our community made this guide. It was not created by iFixit staff.
Introduction
Go to step 1 ↓Unless you have a starter pack with a pre-made Bootable SD Card, you'd need to create one for your Raspberry Pi.
In this guide I will walk you through the creation of your Bootable SD Card (This card will contain your Raspberry Pi's Operating System and will act as your device's storage).
What you need
Parts

-
-
-
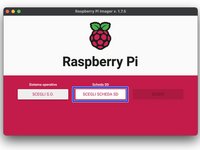
To create our Bootable SD Card we will need the Official Raspberry Pi Imager software. This software is completely free, and can be downloaded here.
 Ask FixBot
-
-
-
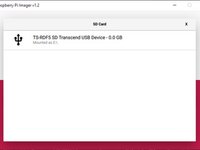
Once your download has been completed, open the Pi Imager program, and insert your SD Card into your computer. The Imager software should automatically detect your SD Card, and will begin to format the card.
-
-
-
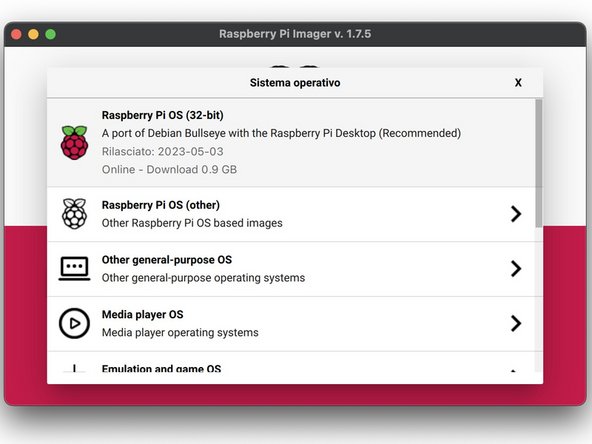
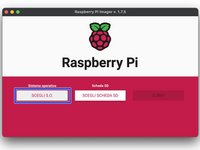
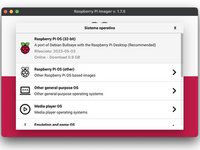
Once your SD Card has been targeted, you'll need to select the Operating System that you would like loaded onto your SD Card.
-
-
-
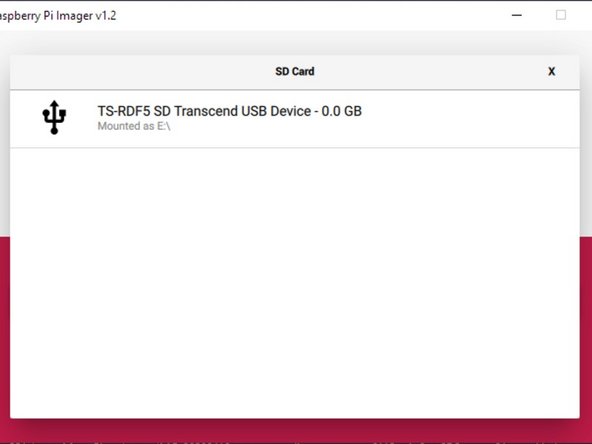
Once your OS has been selected, select your inserted SD card.
-
-
-
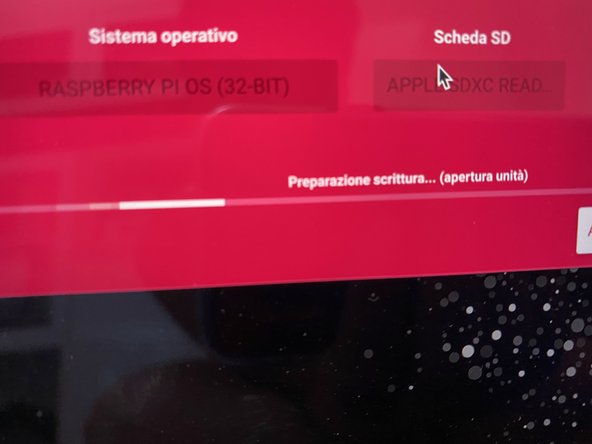
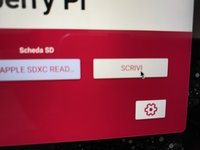
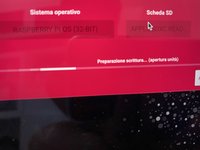
Once you have your SD Card selected, click on the Write button. If prompted enter the password to your computer.
-
-
-
-
When the installation is complete, Imager will prompt you to remove your SD Card.
-
To begin using your Bootable SD Card, simply insert the card into your Raspberry Pi, and power on your device.
-
-
-
It is possible that at the moment you begin to WRITE the OS to your SD Card an alert may appear warning that the card is write protected. This happens when the switch on the left side of the SD is in protection mode.
-
You can solve this by ejecting the SD Card and move the lever to the side opposite, then repeat the OS selection operation. and of the SD Card.
-
-




Cancel: I did not complete this guide.
One other person completed this guide.
Special thanks to these translators:
100%


These translators are helping us fix the world! Want to contribute?
Start translating ›

